
Last updated November 17, 2026
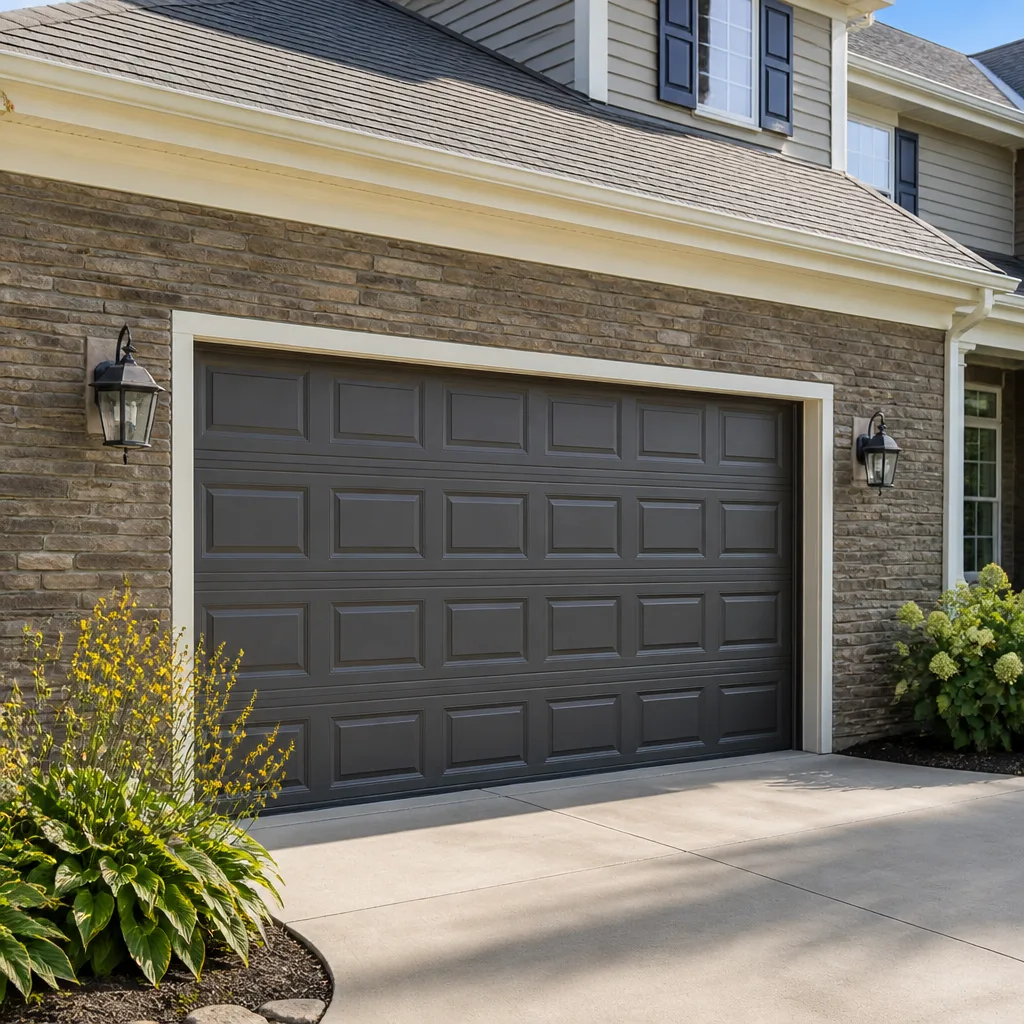 Raised-panel steel
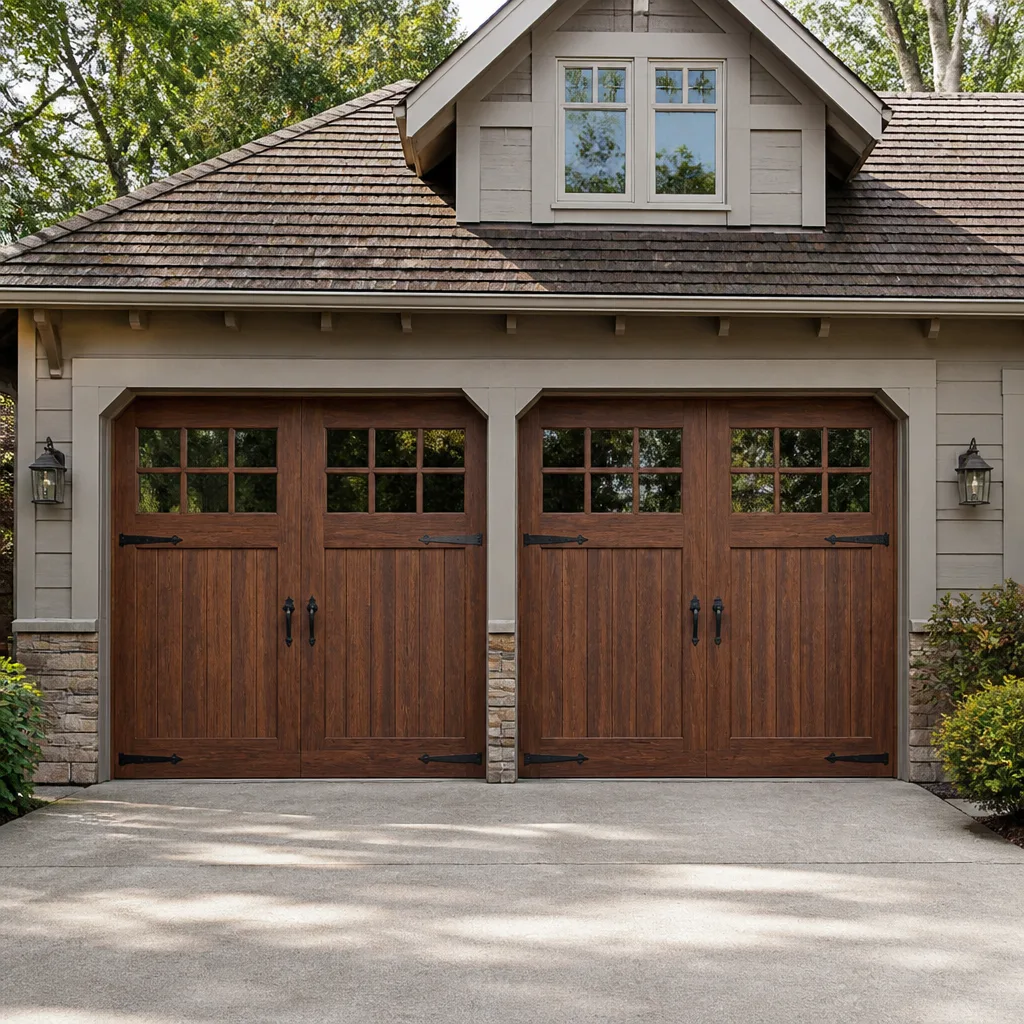 Carriage house
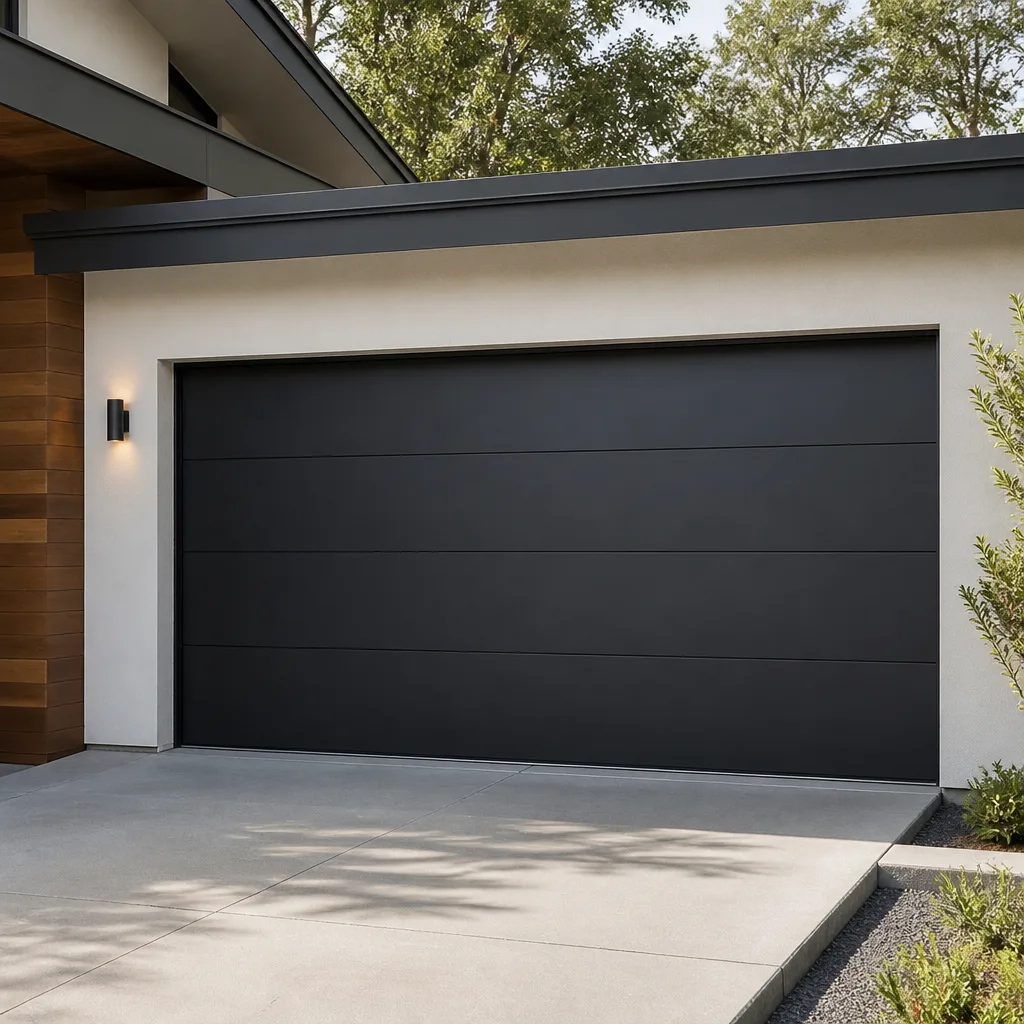 Modern flush
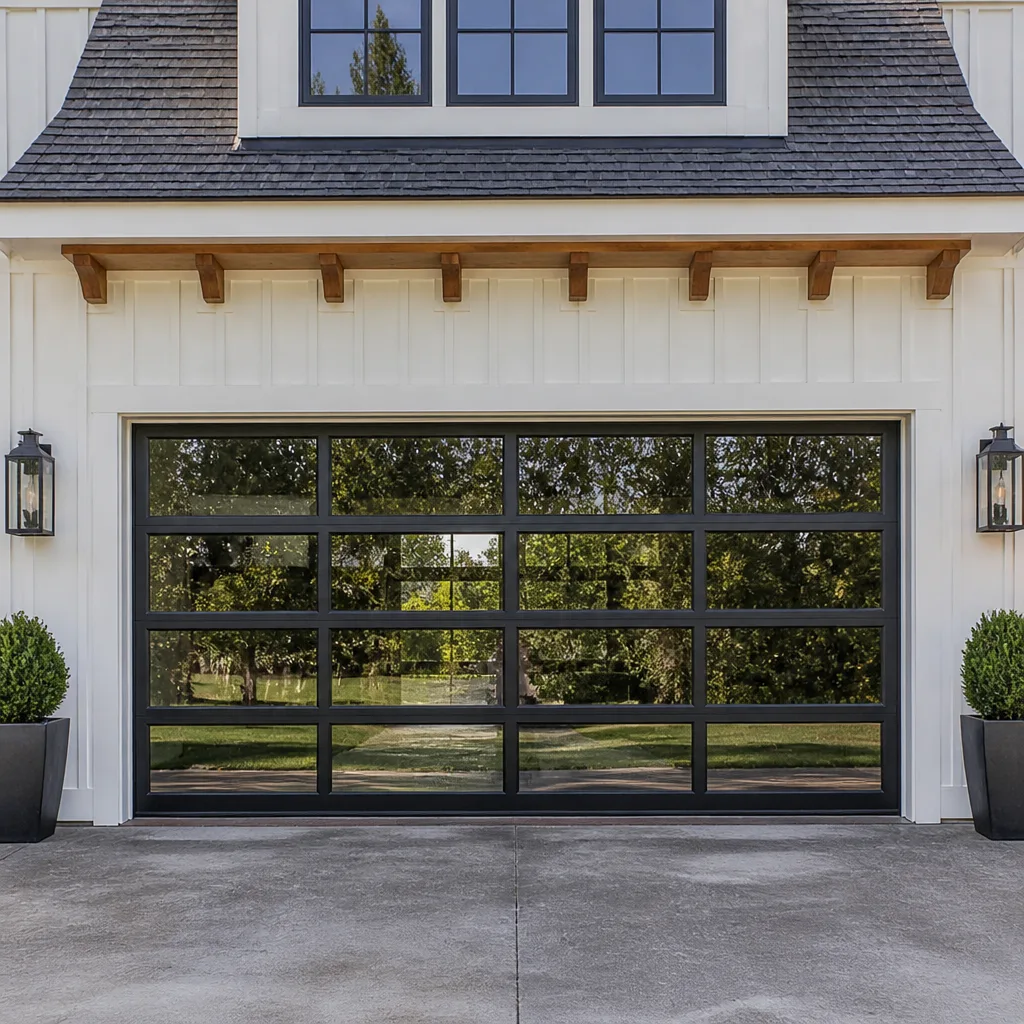 Full-view glass
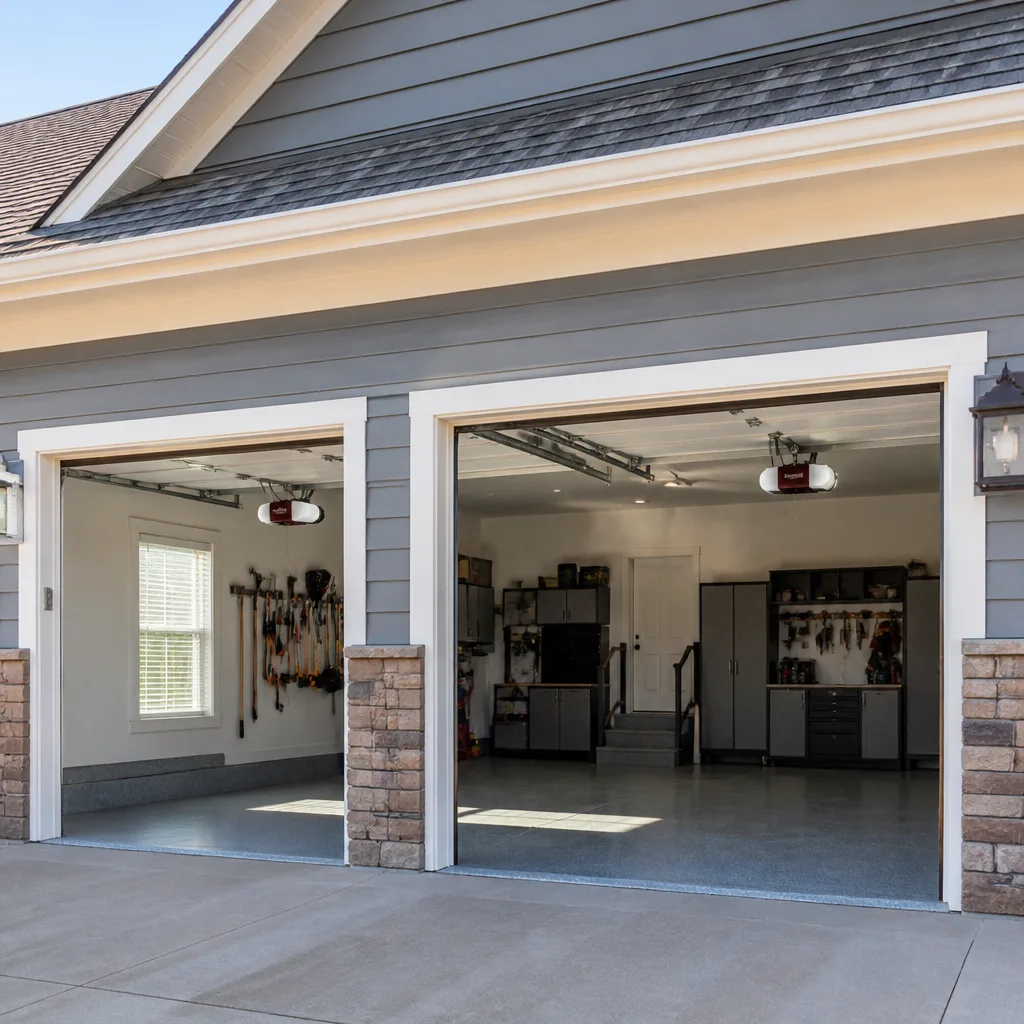 LiftMaster openers
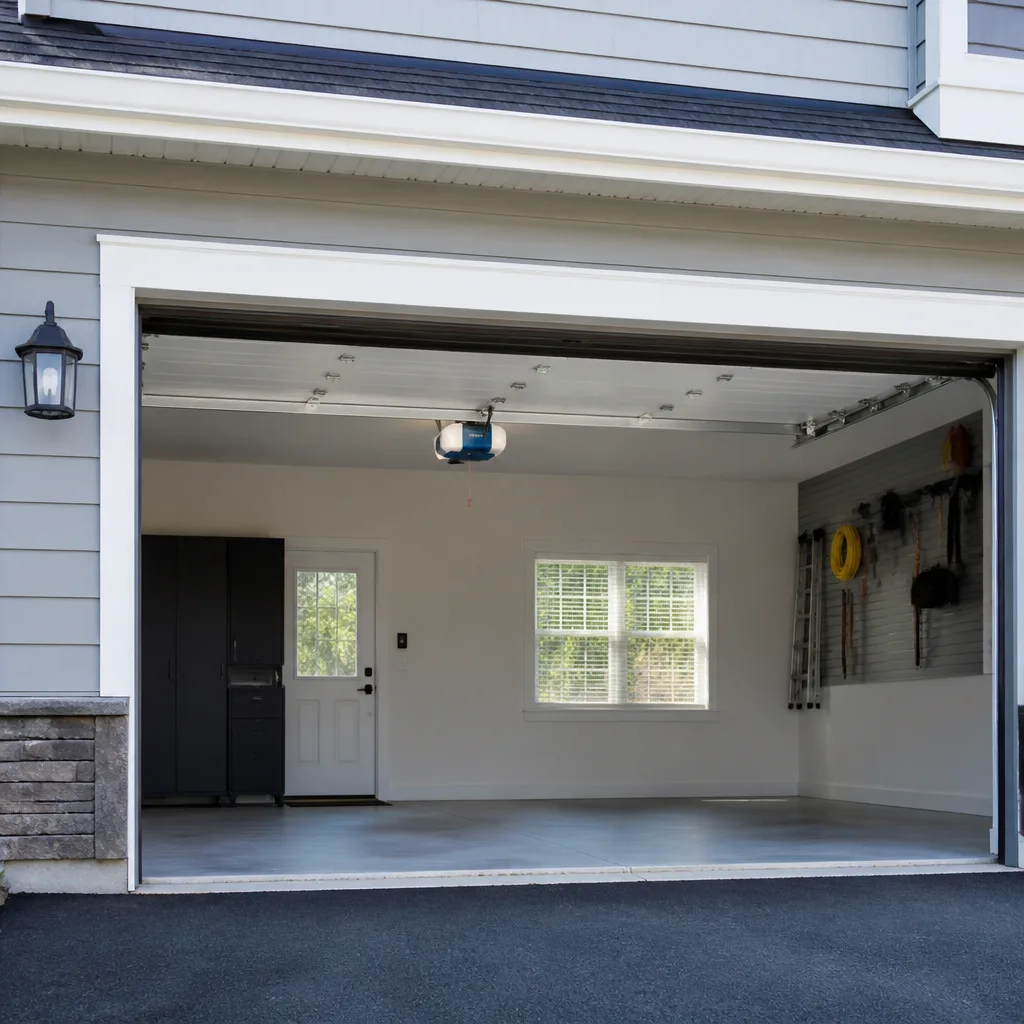 Chamberlain openers
Full 25-point door and opener safety check with every visit - springs, cables, rollers, tracks, and your LiftMaster or Chamberlain opener included
You get a price before we start. It does not change when the pro arrives.
Get your free estimateDIY vs Professional Garage Door Installation: What’s Safe to Do Yourself
A new garage door kit from a big-box store looks like a DIY project. The box, the instructions, the YouTube tutorials – all of it suggests you can knock this out in a weekend. What those tutorials don’t show is the spring winding, the header load check, or the two hours of troubleshooting when the door binds on the first test run. A garage door is 200 pounds riding on two springs, and that’s before you factor in the torsion bar, the cable drums, and the opener’s force settings. This guide walks through what a real installation demands, which parts you can safely tackle yourself, and where the DIY math stops working. We’ve installed and repaired doors across Enterprise for years, and we’ve seen how this story usually ends.
Quick Answer
You can safely handle the prep work – tearing out the old door, clearing the opening, maybe roughing in opener wiring – but full garage door installation is not a safe DIY project. Spring winding, header load verification, and opener force calibration are the steps that cause serious injuries and structural failures. Professional installation in Enterprise typically runs $950 to $2,400 depending on door size and material, and that price covers the load check, the calibration, and a written record of your spring specs.
Styles & brands we work with
- Raised-panel steel
- Carriage house
- Modern flush
- Full-view glass
- LiftMaster openers
- Chamberlain openers
Table of Contents
- The Honest Tool and Skill Inventory You Actually Need
- Why Spring Installation Is a Different Category of Danger
- The Hidden DIY Costs Nobody Budgets For
- What a Professional Installation Includes That DIY Doesn’t
- The Partial DIY Option: Prep Work That Actually Saves Money
- When to Call a Professional
- Frequently Asked Questions
The Honest Tool and Skill Inventory You Actually Need
The YouTube minimalist list says you need a drill, a ladder, and a Saturday. That list is wrong, and the people posting it already own the tools they forgot to mention. Here’s what a real garage door installation in Enterprise actually requires, not the trimmed-down version.
- A winding bar set (two solid steel bars, not screwdrivers). These run $40 to $70 and only exist for torsion spring work.
- A torsion spring winding chart matched to your door’s weight and track radius. Guess wrong and the door won’t balance.
- A 4-foot level and a laser or chalk line for the vertical track. Tracks out of plumb by a quarter inch bind the door within a week.
- A torque wrench and impact driver for lag bolts into the header. Under-torqued lag bolts pull out; over-torqued ones split the wood.
- A come-along or door jack to lift and hold a 200-pound panel while you set hinges. This is a two-person job even with the right tool.
- A force gauge for opener calibration. You can borrow a bathroom scale, but most homeowners don’t know that trick.
- Full safety glasses, gloves rated for cable work, and a spotter. Cables under tension can whip. Never work alone.
Add in the skill gap. A pro reads a header for sag and rot before bolting anything. They know when a 7-foot door needs a low-headroom kit and when a 16-foot Clopay needs a different spring than the chart says. That judgment is what you’re paying for in Enterprise, not just the labor. If you’ve never balanced a door before, the tool list is only half the problem.
Why Spring Installation Is a Different Category of Danger
Every other step in a garage door installation is slow, awkward, and heavy – but not likely to kill you. Spring work is. A standard torsion spring on a residential door stores somewhere between 150 and 250 foot-pounds of torque. When it lets go during a bad winding, that energy releases in a fraction of a second, and the winding bar becomes a projectile. Emergency rooms see these injuries every year: broken wrists, fractured forearms, facial lacerations. The Consumer Product Safety Commission has tracked thousands of garage door injuries annually, and spring failures during DIY installation are a steady contributor.
Here’s what makes springs categorically different from hanging a panel or setting a track:
- The energy is invisible. You can see a heavy panel. You can’t see the tension in a wound spring until it’s moving.
- There’s no safe “practice” version. You wind it right or you get hurt. There’s no half-measure.
- The failure is instant, not gradual. A mis-set track gives you warning. A spring gives you none.
- Even the hardware is specialized. Standard tools slip. Winding bars exist because nothing else is safe to use.
We count spring cycles the way you count tire miles. A torsion spring is rated for roughly 10,000 cycles (a cycle is one open and one close). A cheap big-box spring might be rated for 7,500. A professional Clopay or Amarr install comes with a spring matched to your door’s actual weight, and we write the spec down so the next person knows what’s on there. That’s the difference. If you’re set on tackling the tension side of the install yourself, stop and call someone. The rest of the project is worth doing carefully. That part isn’t.
The Hidden DIY Costs Nobody Budgets For
Here’s where the DIY math usually falls apart. The kit says $650 at the register. The real number is higher, and the gap is where homeowners get surprised.
- Specialty tools: winding bars ($50), force gauge or scale ($30 to $100), a decent impact driver if you don’t own one ($120+), a come-along ($40 to $80). That’s $240 to $350 in tools you’ll use once.
- Second hardware runs: the kit is missing a bracket, the lag bolts are the wrong length, the hinges don’t match the panel. Two trips to the hardware store in Enterprise at 30 miles round-trip and two hours each. Budget $50 to $120 in parts and half a Saturday.
- Dumpster fees: nobody hauls away the old door for free. A roll-off dumpster runs $350 to $500 in the Enterprise area, or a bulky-item pickup is $50 to $100 if your hauler offers it.
- Your weekend: a first-time install runs 12 to 20 hours across two or three days. At a $30/hour opportunity cost, that’s $360 to $600 of your time.
- The do-over: when the door binds, the opener strains, or the spring is wrong, the re-do runs $200 to $500 in parts and another weekend.
Add the kit price to those numbers and the “cheap” DIY install lands between $1,600 and $2,200 in true cost. Professional installation in Enterprise typically runs $950 to $2,400 depending on size and material, with the load check, the calibration, and the written spring specs included. The DIY math doesn’t pencil out the way the box suggests, and that’s before you value your back.
What a Professional Installation Includes That DIY Doesn’t
When we install a door in Enterprise, the panels and track are the visible part. The work that keeps the door safe is what happens before and after. Here’s what a professional install covers that a DIY job usually skips.
- Header load verification. We check the wood above the opening for sag, rot, and proper framing. A 200-pound door hangs from that header. If it’s undersized or water-damaged, the door pulls it down over time. A DIY install bolts into whatever’s there.
- Track plumb and alignment. Vertical tracks get set with a level and checked against the door’s travel. Out-of-plumb tracks bind the door and wear the rollers within weeks.
- Spring spec matching. We weigh the door and match the spring to it, then record the wire gauge, inside diameter, and length on the invoice. That record is what a future tech needs to replace it correctly.
- Opener force calibration. We set the up and down force limits with a scale so the door reverses on contact within the CPSC-mandated two inches. This is the safety feature that stops a door on a child or a pet.
- Safety reversal testing. We run the photo-eye test and the contact reversal test with the homeowner watching, and we show you how to re-test it monthly.
- A written record. Every job in Enterprise gets an invoice with the door model, spring specs, and the 90-Day Done Right Promise.
None of this is exotic. It’s the checklist a pro runs every time. The gap is that a first-time DIY installer doesn’t know the checklist exists, so they can’t run it. If the opener is straining after your install, the problem is almost never the opener – it’s the balance or the track, and finding that out takes experience.
The Partial DIY Option: Prep Work That Actually Saves Money
This is the honest middle ground, and it’s the path we recommend to homeowners in Enterprise who want to cut costs without touching the dangerous parts. There’s real money to save on demo and prep. Skip the spring work entirely.
- Tear out the old door yourself. With the springs already relaxed by a pro (this is the one step to hand off), removing panels, tracks, and hinges is straightforward and safe. Saves roughly $150 to $300 in labor.
- Clear and prep the opening. Sweep the floor, remove old anchors, patch and paint the header and jambs. This is finish work a pro would bill for, and you can do it better than anyone because it’s your house.
- Rough in the opener wiring. If you’re adding a new opener, running the wire from the panel to the ceiling location is a legit DIY task for a confident homeowner. An electrician handles anything at the panel itself. LiftMaster and Chamberlain openers use standard low-voltage wire for the wall control and safety eyes.
- Haul the old door to the transfer station yourself if you have a truck or trailer. Saves the dumpster fee.
- Be on site for the install and ask questions. A good installer will walk you through the spring spec and the safety test. Watch and learn, because you’ll need to re-test the reversal monthly.
What you don’t touch: the spring winding, the cable tensioning, the header bolting, and the opener force calibration. Those are the steps where a mistake hurts someone. Doing the prep yourself on a professional install in Enterprise typically saves $300 to $600 off the total, and it’s the version we’d do on our own house. For a full breakdown of what the install itself covers, see our Garage Door Installation in Enterprise page.
Common Mistakes to Avoid
- Trusting the kit’s spring. Big-box kits often ship a spring rated for a lighter door than the one you bought. The door sags within months, and a mis-sized spring wears out faster.
- Skipping the header check. In Enterprise, we see dry rot in headers on doors that face the afternoon sun and get monsoon spray. Bolting a new door to a soft header is the most common cause of door sag we fix.
- Winding the spring with screwdrivers. This is the injury we hear about most. Screwdrivers slip out of the winding cone and the bar whips. Winding bars exist for a reason.
- Not testing the safety reversal. The photo-eye and contact reversal are the features that stop the door on a kid. Test them the day of install and monthly after. A door that fails this test is a hazard, full stop.
- Over-tightening lag bolts. Lag bolts into a header need the right torque. Too loose and the door pulls them out; too tight and they split the wood and lose hold.
- Ignoring track plumb. A track a quarter inch out of plumb binds the door and wears the rollers. By the time you notice the noise, the damage is done.
- Skipping the dumpster budget. The old door doesn’t disappear. Budget for haul-away or make a plan before install day.
When to Call a Professional
Call a professional the moment springs, cables, or the header are involved. Those three parts are where DIY installation turns into a hospital visit or a structural repair. Also call if your door is wider than 9 feet, if the header shows any sag or rot, if you’re adding a new opener and aren’t comfortable with low-voltage wiring, or if the door is over 8 feet tall. We’ve repaired plenty of half-finished installs in Enterprise, and starting over costs more than starting right. Otto’s Garage Door Enterprise offers free estimates in Enterprise – call (833) 620-7107. A live person answers around the clock, quotes the job on the call, and holds the number when they get there. We’ll tell you straight whether your project is a candidate for the partial DIY route or a full professional install.
Frequently Asked Questions
Most of the installation is safe, but the spring winding and cable tensioning steps are not. Those parts store hundreds of pounds of energy, and a slip during winding causes serious injuries every year. Prep work like demo and site prep is safe to do yourself; the spring and cable work should go to a trained professional.
Professional installation in Enterprise typically runs $950 to $2,400 depending on door size, material, and whether an opener is included. That price covers the header load check, spring spec matching, opener force calibration, and safety reversal testing. Call (833) 620-7107 for an exact quote – estimates are free, and the price is quoted before any work starts.
The spring releases its stored energy in a fraction of a second, and the winding bar becomes a projectile. Injuries range from broken wrists to facial lacerations, and the door won’t balance correctly afterward. This is the single step we tell every homeowner in Enterprise not to attempt.
Yes, and we recommend it on a professional install. Removing the old door, clearing the opening, patching and painting, and roughing in opener wiring are all safe DIY tasks. Doing that prep on a pro install in Enterprise typically saves $300 to $600 off the total, and it’s the version we’d do on our own house.
Yes. Otto’s Garage Door Enterprise is locally owned and owner-operated, with a published address and license number any homeowner can verify before the truck arrives. Technician experience goes up to 22 years, and every job is backed by the 90-Day Done Right Promise in writing.
No. We quote the job on the phone and hold that number at the door. The price is agreed before any work starts, and it doesn’t change between the call and the driveway. If something unexpected comes up, we tell you before we touch it. Call (833) 620-7107 for a free estimate.
The Bottom Line
Full garage door installation isn’t in the same category as other home improvement DIY projects. The spring work is genuinely dangerous, the header load check is easy to skip, and the hidden costs – tools, second hardware runs, dumpster fees, your weekend – add up faster than the savings. The smart play is the partial DIY route: handle the demo, site prep, and opener wiring rough-in yourself, and hand off the spring winding, header bolting, calibration, and safety testing to a pro. That’s the version that saves real money without risking your back or your header. For a look at the repair side once your door is up, see our Garage Door Repair in Enterprise page, and for opener specifics, our Garage Door Opener Repair & Installation in Enterprise page. Otto’s Garage Door Enterprise offers free estimates in Enterprise – call (833) 620-7107, and a live person will answer. You can also start at Otto’s Garage Door Enterprise home for the full picture.
Written by the team at Otto’s Garage Door Enterprise.
See the difference
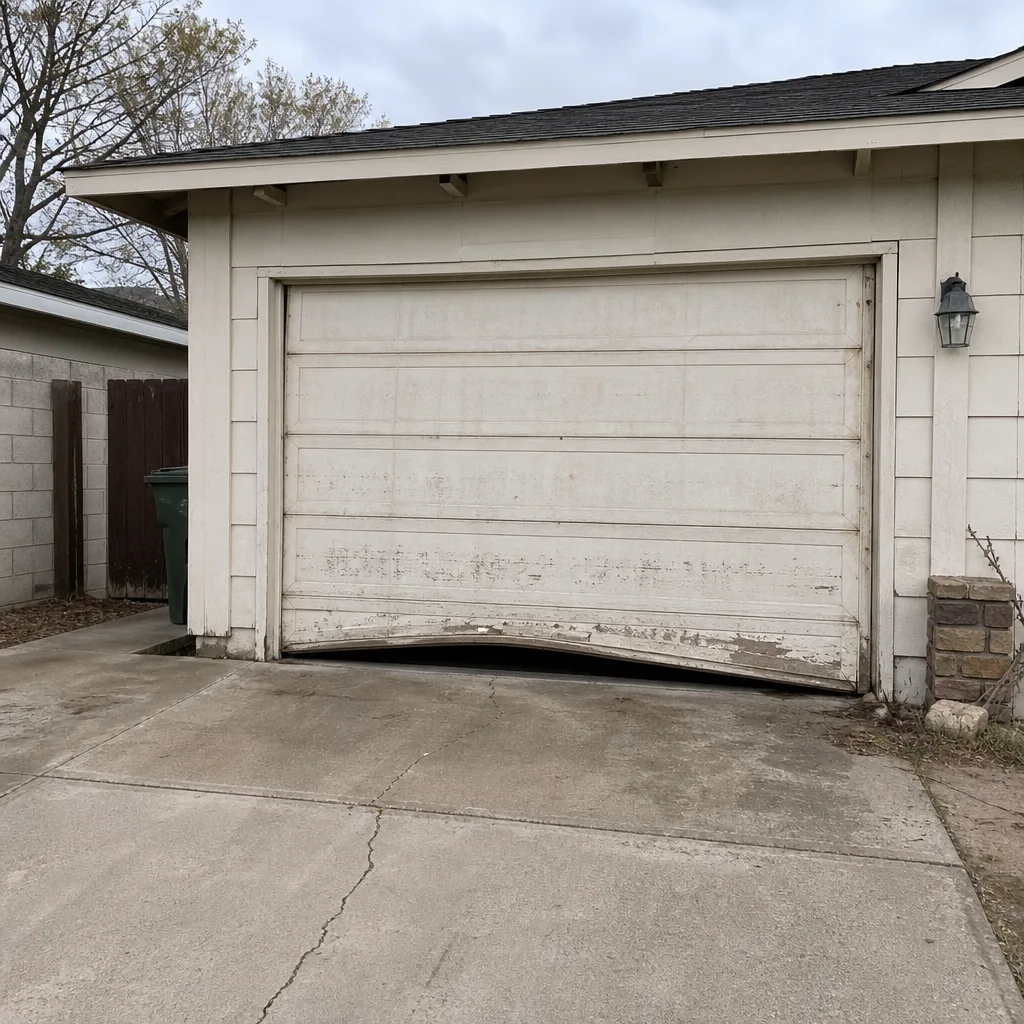 Before
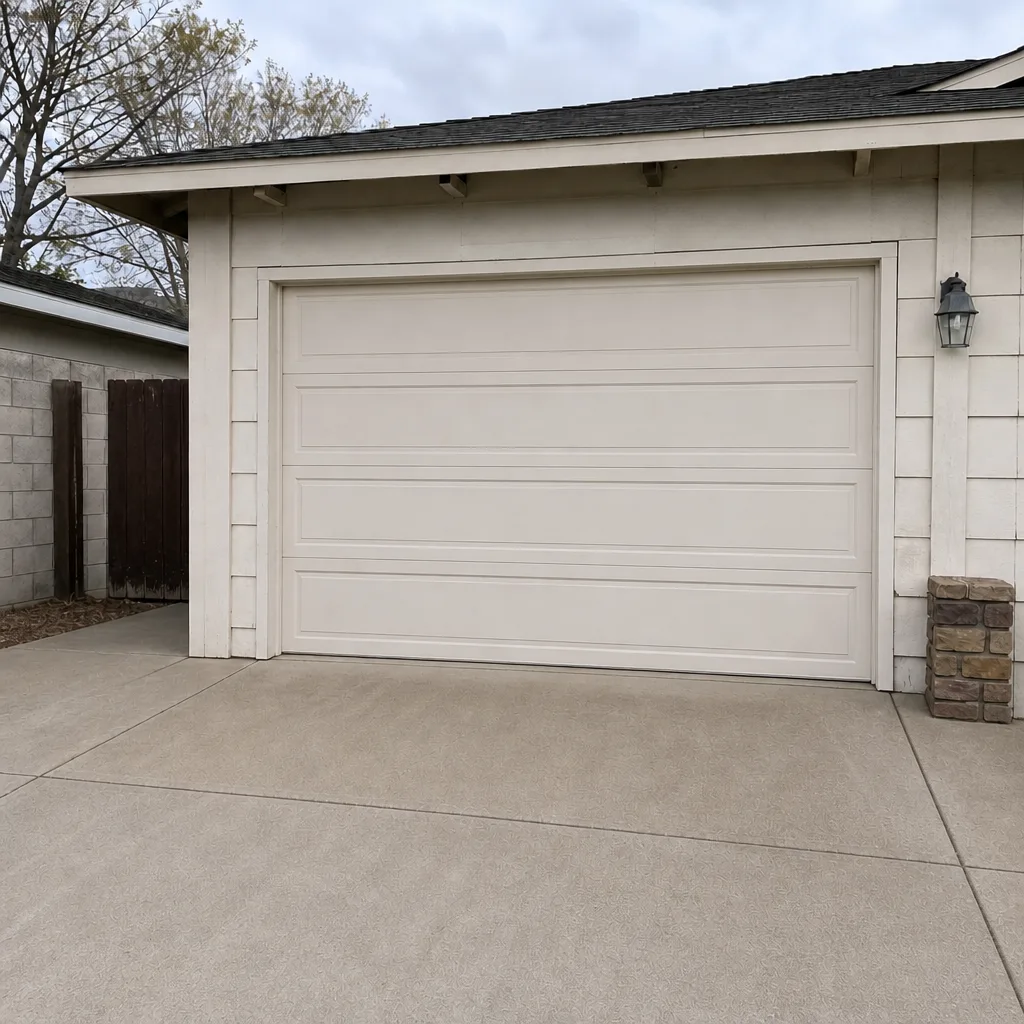 After
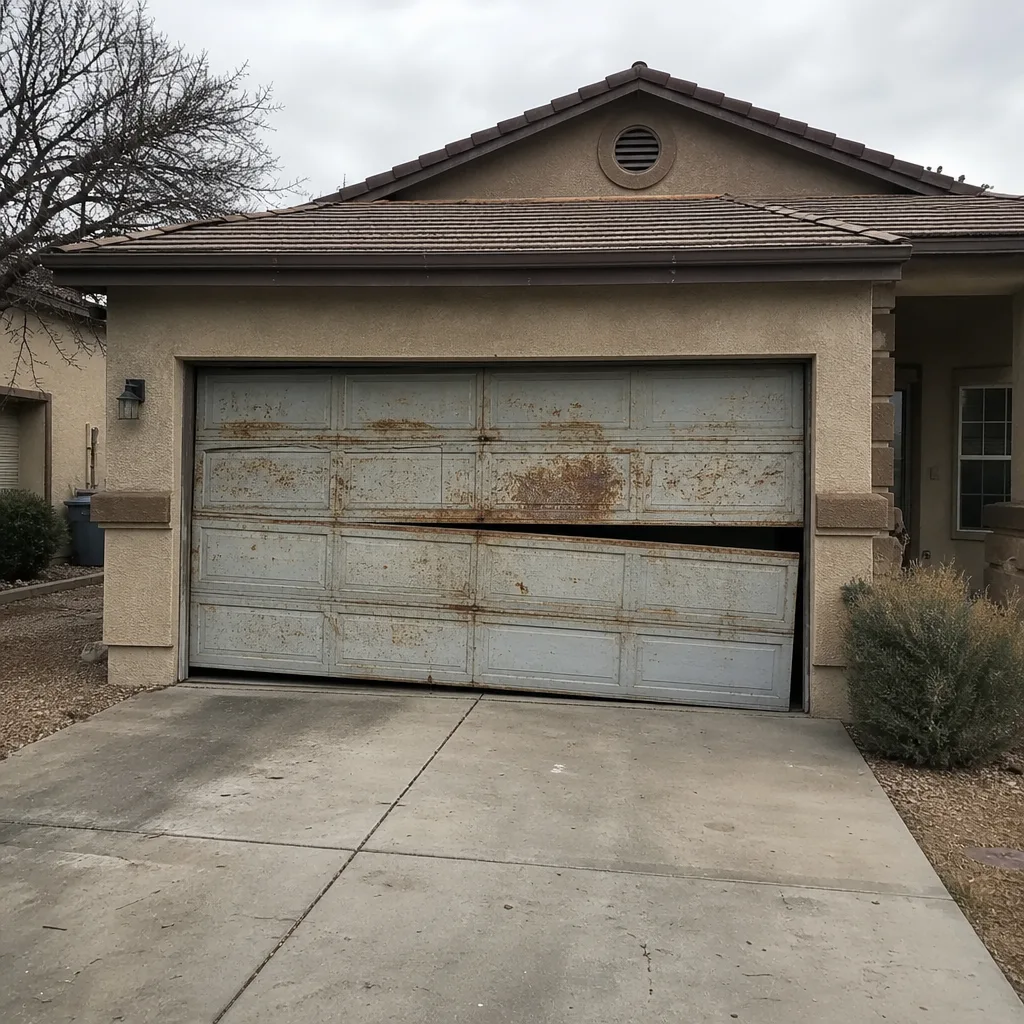 Before
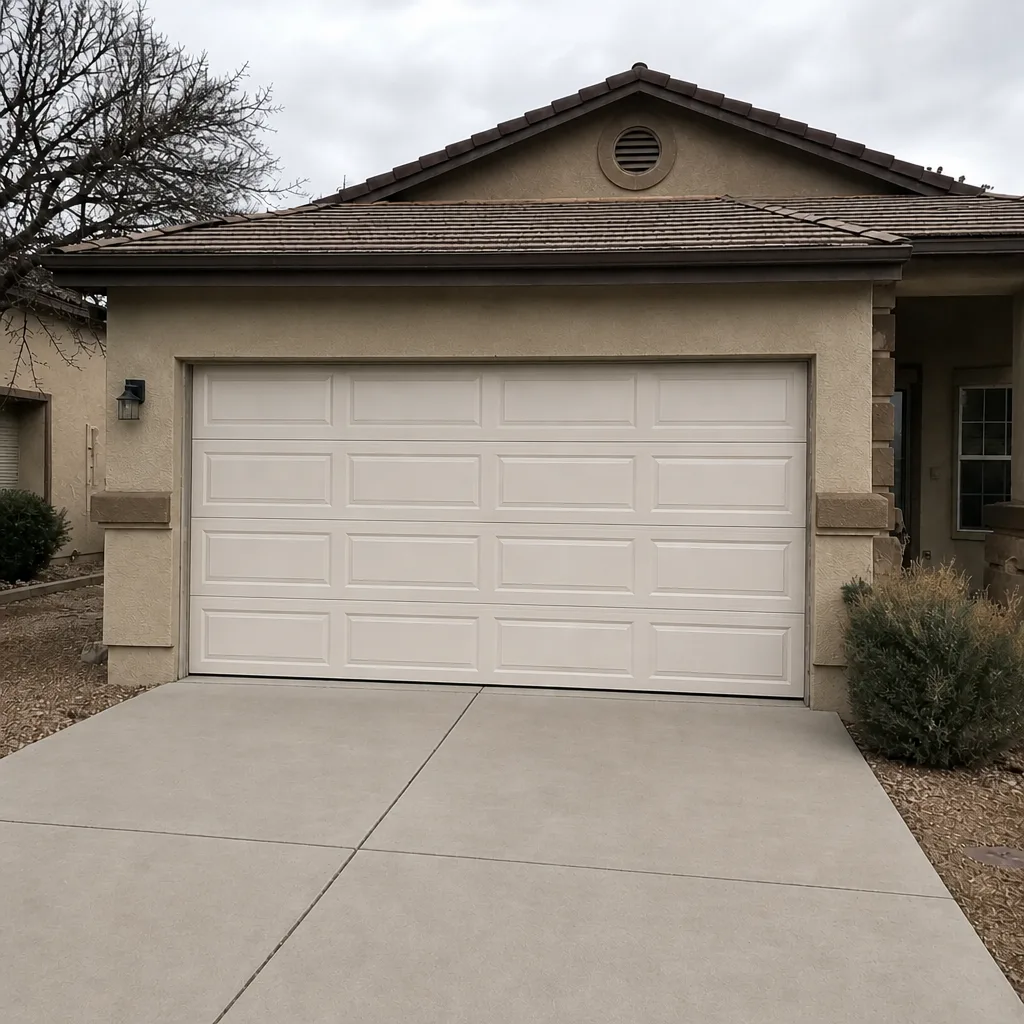 After
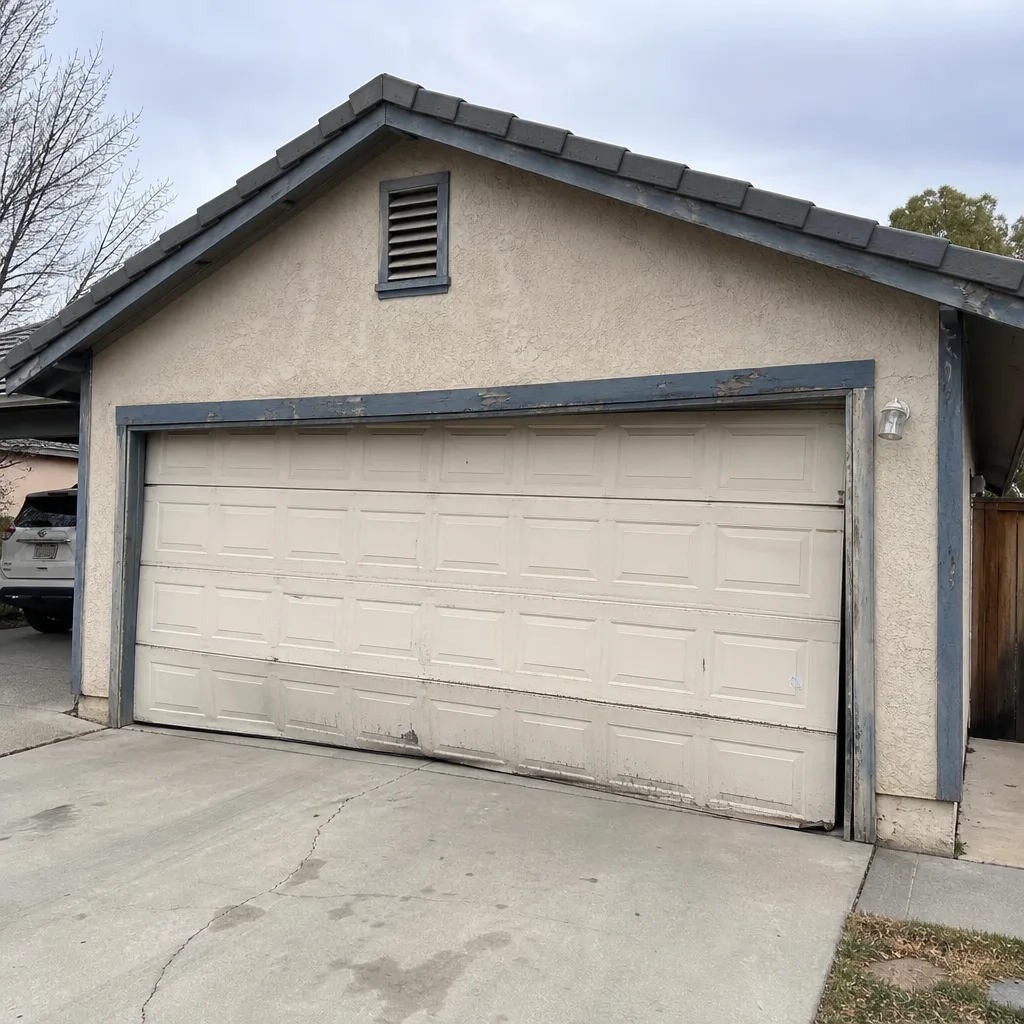 Before
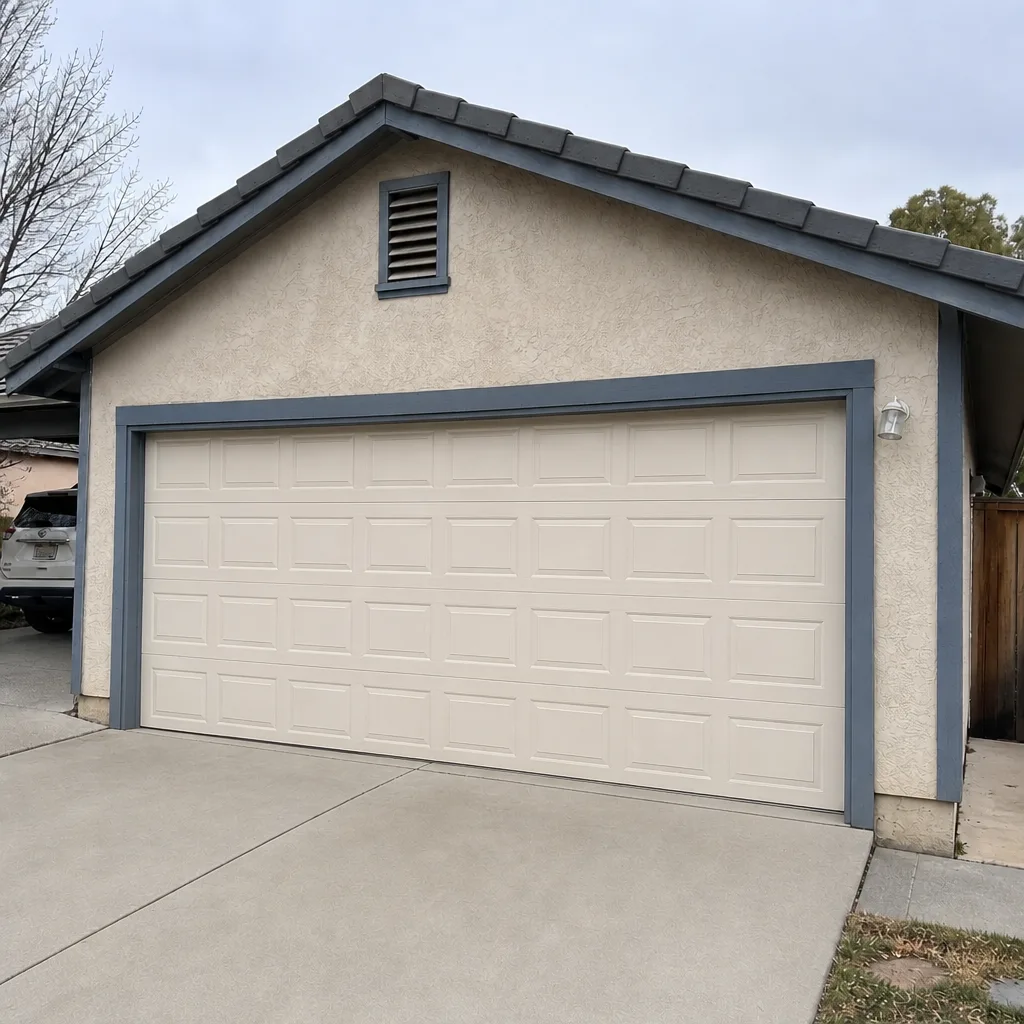 After