
Last updated November 17, 2026
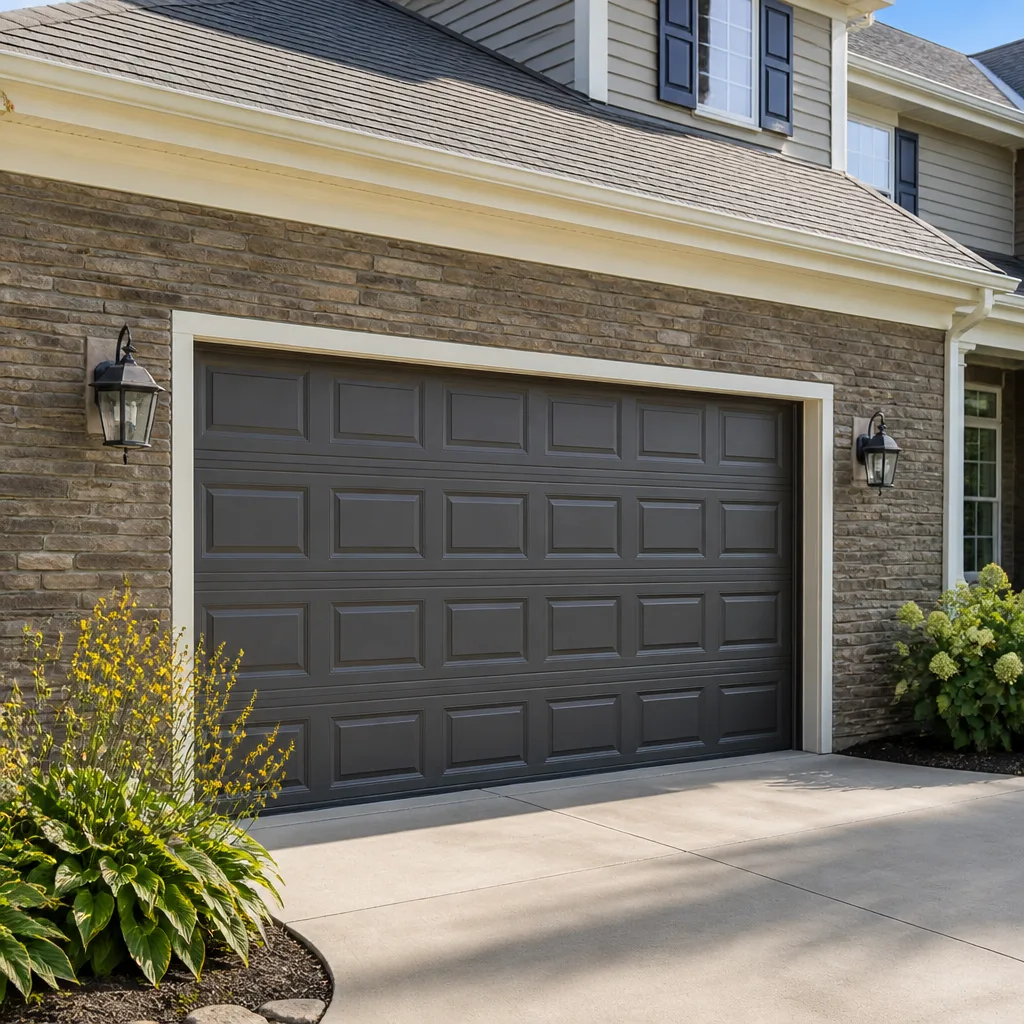 Raised-panel steel
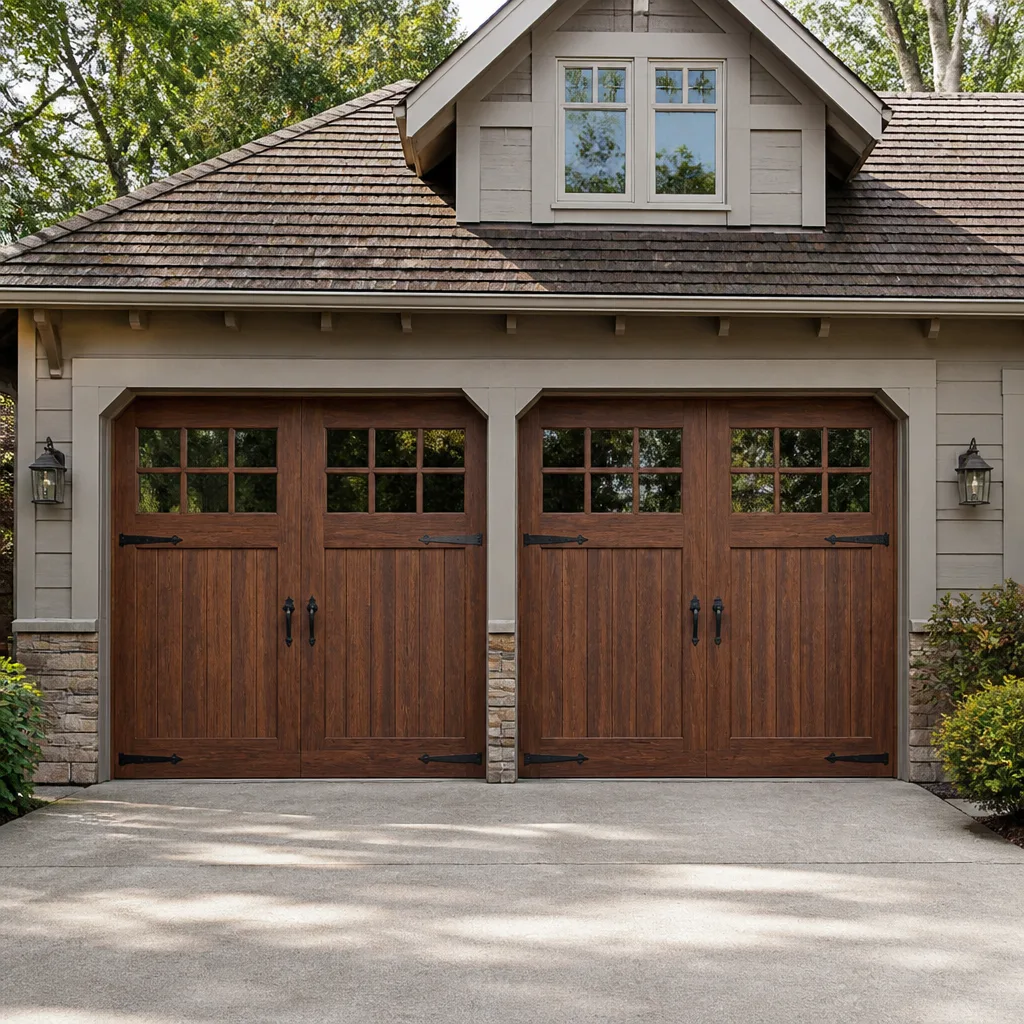 Carriage house
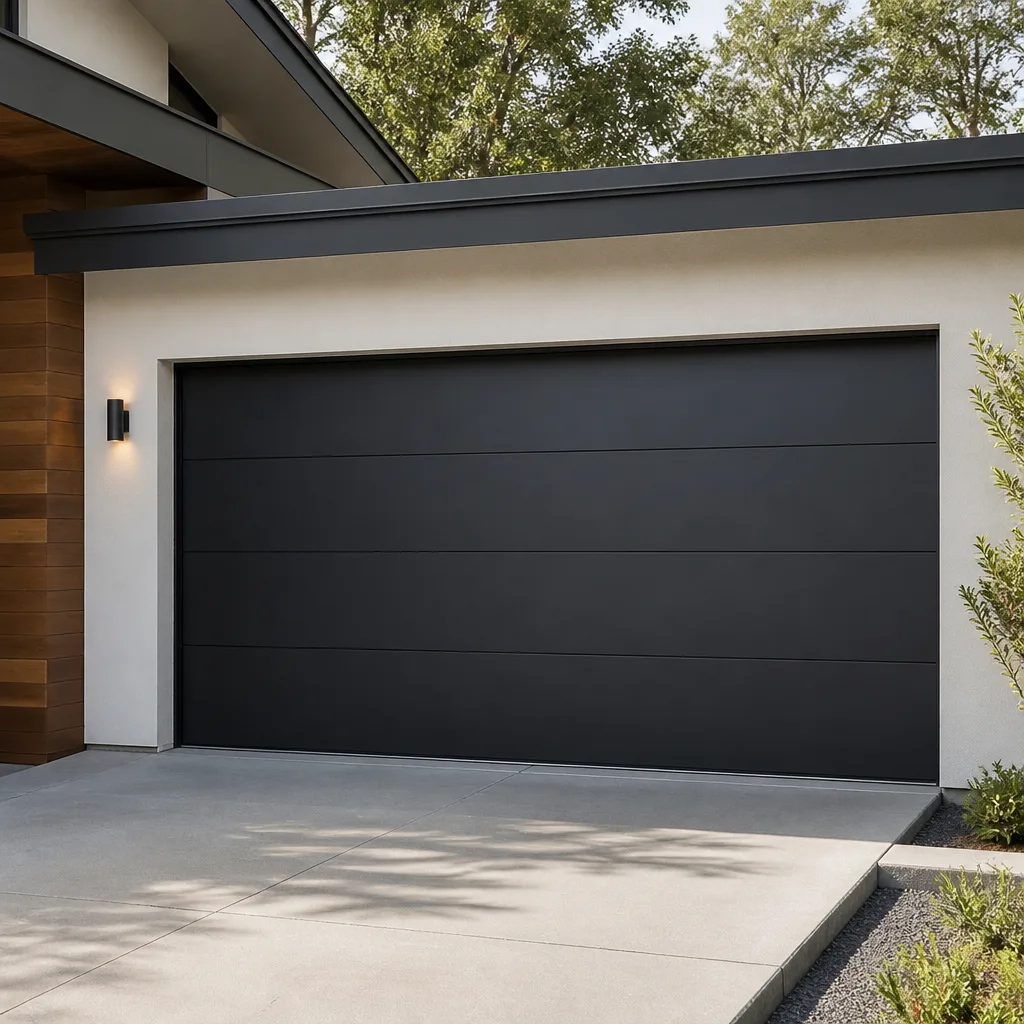 Modern flush
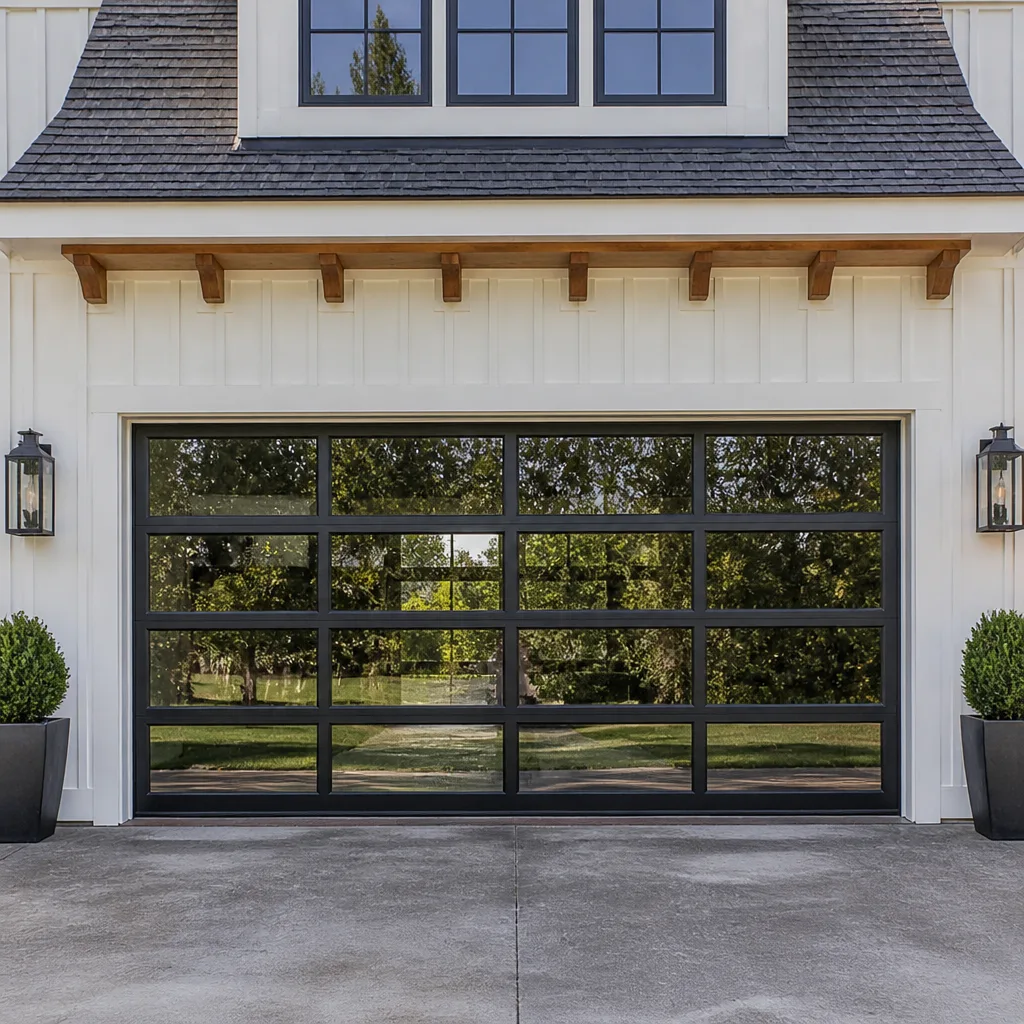 Full-view glass
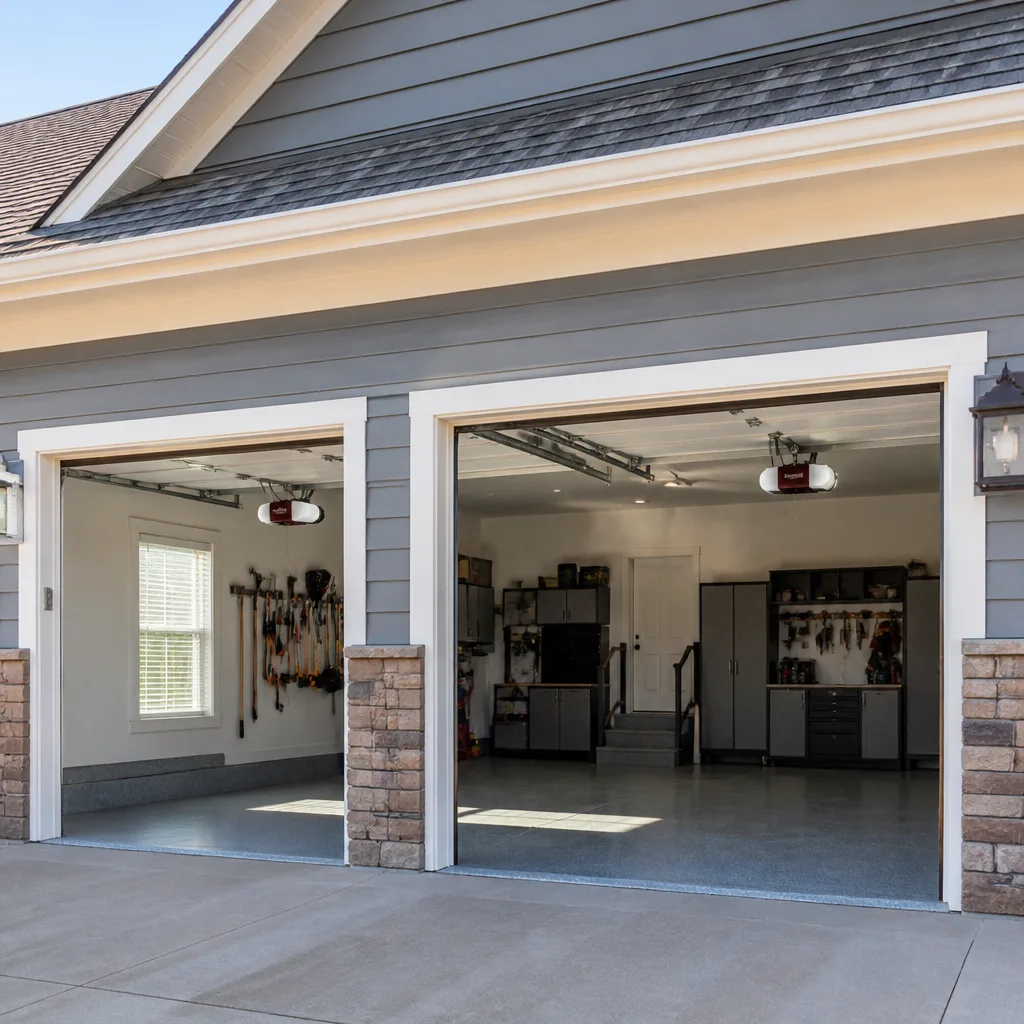 LiftMaster openers
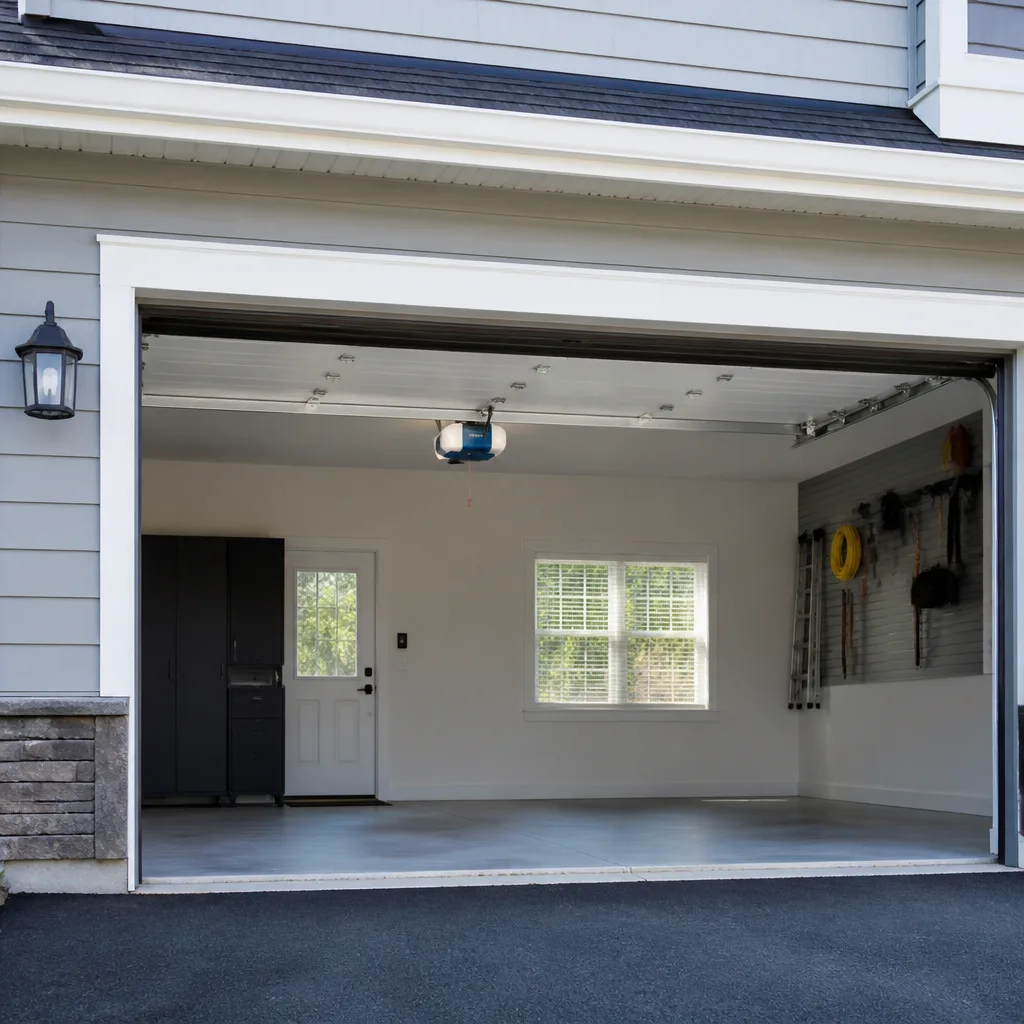 Chamberlain openers
Full 25-point door and opener safety check with every visit - springs, cables, rollers, tracks, and your LiftMaster or Chamberlain opener included
You get a price before we start. It does not change when the pro arrives.
Get your free estimateDIY vs Professional Garage Door Parts: What’s Safe to Do Yourself
A wound torsion spring holds roughly the same energy as a loaded firearm pointed at your face – except you can’t see it, and YouTube won’t warn you before it lets go. That single fact is the whole reason this guide exists. Over 29 years in this county, we’ve walked up to plenty of half-finished DIY jobs where a homeowner got lucky, and a few where they didn’t. Here’s the good news: a real chunk of garage door maintenance is genuinely safe for a handy homeowner to handle. The line between “go ahead” and “put the wrench down” isn’t about your skill level. It’s about stored energy. By the end of this, you’ll know exactly which parts sit on the safe side of that line, and which ones can hurt you in a heartbeat in an Enterprise garage.
Quick Answer
Weatherstripping, the photo-eye sensors, the tracks, the hinges and rollers on the non-spring side, and even swapping a dented bottom panel are all safe for a careful homeowner to handle. Anything under spring or cable tension – torsion springs, extension springs, lift cables, and the bottom brackets those cables run through – is never a DIY job. Those parts store enough energy to break bones, and no homeowner should be winding or releasing them.
Styles & brands we work with
- Raised-panel steel
- Carriage house
- Modern flush
- Full-view glass
- LiftMaster openers
- Chamberlain openers
Table of Contents
- The Stored-Energy Line: Why It’s the Only Rule That Matters
- Parts You Can Safely Replace Yourself
- Parts You Should Never Touch Yourself
- The Hand-Tool Trap: Why Hardware-Store Winding Bars Cause Injuries
- How to Swap a Garage Door Panel Section Without Touching the Spring
- What “Releasing Tension First” Actually Means
- When a Cheap Fix Becomes a Liability: Parts That Void Your Warranty
- What Enterprise Conditions Do to Your Door
The Stored-Energy Line: Why It’s the Only Rule That Matters
Think about what a spring actually is. It’s a coiled piece of steel that’s been wound tight and held in place by a couple of set screws. A standard torsion spring on a residential door is holding hundreds of pounds of lift force in reserve while the door is closed. When that spring lets go – and after thousands of cycles, they do – all that energy releases in a fraction of a second. A door is 200 pounds riding on two springs. Respect it.
Here’s why the energy line matters more than a skill line. Plenty of homeowners are genuinely capable with tools. They can rebuild a carburetor or frame a shed. But none of that prepares you for a component that will move before you can react. There’s no gradual give, no warning creak you can feel through a wrench. It either holds or it releases.
We count spring cycles the way you count tire miles. Every up-and-down cycle wears the steel a little. A door that opens and closes four times a day racks up about 1,460 cycles a year – and that’s a light household. Most springs are rated somewhere between 10,000 and 20,000 cycles. Do the math on a busy family and you’ll see why a spring has a shelf life, and why the tension in it is nothing to experiment with.
So the rule is simple: if a part is under spring or cable tension, it’s off-limits. If it isn’t, you may have a safe weekend project. Everything below hangs on that one distinction.
Parts You Can Safely Replace Yourself
These jobs sit entirely outside the tension system. The door stays on its springs, you never wind or unwind anything, and the worst outcome is usually a scraped knuckle or a door that looks a little off until you adjust it. If you’re the kind of homeowner in Enterprise who likes to handle the small stuff, this is your list.
- Weatherstripping and bottom seals. The rubber seal along the bottom of the door keeps out dust, wind, and the summer heat. It slides or pulls out of a channel and presses or screws back in. Fifteen-minute job.
- Side and top seals. The vinyl or brush strips around the frame. Same idea – pull the old, fit the new.
- Photo-eye safety sensors. The little lenses near the floor on each side. If one’s knocked out of alignment or the lens is scuffed, you can realign or replace it. Keep them aimed at each other and about six inches off the floor.
- Rollers on the non-spring side. The rollers on the sections away from the spring anchor are a straightforward swap. Pop the old roller out of the hinge and slide a new nylon one in. Leave the bottom bracket rollers alone – those sit in the tension zone.
- Hinges on the middle sections. Standard hinges between panels come off with a screwdriver. Match the gauge number stamped on the old hinge.
- Light bulbs and the opener’s battery backup. Simple, safe, and often the fix for a door that “won’t work” during a power blip.
- Exterior handles and decorative hardware. Cosmetic and safe.
What these all share is that they’re fastened to the door, not loaded by it. Nothing you’re touching is holding the door’s weight back. When a roller or hinge is worn, that’s normal wear and safe to address. When a roller is bent because the track is out of alignment, that’s a symptom of a bigger problem – and one worth having looked at.
Parts You Should Never Touch Yourself
This is the list that keeps people out of the emergency room. Every part here is under tension, and every one has injured a homeowner who watched a video and thought it looked easy.
- Torsion springs (the horizontal one above the door). The single most dangerous part on the whole door.
- Extension springs (the ones running along the side tracks on older doors). They store energy too – and older ones sometimes lack a safety containment cable, which is another reason to have them checked.
- Lift cables. These run through the springs and pulleys and are under serious tension. A cable that snaps can whip. Never cut or loosen one.
- Bottom brackets. The brackets at the base of the door are where the cables anchor. They’re loaded, and they’re the classic injury point when someone tries to loosen them to “just adjust” the cable.
- Center bearing plates and the spring anchor bracket. All tension, all the time.
The pattern is that every part on this list is holding energy back. There’s no partial-credit version of removing a spring – you either get the tension fully and safely off, with the door down and blocked, or you don’t touch it. In our experience, most DIY spring injuries trace back to one of two things: winding bars the wrong size, or a homeowner who loosened a bracket before the tension was released. If a spring is broken, don’t run the opener – it’ll strain the motor and can yank the door off balance. Call instead. Our line is answered by a live person around the clock for exactly this reason, including nine at night when a spring lets go and your vehicle is sealed inside.
The Hand-Tool Trap: Why Hardware-Store Winding Bars Cause Injuries
Here’s the trap nobody warns you about. You decide to change the spring yourself. You buy a set of “garage door winding bars” off the shelf at a hardware store. They seem fine. They’re the wrong size.
Spring winding requires a solid steel bar that fits the winding cone’s socket precisely – full depth, snug, no play. The generic bars sold to homeowners are often a touch undersized or made of softer steel. It feels like it fits. But under load, a bar that’s slightly loose will rock, slip out of the socket, or bend. The instant a bar slips free while you’re holding tension on a wound spring, the spring unwinds violently and the bar becomes a projectile. That’s the injury. Not the spring itself – the tool that let go.
Professional winding bars are hardened, sized to the cone, and used in matched pairs so one bar always holds tension while the other repositions. Even with the right tools, this is a two-hand, controlled operation done with the door down and everything blocked. There’s no safe shortcut, and there’s no hardware-store kit that makes it a homeowner job.
We carry the correct bars on every truck and we’ve never once handed them to a customer. That’s the point. Ask anyone on your street – we’ve been in this county since 2004, and the one thing we won’t do is teach a homeowner to wind a spring over the phone. It’s not gatekeeping. It’s that the tool mismatch is the single most common cause of these injuries, and we’d rather do it right for you than hear about it later.
How to Swap a Garage Door Panel Section Without Touching the Spring
Good news – you can replace a dented or damaged panel without going near the spring system on most doors. This is one of the genuinely safe section swaps. Do it with the door fully closed so there’s no lift tension on the panel you’re working with. Here’s the sequence we walk homeowners through when they want to handle it themselves.
- Match the panel first. Grab the model and stamp from the back of the door, and note the section height and color. Clopay and Amarr panels, for instance, come in specific profiles, and a wrong-size panel won’t sit flush. Call the manufacturer or a supply house with that stamp before you buy anything.
- Pull the opener’s emergency release so the door is in manual mode, then close it fully and unplug the opener.
- Support the panel. Have a helper hold the section you’re removing – it’s lighter than a whole door but still awkward.
- Remove the hinges on that panel only, plus any rollers seated in those hinges on the non-spring side. Keep the screws in a cup.
- Lift the old panel out from the track and set it aside.
- Slide the new panel in in the same position, then refit the hinges, rollers, and hardware in reverse order.
- Check the gaps and alignment, reconnect the opener, and test a full cycle by hand first, then with power. If it binds, stop – don’t force it.
What you’re deliberately not doing is loosening the spring, the cables, or the bottom bracket. If the damage reaches the bottom section and its bracket, or if the tracks got bent when the door was hit, that’s past the safe line. The same goes for a door that came off its track – get the professionals involved for the reset in Enterprise rather than wrestling a 200-pound door back onto its rollers.
What “Releasing Tension First” Actually Means
You’ll see this phrase in almost every DIY garage door video, and almost every one of them skips right past it. “Release the tension” sounds like a small step. It’s the whole operation, and if you can’t do it safely, you can’t do the job. Here’s what it actually involves.
To work on any part under tension – the springs, the cables, the bottom brackets – the door must first be fully closed, so the springs are at rest. Then the springs need to be de-wound with proper winding bars, held and stepped down in controlled increments, one quarter-turn at a time, with a second bar always keeping tension while the first repositions. Once the tension is fully off, the door needs to be blocked or clamped so it can’t move. Only then is any bracket safe to loosen.
That’s the part the video skips: it’s slow, it’s precise, and it’s done by feel. Every step requires the door to stay put and the springs to stay unwound between movements. There is no fast version. A homeowner who “releases tension” by loosening the bracket first is one slip away from the injury list, which is why a real repair always starts with getting the door down and the tension properly off – not with the wrench on the bolt.
This is the reason genuine repair isn’t a quick swap. It’s a controlled release first, then the work, then a controlled re-tension and a balance check. If you’d rather have that done by someone who does it every day, our Garage Door Repair in Enterprise service covers exactly this.
When a Cheap Fix Becomes a Liability: Parts That Void Your Warranty
Here’s the money angle that rarely gets mentioned. Some parts, installed by the wrong hands or with the wrong part numbers, void the manufacturer’s warranty on the rest of the door. A $30 DIY spring can end up costing you a warranty claim on a $1,500 door.
- Springs and cables. A mismatched spring – wrong wire gauge, wrong inside diameter, wrong cycle rating – strains the opener, unbalances the door, and can void coverage. The spring has to match the door’s weight and height, not just fit the anchor.
- Opener components. A Genie or Chamberlain opener installed or repaired off-spec can lose its warranty. Belt tension and rail alignment are part of the spec.
- Torque-force settings and travel limits. Twisting these to compensate for a sagging door masks the real problem and stresses the motor. The opener isn’t the problem – a straining opener almost always means the door itself is hard to move.
- Bottom seals and panels installed with manufacturer parts are generally safe to handle yourself – but using the wrong profile or a non-matching panel can create gaps and let the whole assembly flex.
If you’re weighing a replacement rather than a repair, our Garage Door Installation in Enterprise page covers how panel matching and warranty coverage work on a new door. Either way, keep every invoice. A written record from a licensed technician is what protects you if a manufacturer asks who did the work. That’s part of why the 90-Day Done Right Promise is written on every invoice we leave – if it’s not done right, we make it right.
What Enterprise Conditions Do to Your Door
Our climate works on garage doors in ways a coastal homeowner never sees. Summer here pushes door hardware through serious heat swings. The metal expands and contracts daily, and that cycles the springs and loosens the track’s lag bolts a little every season. Doors on the sunny side of the house run hotter still.
Dust is the other quiet enemy. It works into the hinges, rollers, and tracks, and grit in a roller turns a smooth glide into a grind. That’s one reason we tell folks to wipe their tracks and put a couple drops of lubricant on the rollers and hinges a few times a year – it’s a safe, five-minute piece of maintenance that stretches roller life. It’s also why a roller or hinge swap is such a reasonable DIY job here, and why the springs are the part that fails first.
The same goes for a settled or cracked slab. A garage floor that’s shifted can throw the door out of square, and you’ll see the door bind or the sensors trip. In that case it’s not the parts – it’s the alignment, and it’s worth having a pro look at it before you buy a replacement part that isn’t the real problem. Our Garage Door Opener Repair & Installation in Enterprise service handles the sensor and alignment side of that. And for anything beyond a part swap, the team at Otto’s Garage Door Enterprise is a phone call away.
Common Mistakes to Avoid
- Buying generic winding bars. The wrong size is the top cause of DIY spring injuries – they look like the tool for the job and aren’t.
- Loosening a bottom bracket to “adjust the cable.” That bracket is under full tension. Stop before your hand is anywhere near it.
- Running a door with a broken spring. The opener strains against an unbalanced 200-pound door, and the motor and the door both pay for it.
- Mismatched spring sizes. A spring has to match the door’s weight and height, not just its color code. Wrong gauge means early failure or a door that won’t sit level.
- Forcing a panel that doesn’t fit. If a replacement panel binds in the track in Enterprise, it’s the wrong profile or the track’s out of alignment – forcing it damages both.
- Skipping the roller and track wipe-down. Dust and grit here turn a $40 roller job into an opener problem over a season or two.
- Tossing the invoice. Without a written record, you’ve got nothing to show a manufacturer if a warranty question comes up.
See the difference
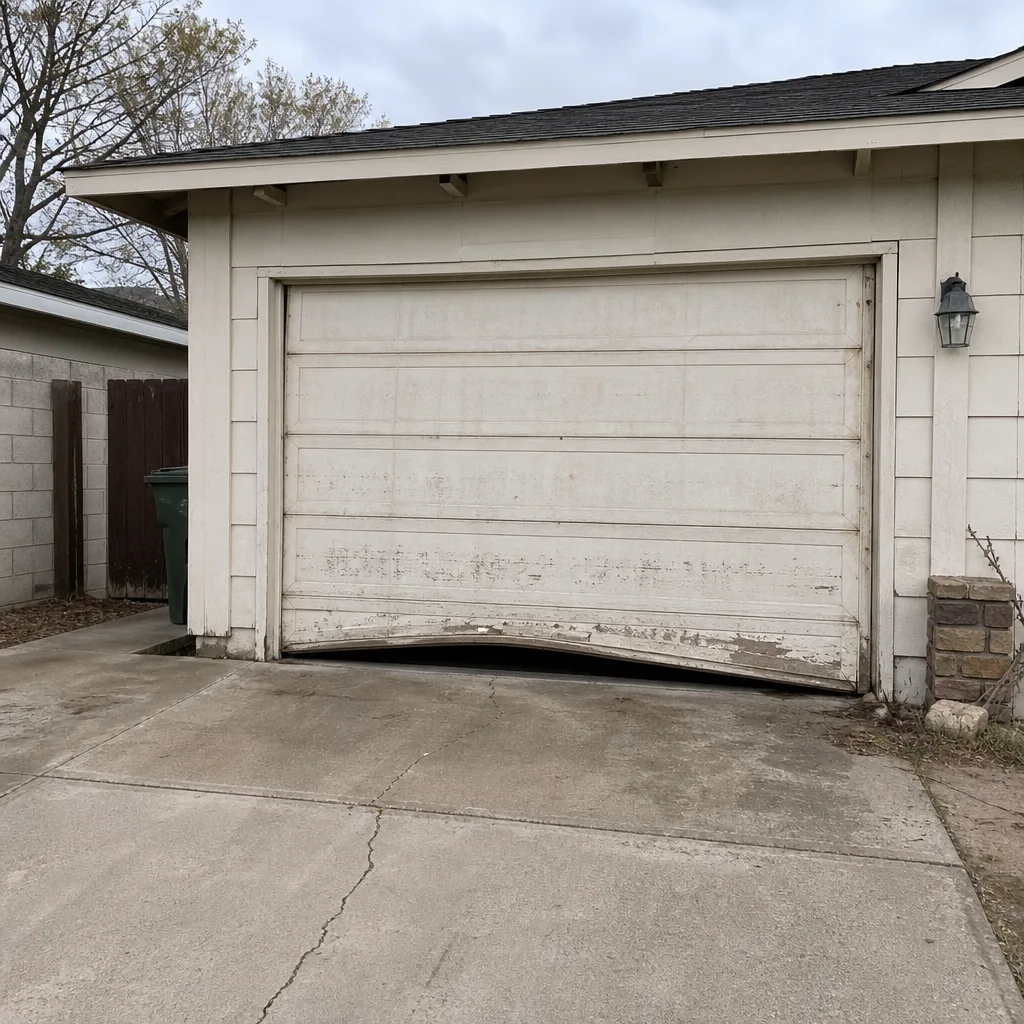 Before
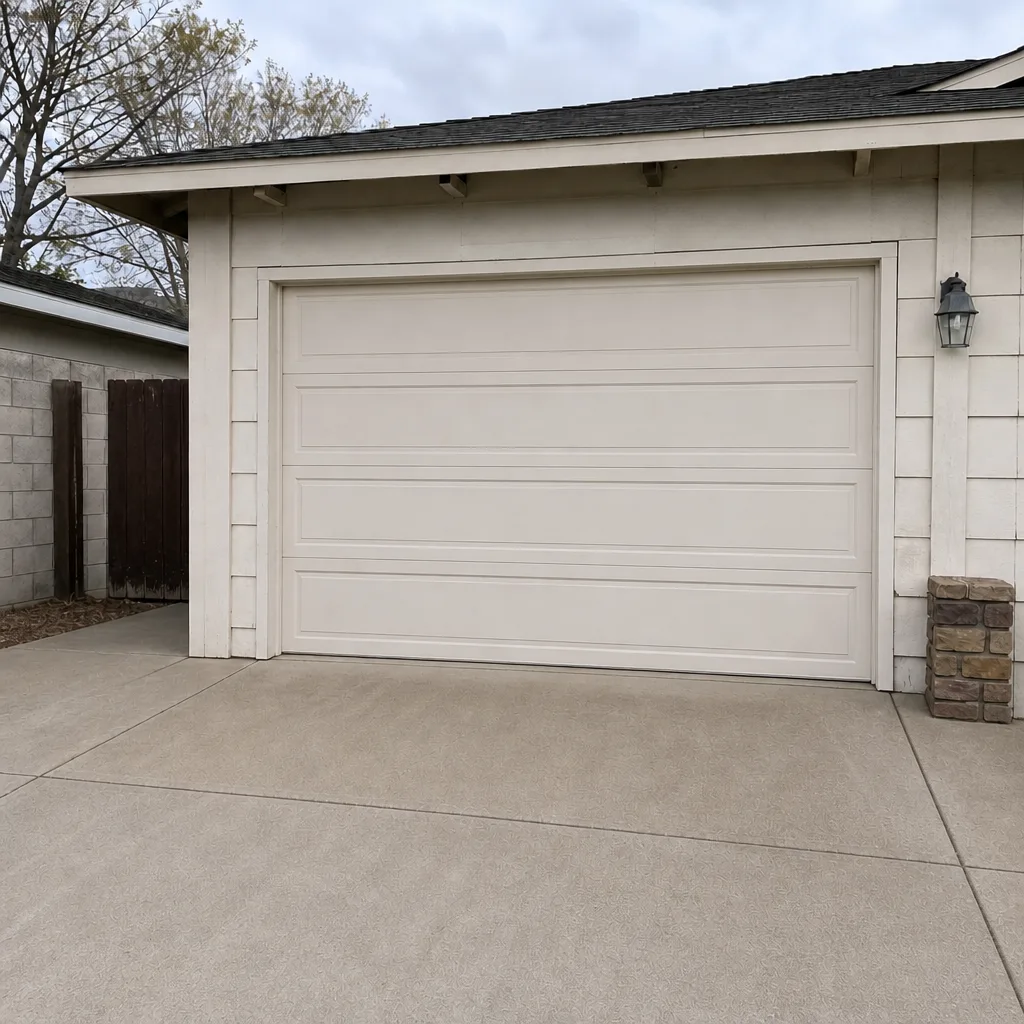 After
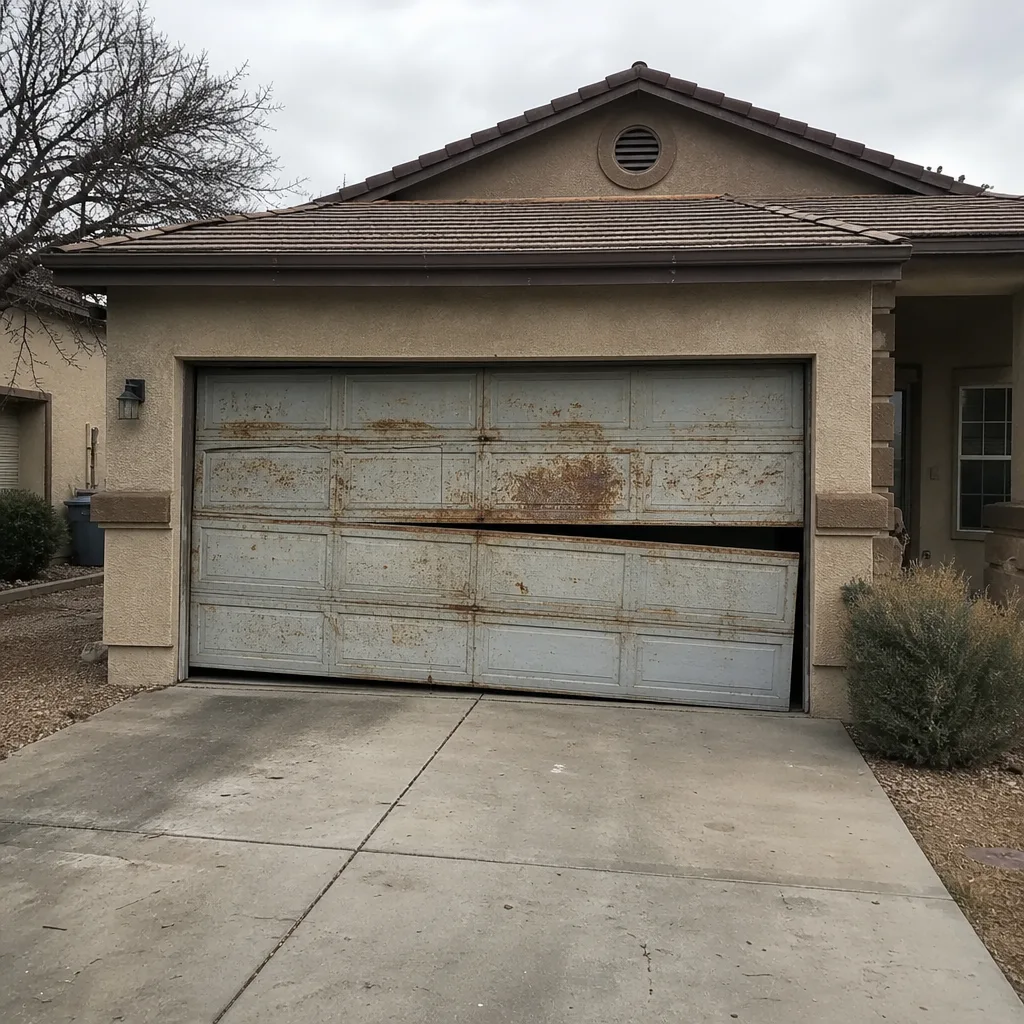 Before
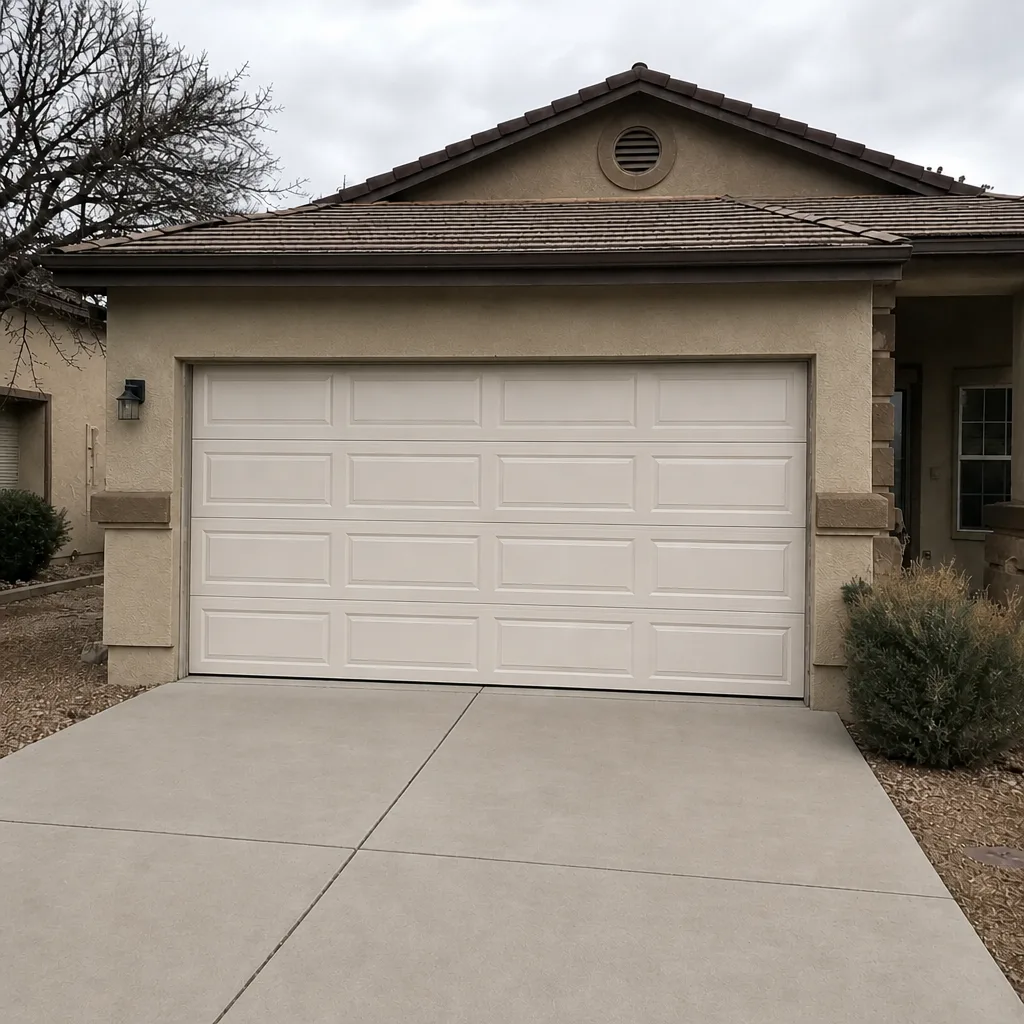 After
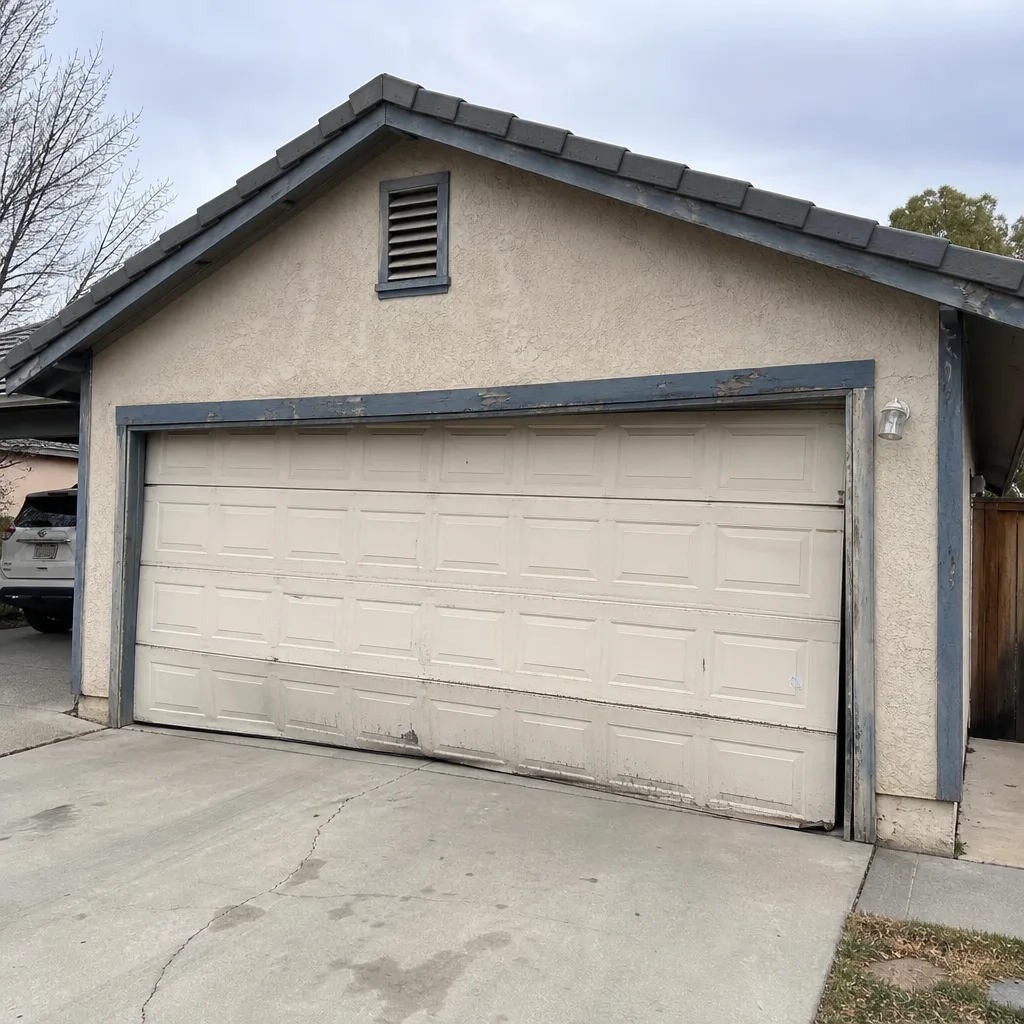 Before
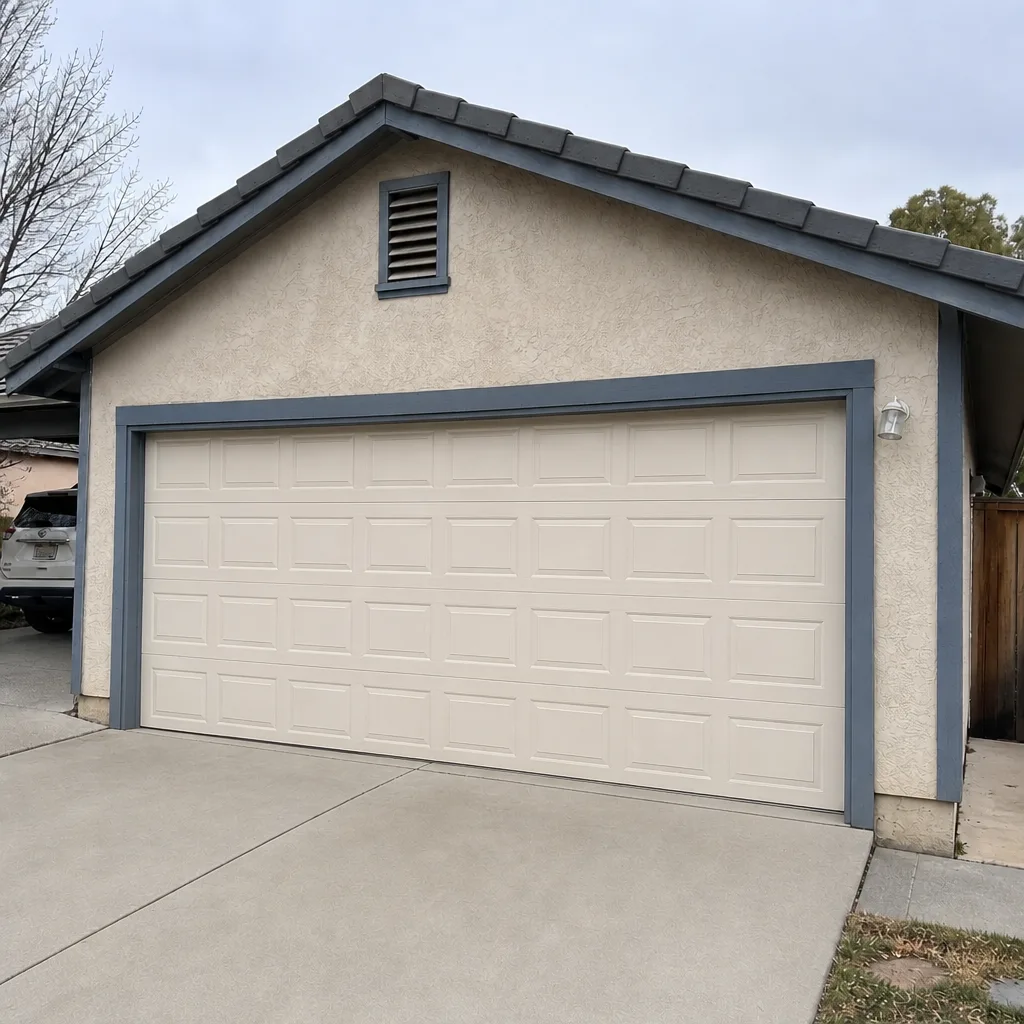 After
When to Call a Professional
Call a pro the moment you’re working on anything that holds tension: springs, cables, bottom brackets, and the center bearing plate. Also call if the door has come off its track, if a panel swap reveals bent tracks or a cracked floor, if the opener keeps reversing or the sensors won’t stay aligned, or if your door feels heavier than it used to. That last one is your sign the spring is losing its cycle life. In our experience it’s better to have it checked before it fails than after. If you ever feel unsure about which side of the line you’re on, that’s your answer – pick up the phone. Otto’s Garage Door Enterprise offers free estimates in Enterprise – call (833) 620-7107.
Frequently Asked Questions
Yes, on the non-spring side. You can pull worn rollers out of the hinges on the upper and middle sections and slide in new ones. Leave the bottom bracket rollers alone, though – those sit under cable tension and are a professional’s job.
Because they’re usually a touch undersized or made of softer steel, so they don’t seat tightly in the winding cone. Under load a loose bar can slip or bend, and a wound spring then unwinds in an instant. The bar becomes the projectile. Professional bars are hardened and sized to the cone, used in matched pairs.
Usually yes, if it’s a mid-section panel and you don’t touch the spring system. Match the panel stamp and model first – a Clopay or Amarr panel needs to be the correct profile – then pull hinges on that section and swap it with the door fully closed. If the damage reaches the bottom section or the tracks are bent, have a pro handle it.
It can, yes. A mismatched spring or an off-spec installation can void manufacturer coverage on the door or opener. Springs have to match the door’s weight and height, not just its color code. A licensed technician’s written invoice is what protects you if a warranty question comes up.
The clearest sign is a door that suddenly feels heavier to lift by hand. A visible gap in a torsion spring means it’s already broken. We count spring cycles the way you count tire miles – most are rated 10,000 to 20,000 cycles, and a busy household can burn through that in under a decade.
Unplug the opener and pull the emergency release so the door is in manual mode. Then close it fully. Anything under tension stays untouched until the tension is professionally released with the door down and blocked. If you’re not sure, stop and call.
The Bottom Line
The line is stored energy, not skill. Weatherstripping, sensors, tracks, non-spring-side rollers and hinges, and even a mid-section panel are fair game for a careful homeowner – and worth doing yourself to save a buck. Springs, cables, and bottom brackets are never DIY, and the wrong-sized winding bars are the trap that hurts people. Do the safe swaps, keep your invoice, and call when you hit tension. Proudly serving local communities for over 29 years, Otto’s Garage Door Enterprise is locally owned and owner-operated, with a published address and license number you can verify before the truck arrives.
When a job crosses the line, call (833) 620-7107 for a free estimate. A live person answers around the clock, and the price we quote on the call is the price at your door – no revising it upward when we get there. Free second opinion on any written estimate, no trip charge inside the county, and 10% off for seniors and veterans, always.
Written by the team at Otto’s Garage Door Enterprise.