
Last updated November 17, 2026
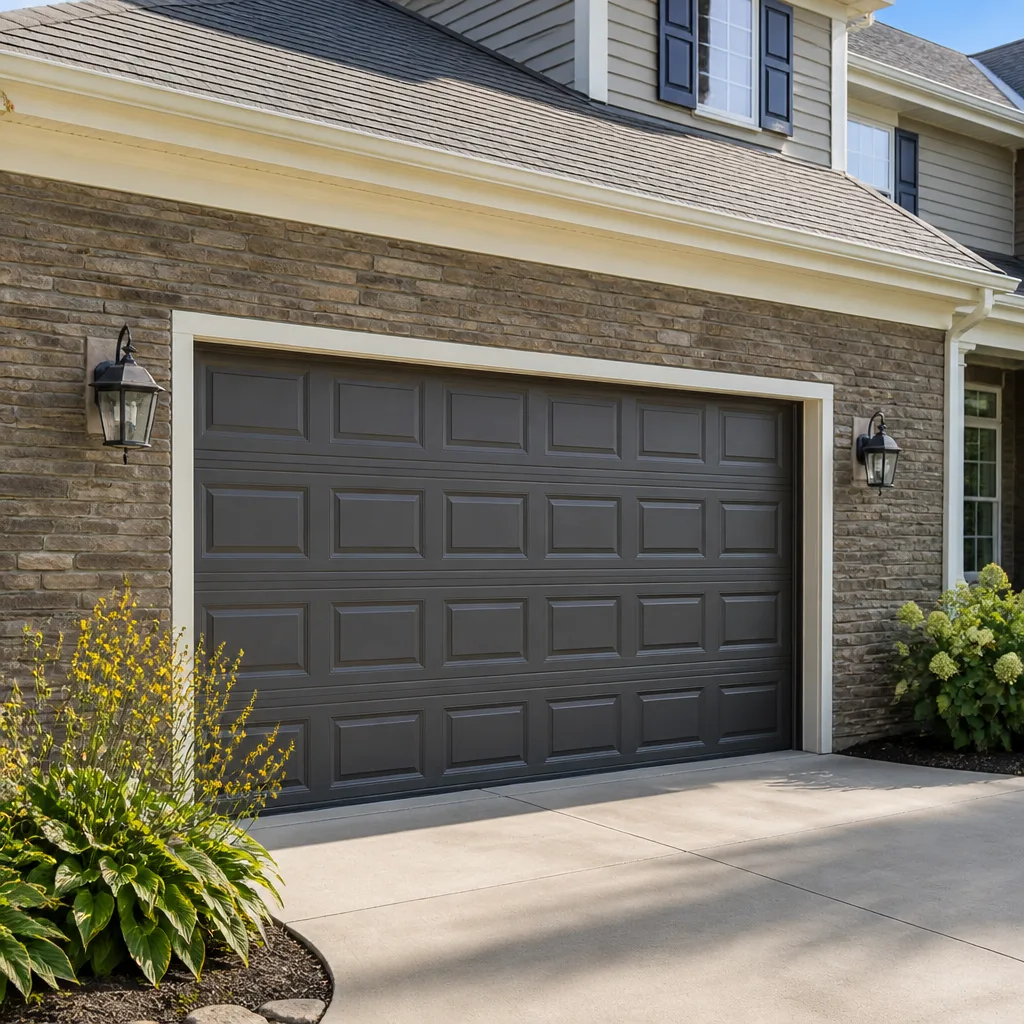 Raised-panel steel
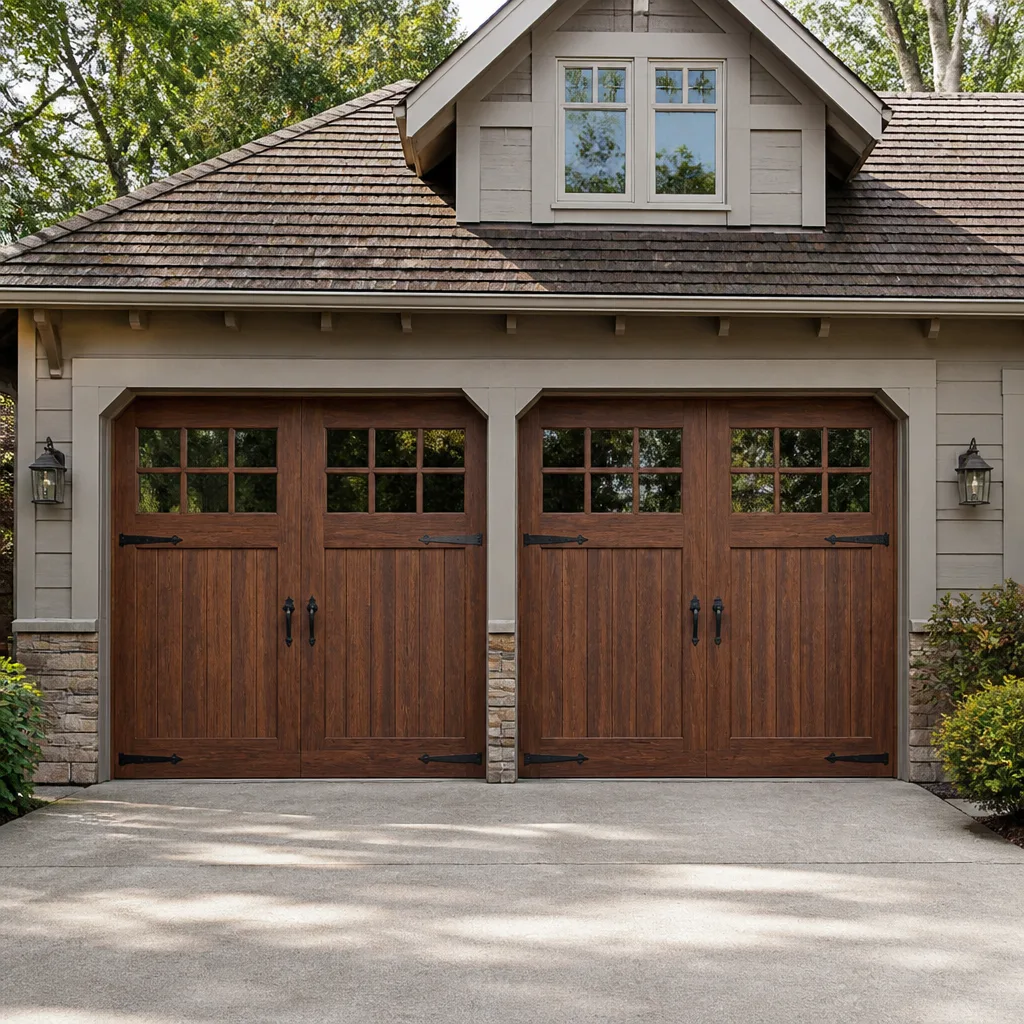 Carriage house
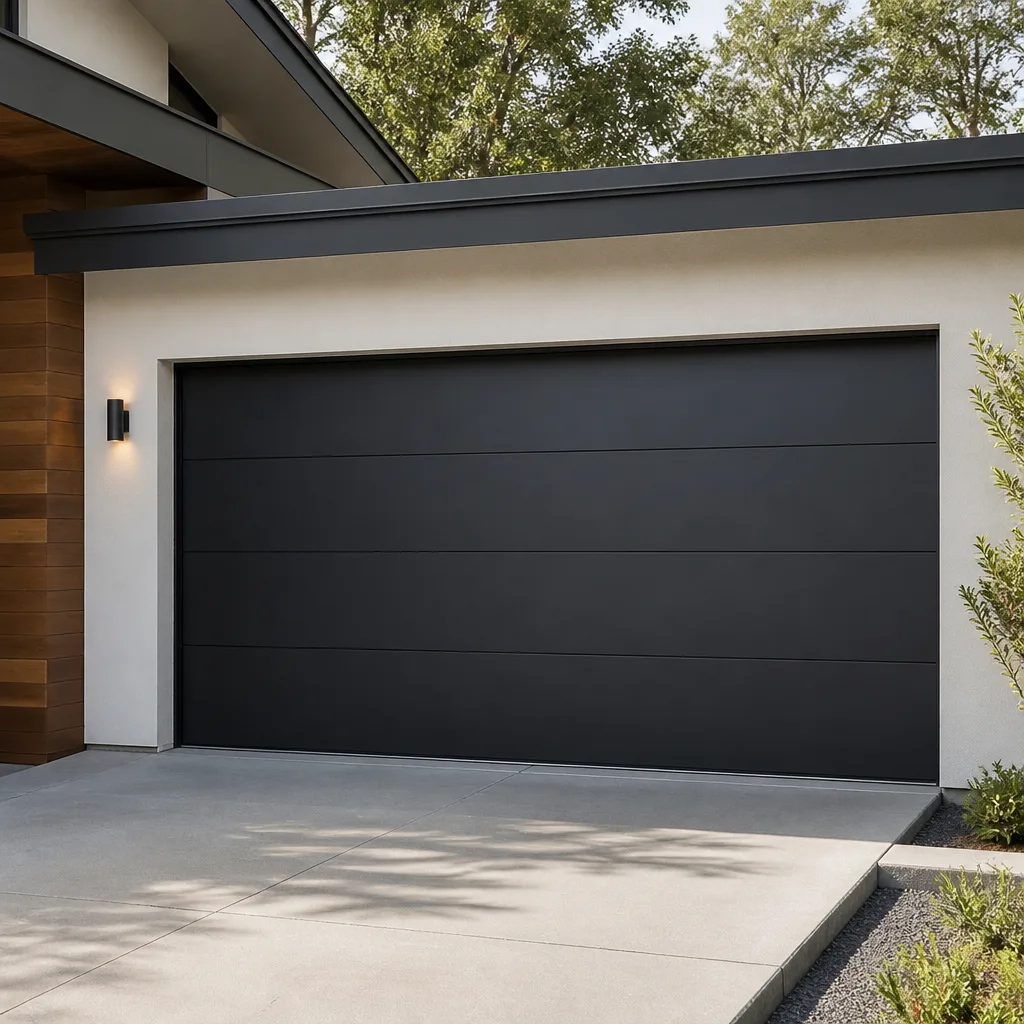 Modern flush
 Full-view glass
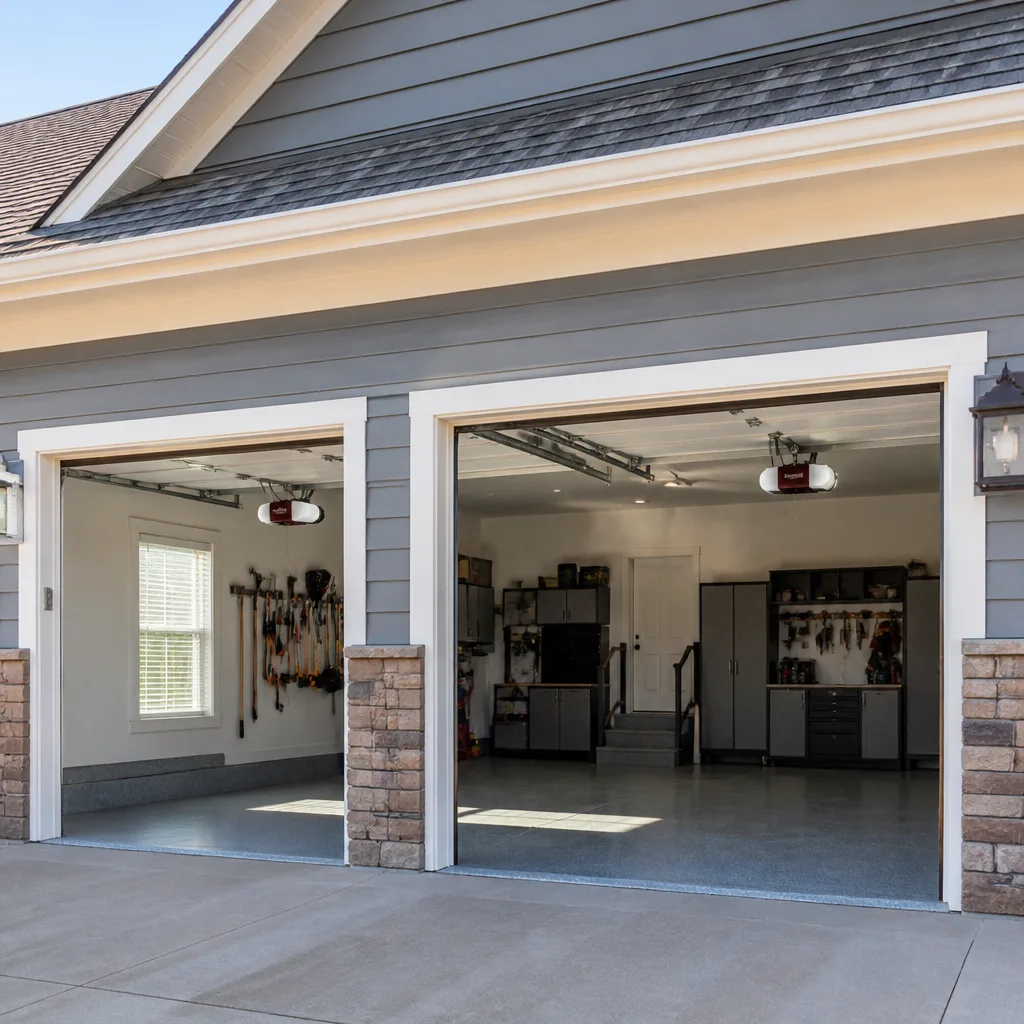 LiftMaster openers
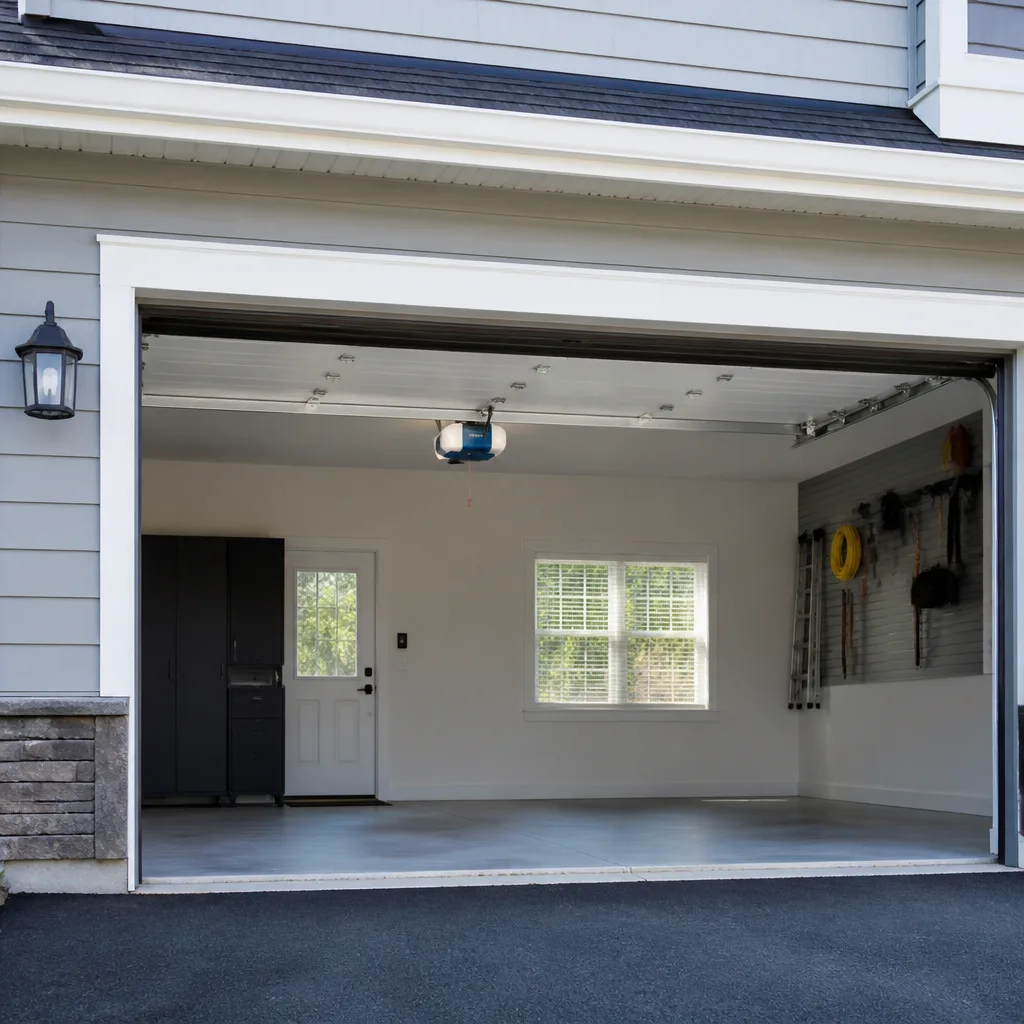 Chamberlain openers
Full 25-point door and opener safety check with every visit - springs, cables, rollers, tracks, and your LiftMaster or Chamberlain opener included
You get a price before we start. It does not change when the pro arrives.
Get your free estimateGarage Door Repair Maintenance Checklist for Enterprise Homeowners
Otto keeps a log. The most common repair call he gets in Enterprise isn’t a snapped spring on a cold morning. It’s a door that made a noise for six months and then quit. The fix that would have cost a can of lubricant and twenty minutes in March cost a homeowner a roller stack, a bearing plate, and a bent track by October. Garage doors rarely fail without warning. They tell you first, in squeaks, in stutters, in a door that pauses halfway up like it forgot where it was going. This checklist is built backward from the repair calls we actually run in Enterprise, so every item on it matches a real failure we’ve seen on a real driveway.
Quick Answer
A working maintenance routine for an Enterprise garage door takes about fifteen minutes a month: a visual sweep of springs, cables, rollers, and hinges, plus a proper garage door lubricant on the moving metal. The items that need a trained eye – torsion springs, cables, and the balance test – should be inspected by a professional. Catching noise and hesitation early is what keeps a small fix small in the desert heat.
Styles & brands we work with
- Raised-panel steel
- Carriage house
- Modern flush
- Full-view glass
- LiftMaster openers
- Chamberlain openers
Table of Contents
- Why the Noise Matters More Than the Break
- Early Warnings vs. Failure Warnings
- The WD-40 Mistake That Cooks Rollers
- A Month-by-Month Schedule for Enterprise
- The Five-Minute Visual Inspection You Can Copy
- What You Can Do Yourself and What You Can’t
- Why the Opener Is Almost Never the Problem
- Safety Cables, Sensors, and the Reverse Test
Why the Noise Matters More Than the Break
Here’s the counterintuitive part: a garage door that fails makes a clean, sudden noise that everybody hears. A garage door that’s on its way to failing makes a small, annoying noise that everybody ignores. We’ve run enough calls in Enterprise to know the pattern. The grinding that started as a light squeak in April is a seized roller by August. The door that hesitated for a beat two months ago is a stripped gear on the opener now. The spring cycling through a hundred open and close cycles a day, quietly losing tension, is the one that snaps without any warning at all if nobody checks it.
Maintenance is not a chore for people who like chores. It’s how a homeowner avoids standing in their driveway at nine at night with the vehicle sealed inside, calling whoever will answer. The good news is that Enterprise doors live in a predictable climate. That means the wear pattern is predictable too. Hot, dry summers stress the rubber and the lubricant. Wind events push grit into the tracks. Cooler winter mornings bring contraction and the first real creaking of a tired motor. When you know the seasons, you know what to check and when.
This guide gives you the checklist our team actually uses, sorted for Enterprise weather. You’ll learn which squeaks are noise and which are warnings, the one product that does more harm than good on desert heat doors, a month-by-month calendar, and the DIY line you should never cross.
Early Warnings vs. Failure Warnings
Not every noise is equal. Some sounds mean “lubricate me.” Others mean “don’t run me again.” In our experience, homeowners lump them together and either ignore all of it or panic at all of it. Here’s how to sort them.
Early warnings (fix this week, not next month)
- A light squeak or chirp from the hinges as the door rises – dry metal, easy fix.
- A rhythmic creak from the rollers – often a roller that needs lubricant or has started to flat-spot.
- A single hesitant pause mid-travel on the opener – binding, or the opener working harder than it should.
- A slight rumble in the track on one side – a loose bracket or a track edge out of alignment.
- The door feeling heavier when you lift it by hand – the beginning of a spring losing tension.
Failure warnings (stop, call us)
- A loud bang from the ceiling followed by a door that won’t lift – that’s a torsion spring letting go. Do not touch it.
- A door hanging crooked, with one side low – a snapped or slack cable, or a broken spring. Do not run the opener.
- A grinding screech with visible metal shavings under the door – a bearing plate failing or a roller seizing into the track.
- An opener that runs but the door doesn’t move – stripped gear or a broken torsion bar connection. The door needs to be checked before the opener is touched.
- A door that falls freely when the opener is released – the balance is gone and the door is not safe to lift by hand.
If you hear anything on the second list, leave the door down and call. The rest of the list you can usually handle at home with a rag and the right lubricant.
The WD-40 Mistake That Cooks Rollers
This is the one we see most often in Enterprise, and it costs homeowners money. A can of standard WD-40 is not a garage door lubricant. It’s a penetrating solvent with a thin oil carrier. On a desert door, the solvent lifts the factory coating off the rollers and hinges and carries a little grit into them. For a week, everything sounds better. Then the heat does what heat does. The carrier evaporates, the grit stays, and the rollers start to seize from the inside. The very problem the homeowner was trying to prevent gets worse.
The right product is a purpose-made garage door lubricant – usually a white lithium grease or a silicone-based spray labelled for garage door use. A few details matter:
- Rollers: a small spray on the bearing, not the tire, not the track. Spray the pin, not the wheel face.
- Hinges: a drop at each pivot point, top and bottom, on every hinge between sections.
- Track: leave it alone. Tracks are meant to stay dry and clean. A greased track collects dust and desert grit, then grinds it into the rollers.
- Springs: a light wipe-down on an extension spring is fine. Never spray the coils on a torsion spring system in a way that invites you to work around the springs. Look from a step back, not from underneath.
- Opener rail and trolley: follow the opener manufacturer’s guidance. Many newer openers (including several LiftMaster and Chamberlain models we install and repair) call for a specific lubricant on the rail or none at all. Using the wrong product there can strip a plastic gear.
Older doors with Amarr or Wayne Dalton hardware often have open roller assemblies that take lubrication well. If you’re not sure which lubricant your door takes, the label on the packaging matters more than the can that’s easiest to grab.
A Month-by-Month Schedule for Enterprise
Enterprise weather is steady enough to schedule around. Here’s the calendar we walk our own customers through. Each line is a real check, tuned to what that month throws at a door.
- January and February: cool-morning check. Test the opener’s limit and force settings, since cold rubber stiffens and the opener works harder. Listen for hesitation on the first open of the day.
- March: spring check. Do a balance test (instructions below) and have a trained tech confirm the remaining cycle life if the door is over five years old. This is the month the cheap fix is cheapest.
- April: lubrication pass. A full clean and lubricate on hinges, rollers, and the opener rail before the heat sets in. Replace any weatherstripping that cracked over winter.
- May: pre-summer hardware check. Look at every hinge bolt, bracket, and lag screw. Retighten what you can, and note anything that looks wrong so we can check it on the next visit.
- June through August: dust and heat. Wipe the tracks dry. Don’t add lubricant to them. Look for sun-cracked bottom seals – they’re the first rubber to fail in Enterprise summers.
- September: post-summer inspection. Rollers, bearings, and the torsion spring. If your door gets direct afternoon sun, the paint and the bottom section take a beating.
- October: wind-event check. After any strong wind day, walk the door closed and look for a bent track section, a popped roller, or a bracket that loosened. Wind is hard on a door at the panels, not the springs.
- November and December: winter prep. Clean the safety sensors’ lenses. Test the auto-reverse. Clear any leaves or grit from the bottom seal and confirm the door sits flush with the floor.
If a wind event rolls through Enterprise off-schedule, walk the door after. It’s a five-minute job that saves a track replacement later.
The Five-Minute Visual Inspection You Can Copy
This is the visual sweep our team does on every job before touching anything. You can copy it at home, from a safe distance and with the door closed. The point is not to fix anything – it’s to catch what changed since the last time you looked.
- Stand back and look at the door closed. Does it sit flush? Is it level? A door sitting crooked is a cable or spring issue, not a cosmetic one.
- Look at the springs. An extension spring stretched longer than it used to be, or a torsion spring with a visible gap in the coil, is a signal. Do not touch it. Note it and call.
- Look at the cables. The two cables on the sides should be taut, straight, and running cleanly in their drums and pulleys. Frayed cable, a small birdcage kink, or slack on one side means stop.
- Look at the rollers. With the door closed, most rollers are visible at the hinge plates. Check for chips, cracks, or flat spots. A roller you can wobble by hand is a roller that’s ready to come out of the track.
- Look at the hinges and bolts. Any hinge that moves when you push on it (door closed, opener off) is a hinge that needs tightening. Any missing bolt is a phone call.
That’s the whole set. You’re not diagnosing. You’re noticing. Every one of those five checks is something we look at, and every one of them has led us to a repair before it became a bigger repair.
What You Can Do Yourself and What You Can’t
Every garage door has a real DIY maintenance window, and then a line. Crossing the line is how homeowners end up hurt or how a small job becomes a big one. Here’s the honest split.
Safe to handle yourself
- Lubrication (with the right product, per the last section).
- Wiping down tracks with a dry cloth.
- Tightening hinge and bracket bolts with a socket or wrench.
- Cleaning the safety sensors’ lenses and straightening the brackets.
- Replacing a cracked bottom seal on most residential doors.
- Adjusting the opener’s force or travel limits per the manual, if the door itself rolls freely and balances by hand.
Never touch without training
- Torsion springs and torsion bar. A torsion spring is under hundreds of pounds of tension. There’s no safe way to unwind it or wind it without the right tools and the training to use them. We see the injuries. This is not the place to learn.
- Cables. Cables carry the same load as the springs. A slipping cable under load can whip. Leave it to a trained tech.
- Spring replacement on any door. Same reason. The math on cycle life and the right spring matters, and getting it wrong is dangerous as well as wasteful.
- Track straightening or replacement on a bent track. If you’ve bent a track, the geometry is out. Bending it back by hand rarely gets it right and usually makes the door louder.
- Opener rail and gear replacement. Not because it’s dangerous, but because a DIY swap on a Raynor or Craftsman opener often misses a limit setting and burns a gear within a week.
A door is 200 pounds riding on two springs. Respect it. If you’re unsure whether a job is a DIY job, the answer is usually that it isn’t. Free estimates and a free second opinion on any written estimate cost nothing but the phone call.
Why the Opener Is Almost Never the Problem
If the opener is straining, the problem is almost never the opener. Openers get replaced every day in Enterprise for a problem that lived in the door. The opener is a motor pulling a door. If the door binds, hesitates, or runs heavier than it used to, the motor fights it. The motor gets blamed. The motor gets swapped. A month later the new opener is straining too, because the door was always the problem.
Here’s the order of operations that saves money:
- Release the door from the opener (pull the red handle) and lift it by hand. If it lifts easily and stays where you leave it, the door is balanced and the opener may genuinely be the issue.
- If it lifts hard, drops, or won’t stay put, the door’s spring, cable, or track is the problem. Fixing or replacing the opener without addressing this is a wasted repair.
- If the door balances and the opener still hesitates, check the opener’s force and travel settings against the manual before assuming the motor is dying. Sometimes it just needs recalibration.
- If the opener runs and the door doesn’t move at all, the issue could be a stripped gear in the opener or a broken spring letting the door sit at rest with the opener spinning free. Diagnose the door before the opener.
- If the opener is more than ten to twelve years old and the door is otherwise healthy, replacement is worth considering, but pair it with a door inspection on the same visit.
The point isn’t to save the opener a job. It’s to save the homeowner from buying a new opener twice. Our Garage Door Opener Repair & Installation in Enterprise page covers the diagnostic order and the brands we work on. If you’re mid-checklist and the opener is the thing making noise, that’s the page to read next.
Safety Cables, Sensors, and the Reverse Test
Three safety items belong on every garage door checklist, and they get skipped the most because they involve looking at things a homeowner doesn’t usually think about.
Safety cables on extension springs. If your door has extension springs (the big ones running parallel to the track above each side), each spring should have a steel cable threaded through it. That cable is there to catch the spring if it breaks. If you see a spring with no cable through it, that’s a call we’d want you to make early. It’s a small part that exists for one bad day.
Photo-eye sensors. The two small sensors near the floor at each side of the opening should have their lenses clean, face each other squarely, and hold a solid indicator light. In Enterprise, they collect dust fast. A cloudy lens or a knocked-out bracket is usually what makes a door refuse to close.
The auto-reverse test. Once a month, with the door open, place a 2×4 flat on the floor in the door’s path and hit close. The door should reverse on contact. If it doesn’t, the opener’s force setting or the sensor is off. This test is worth more than any of the lubrication above.
If the reverse test fails, don’t keep using the door on that setting. That’s one where we’d want you to call, and there’s no trip charge inside the county.
Common Mistakes to Avoid
- Spraying WD-40 or a household oil on the rollers. It strips the coating and attracts grit. In Enterprise heat, it turns a silent door into a screeching one within weeks.
- Greasing the track. Tracks are meant to be dry. Grease traps desert dust and grinds the rollers down from the inside.
- Ignoring the hesitation pause. A door that pauses on the way up is telling you something is bound. Waiting until it quits means you’re replacing more than a roller.
- Replacing the opener to fix a door problem. See above. Diagnose the door first, or the new opener buys you a month.
- Doing a spring repair “by feel” after watching a video. This is the one mistake on this list that can genuinely hurt someone. Torsion springs are non-negotiable: leave them to a trained tech.
- Skipping post-wind checks. After a wind day in Enterprise, walk the closed door and look at the panels, the track, and the rollers. Bent tracks are the most common wind damage we see, and early catches are cheap.
- Letting the bottom seal crack and stay cracked. A split seal lets insects and grit into the garage all summer. It’s one of the cheapest replacements on the whole door.
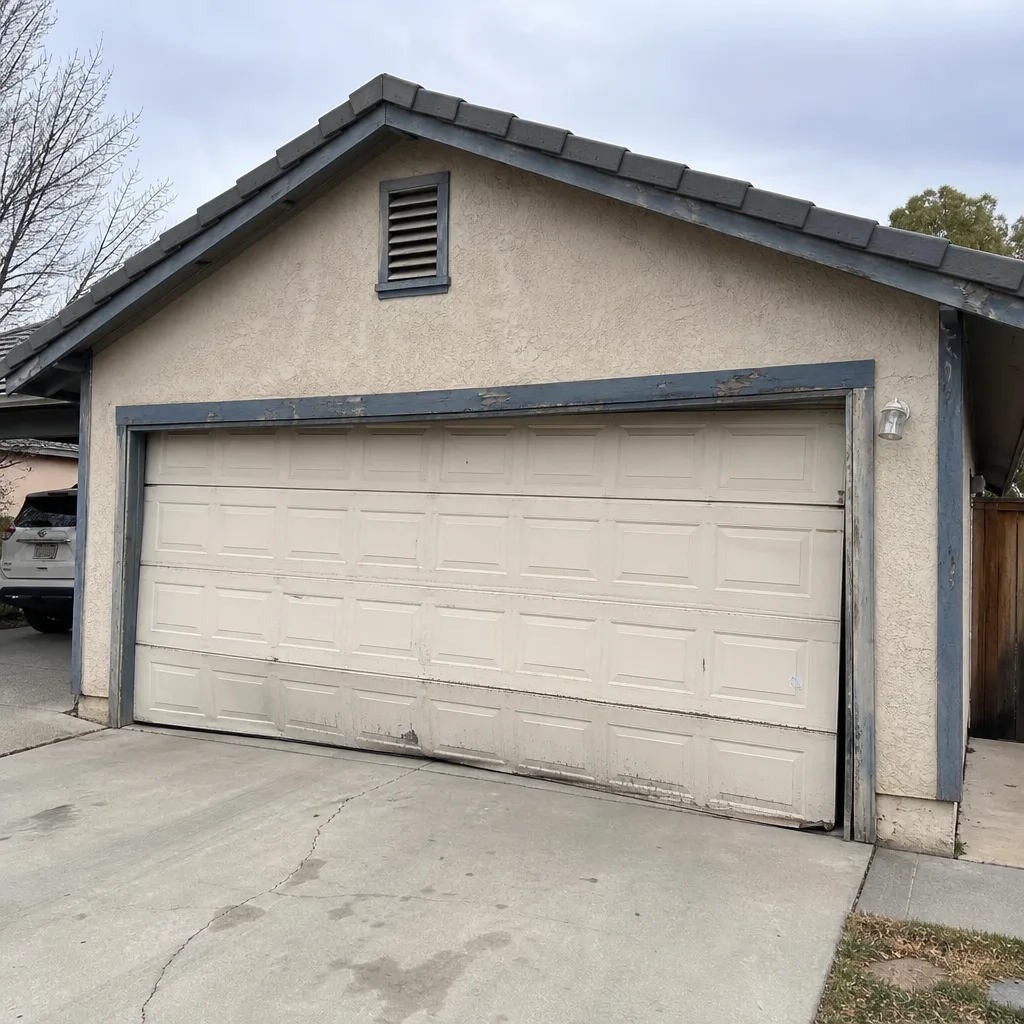
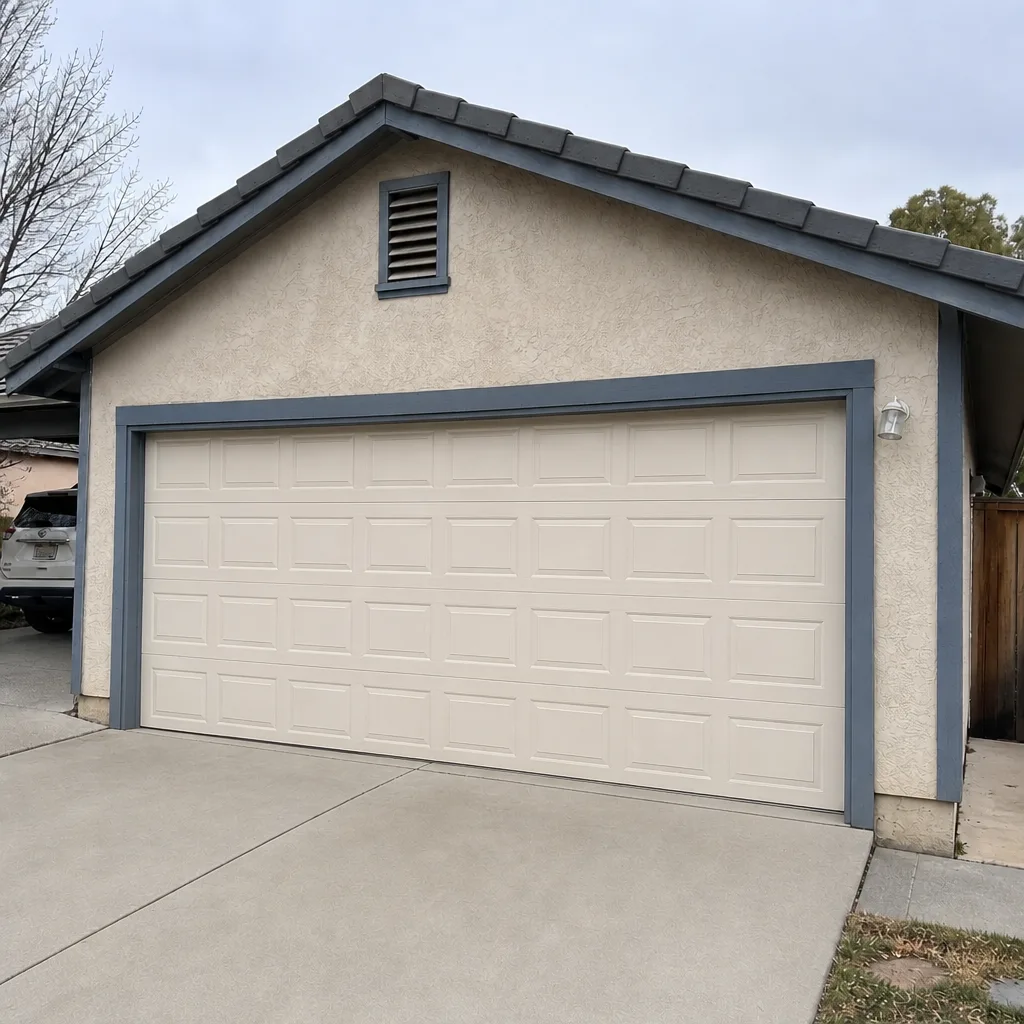
See the difference
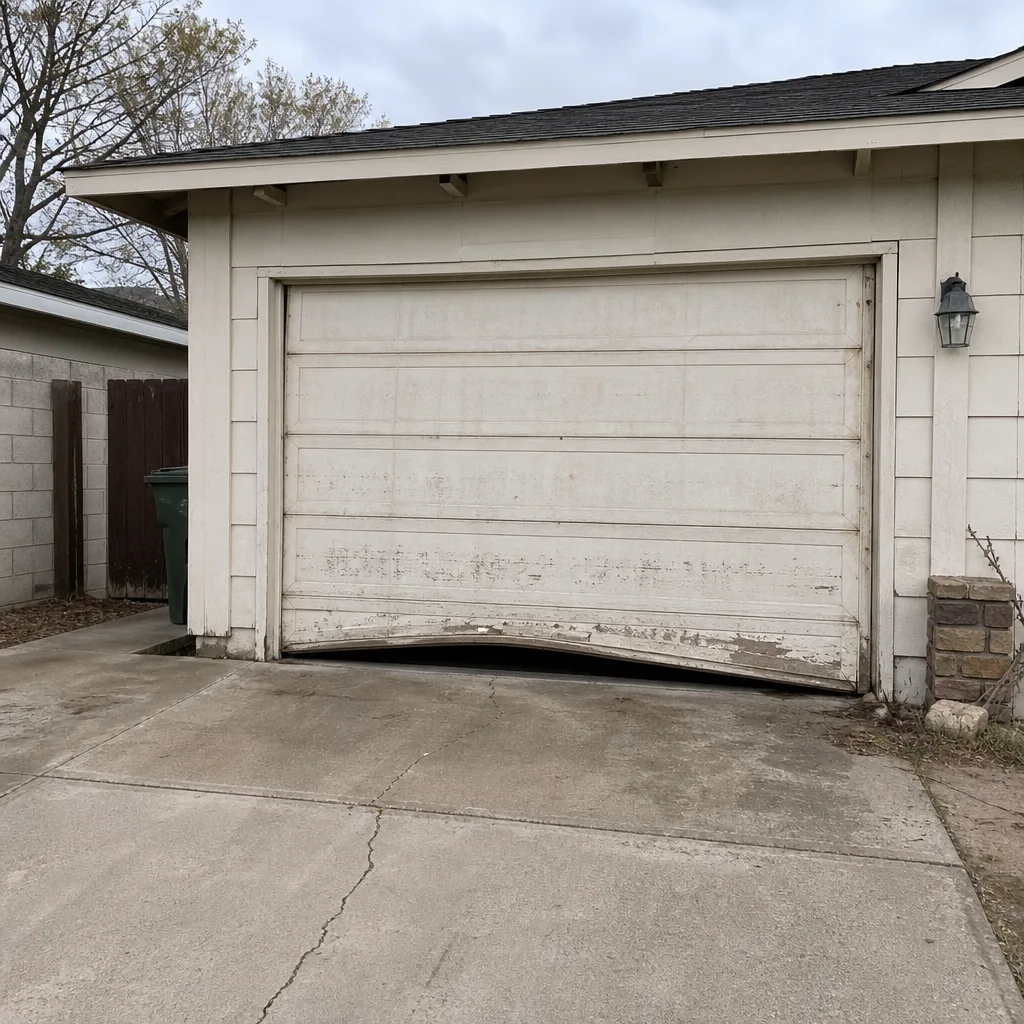 Before
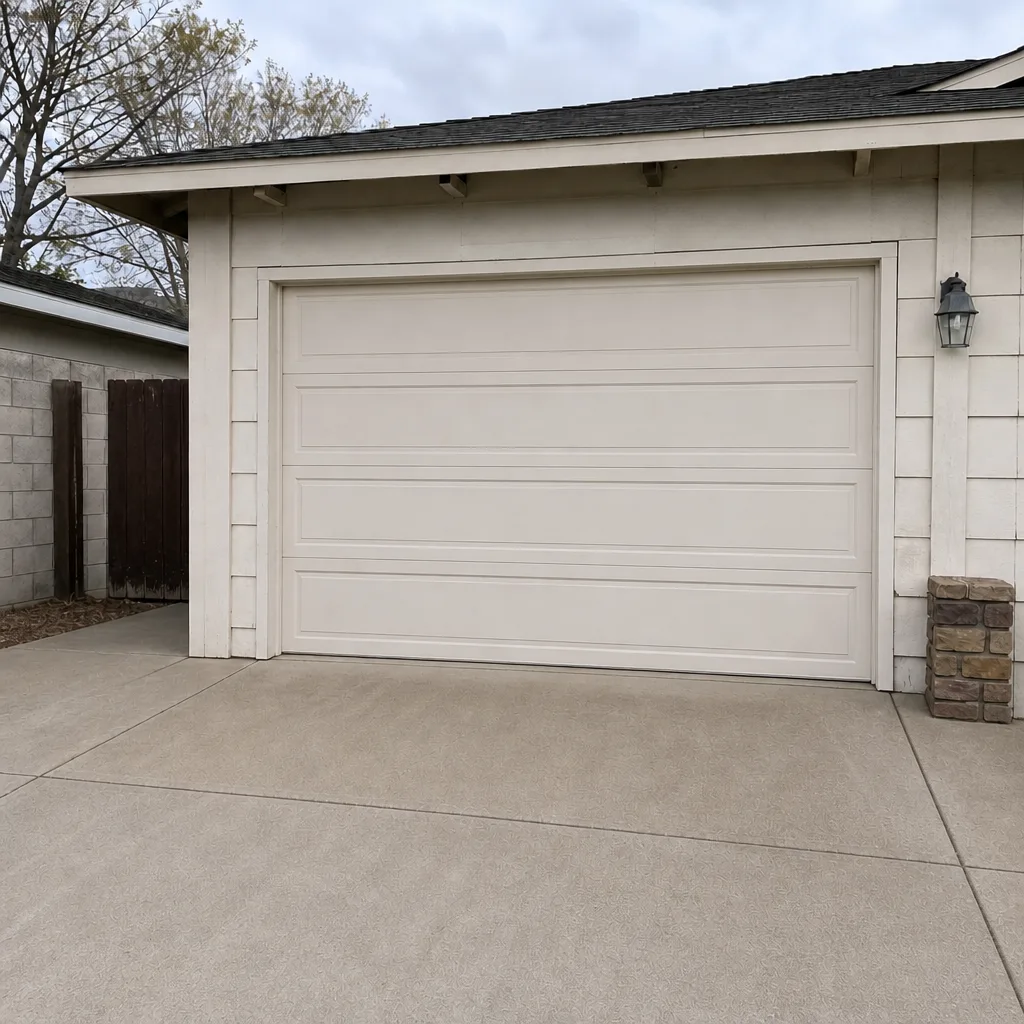 After
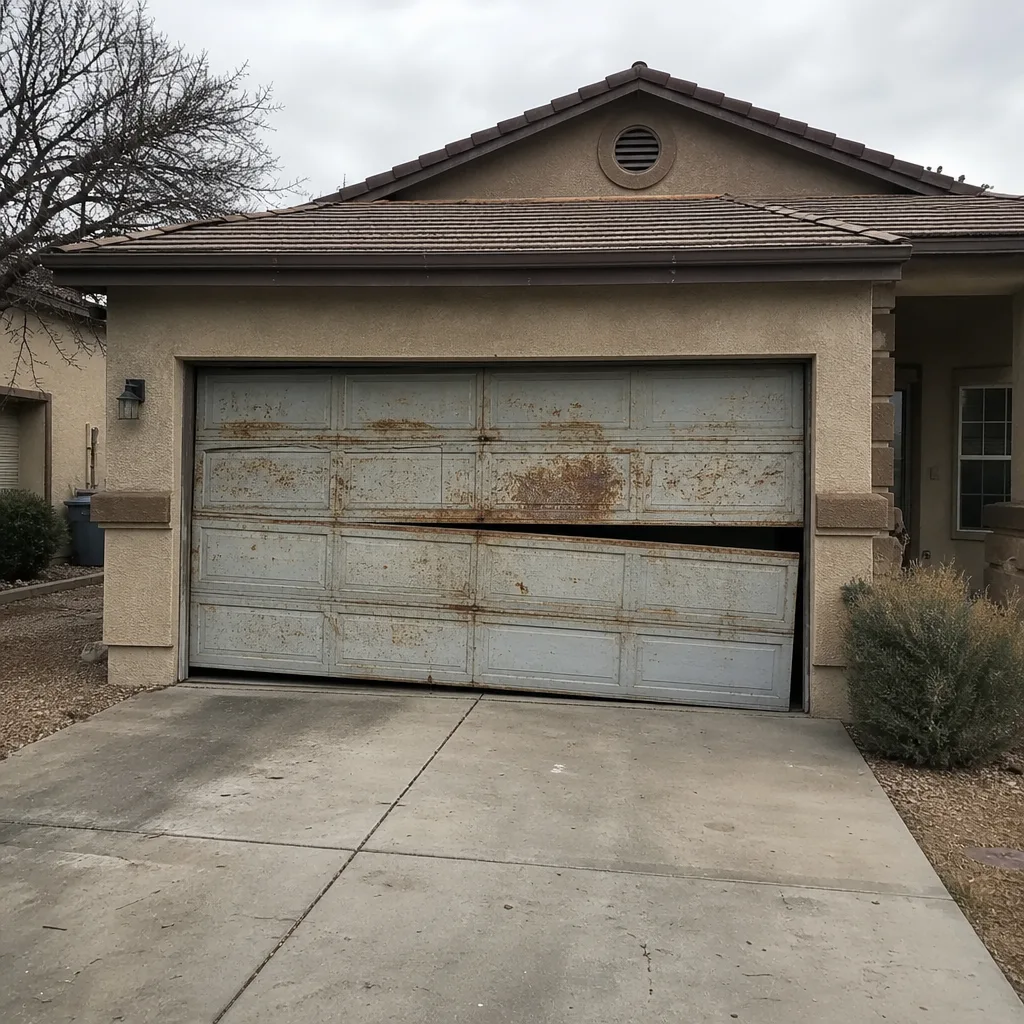 Before
 After
 Before
 After
When to Call a Professional
Call us if the door makes a loud bang and stops lifting, if it hangs crooked, if a cable looks frayed, if the spring has a visible gap, or if the opener runs but the door doesn’t move. Call if the auto-reverse test fails. Call if the door is more than five years old and you’ve never had the springs eyed by someone who counts spring cycles the way you count tire miles. Call if you’re unsure at all – the cost of a diagnostic visit is nothing compared to the cost of a door falling on your vehicle.
Our team at Otto’s Garage Door Enterprise offers free estimates in Enterprise and a free second opinion on any written estimate. Call (833) 620-7107 to get on the schedule.
Frequently Asked Questions
Every four to six months, or roughly twice a year in the dry Enterprise climate. The heat and dust here make the moving parts work harder than they would in a coastal market, so a spring check before summer and a full lubrication pass in the fall covers most doors.
Check the rollers first, with the door closed and the opener off. Grinding is usually a roller that’s seizing or a bearing plate that’s failing, not the opener. If the sound is coming from above the door, stop looking and call – it could be a spring.
No. Torsion springs are under hundreds of pounds of tension, and there’s no safe way to work with them without the right tools and the training to use them. Extension springs carry the same load. Both are jobs for a trained technician, and the injury risk from DIY is real.
Pull the red release handle to disconnect the opener, then lift the door by hand halfway and let go. A balanced door stays where you leave it. If it drops or lifts on its own, the springs are compromised and the door shouldn’t be used until it’s inspected.
The opener is doing what it’s told, but the door is asking it to work harder than it should. A binding roller, a bent track, or a spring losing tension will make a new opener strain in months. The door is the diagnosis, not the opener.
There’s no trip charge inside the home county. Estimates are free, and we hold a free second opinion on any written estimate. Call (833) 620-7107 for an exact quote on whatever the check turns up.
The Bottom Line
The dominant repair call we run in Enterprise isn’t a snapped spring on a cold morning. It’s a door that made noise for months and then quit, at a cost of several times the early fix. The pattern is the same every time: desert heat, wrong lubricant, ignored hesitation, and a motor that gets blamed for a problem living in the door. The fix is a checklist. Look at the door once a month, lubricate with a proper garage door product, respect the line between DIY and danger, and use the seasonal calendar above. A door that runs as quietly today as it did a year ago is a door that’s telling you it’s fine. A door that’s telling you it’s not is worth a call – free estimate, upfront price, written down before anything gets touched. That’s the whole point. When you’re ready, our Garage Door Installation in Enterprise page covers what a replacement looks like if maintenance has run out of room, and the Otto’s Garage Door Enterprise home page has the full picture of what we do.
If you want to talk it through before you lift a wrench, call (833) 620-7107. We’ll walk you through what to look at, tell you honestly whether it’s a DIY job, and if it’s not, we’ll set up a time. Free estimate, upfront pricing, and a 90-Day Done Right Promise on every job.
Written by the team at Otto’s Garage Door Enterprise.