
Last updated November 17, 2026
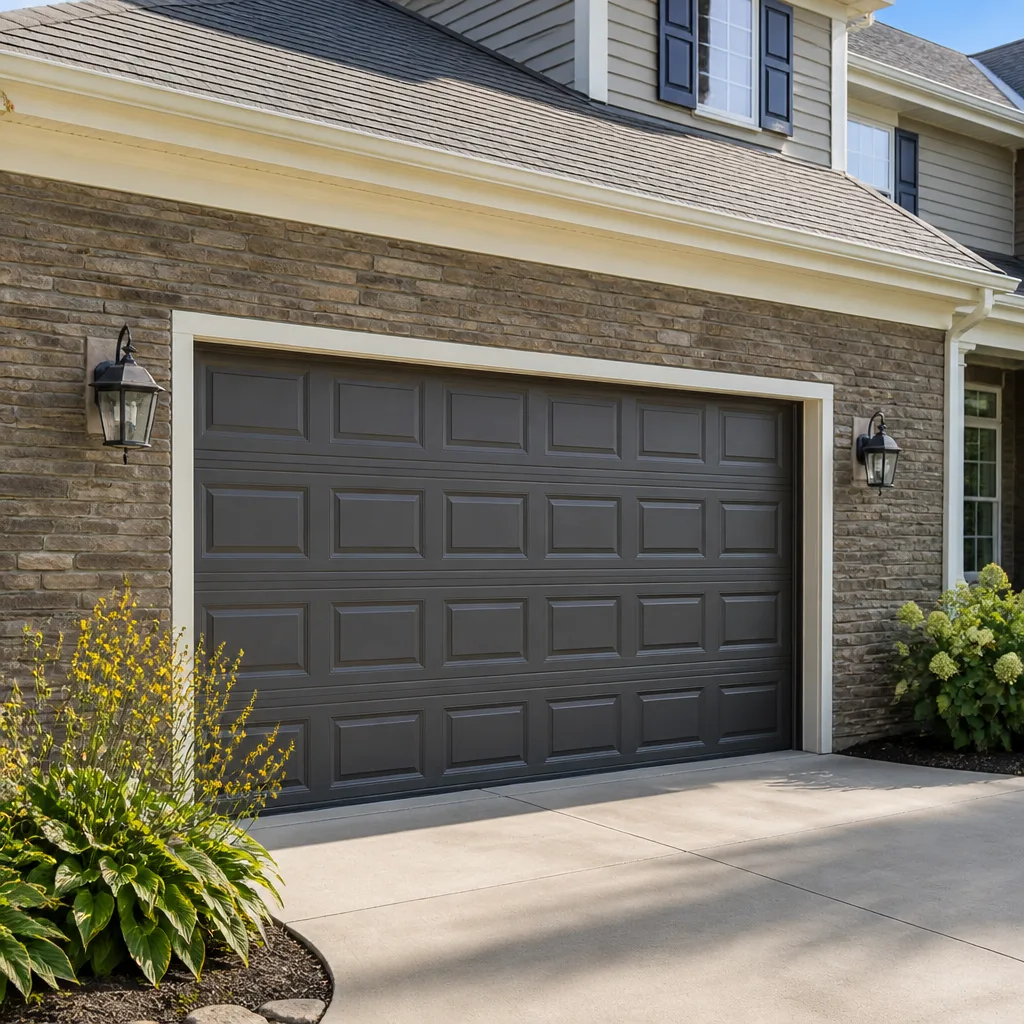 Raised-panel steel
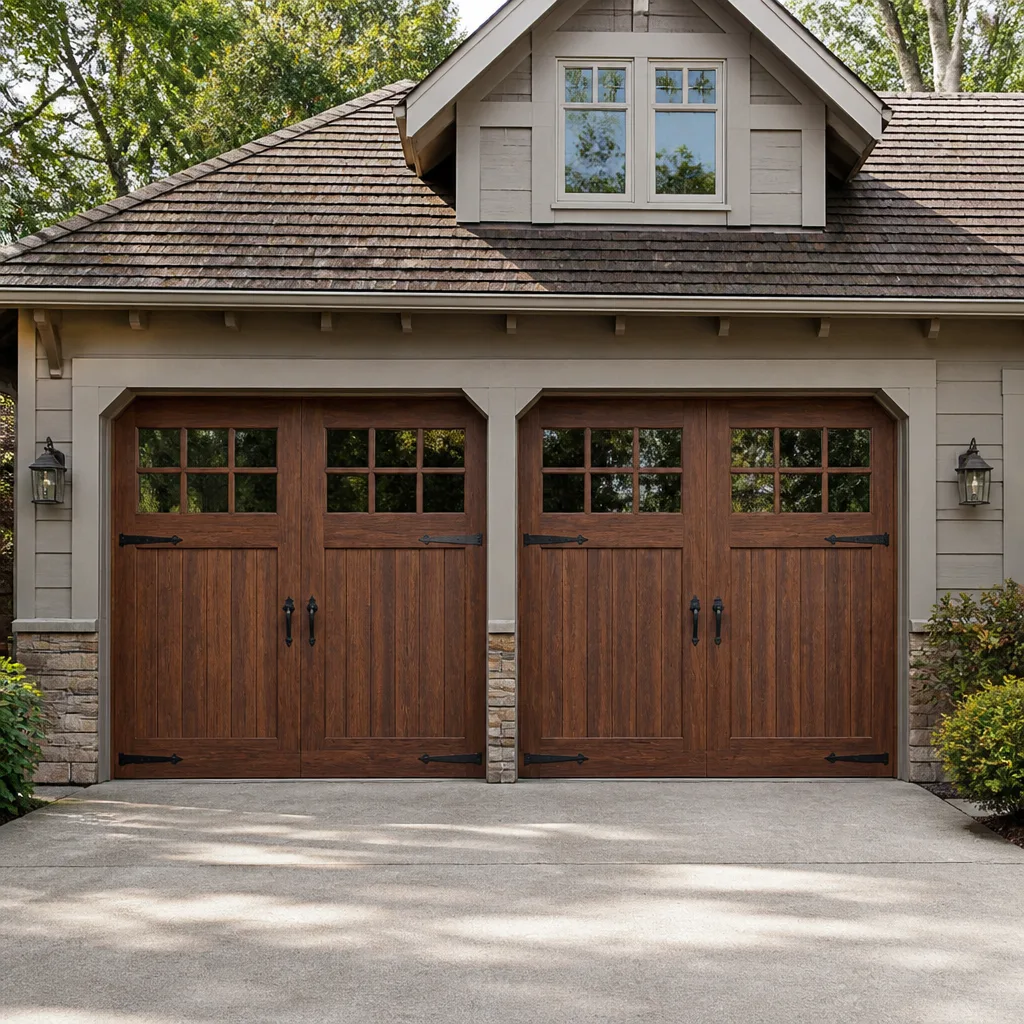 Carriage house
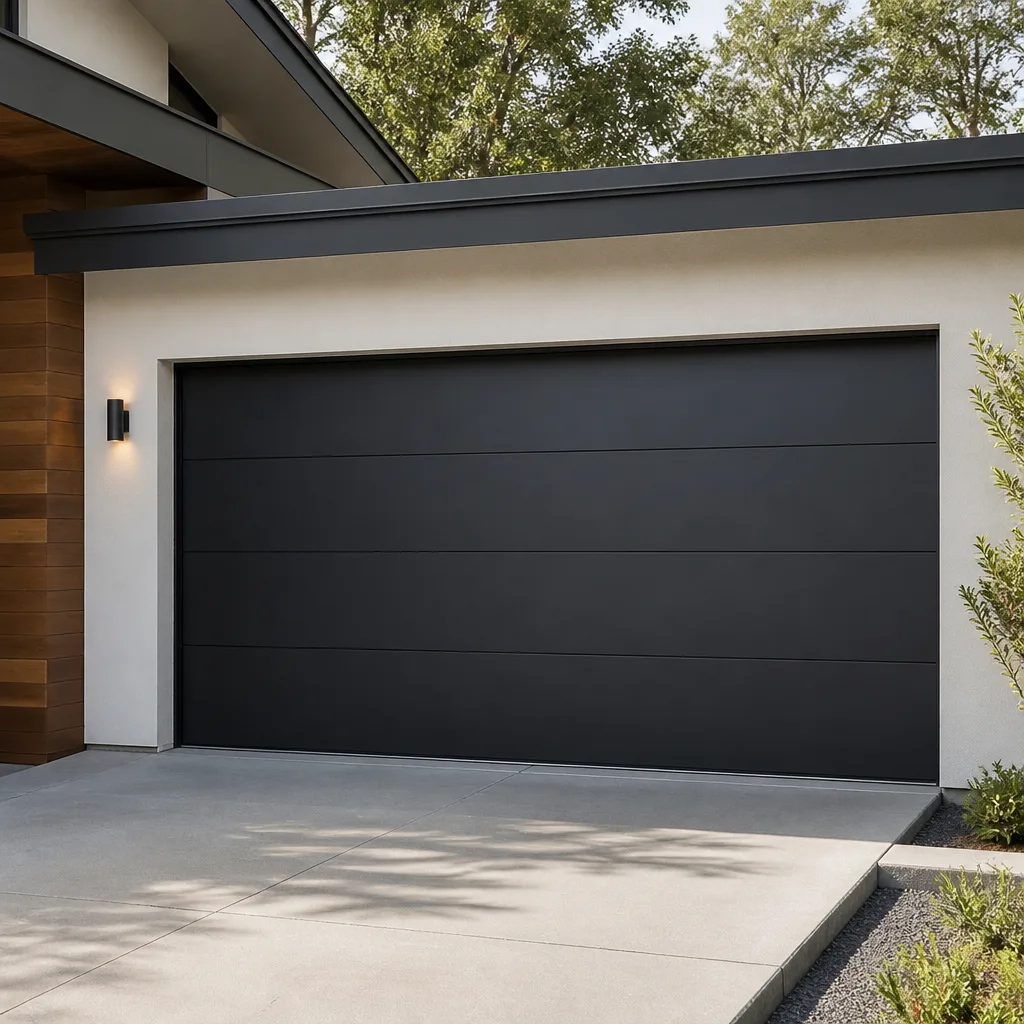 Modern flush
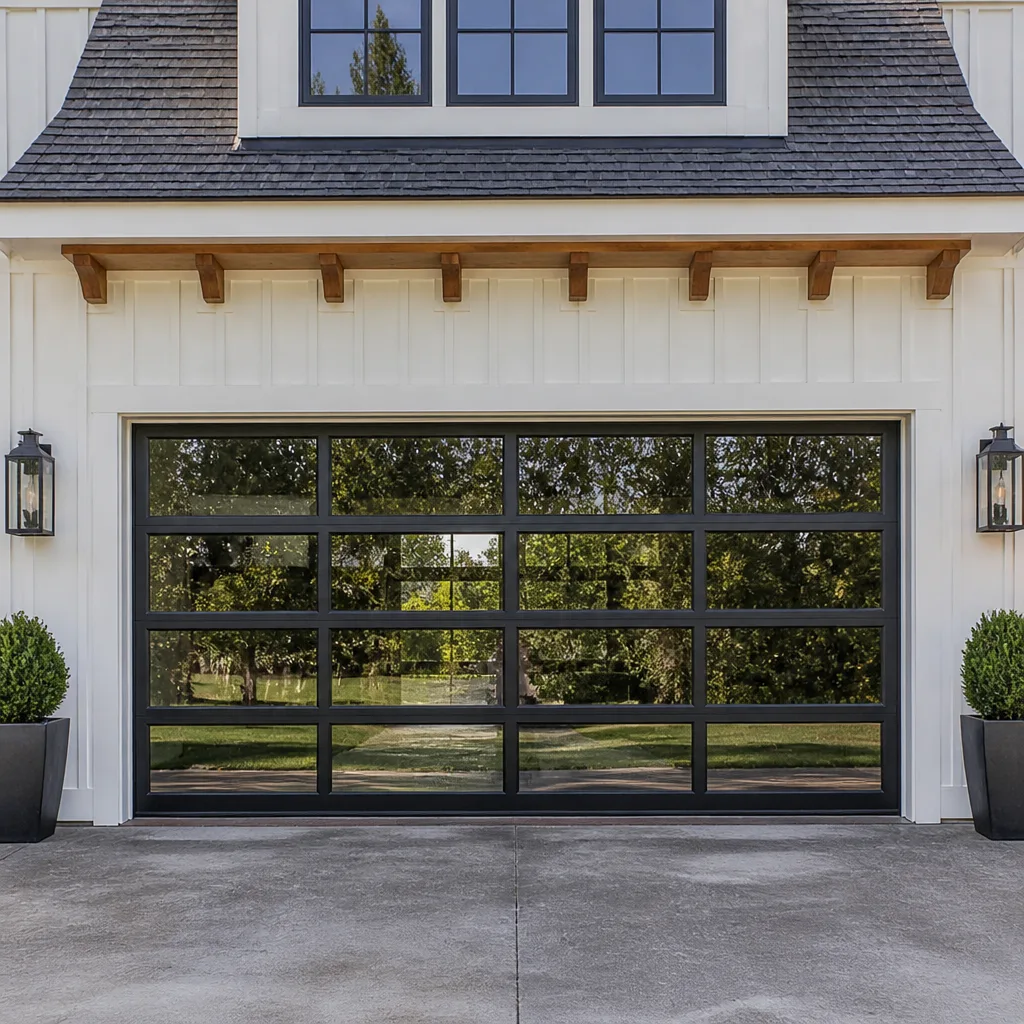 Full-view glass
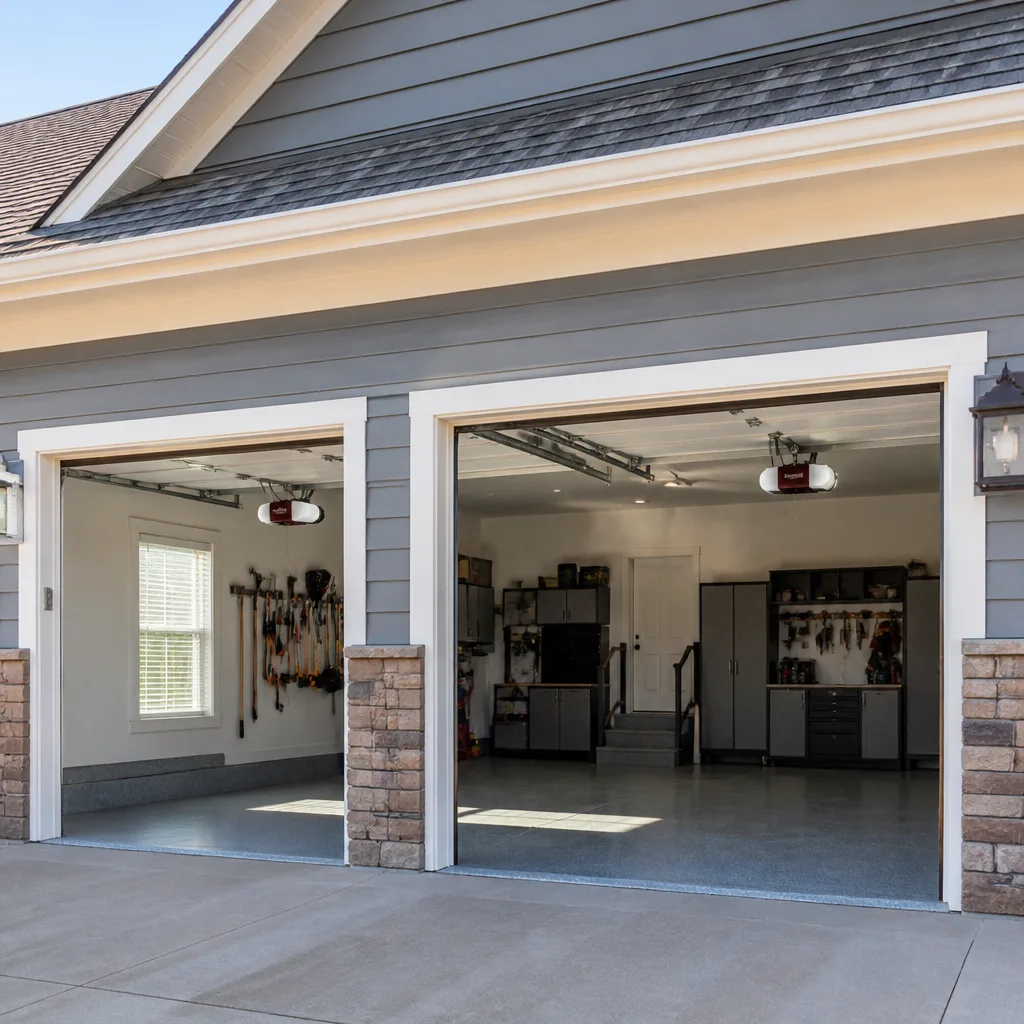 LiftMaster openers
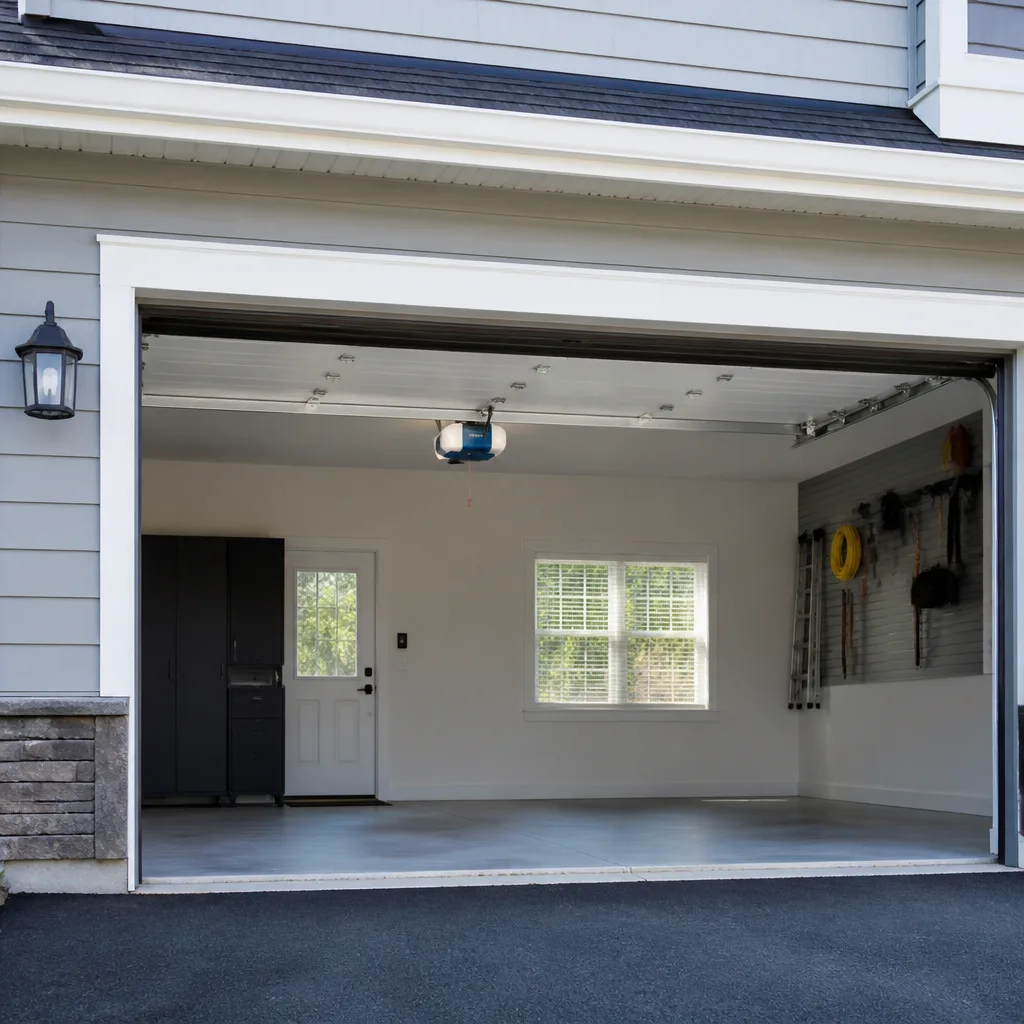 Chamberlain openers
Full 25-point door and opener safety check with every visit - springs, cables, rollers, tracks, and your LiftMaster or Chamberlain opener included
You get a price before we start. It does not change when the pro arrives.
Get your free estimateHow Long Does Garage Door Opener Repair & Installation Take? Timelines and What to Expect
We get calls where the homeowner says “just swap the opener” like it’s changing a lightbulb. Sometimes it’s close to that. Sometimes the old bracket is stripped, the wiring is knob-and-tube vintage, and the header’s too low for the new rail, and now you’re into a three-hour job nobody budgeted for. The difference between a 45-minute visit and a half-day project almost never comes down to the opener itself. It comes down to what’s already bolted to your ceiling. This guide breaks down real timelines for opener repair and opener installation in Enterprise, the specific complications that add hours, and what you can do before we arrive to keep the clock honest.
Quick Answer
A remote reprogramming takes about 10 minutes, sensor realignment runs 15 to 20 minutes, and a full opener swap on a prepped garage with a standard header and working outlets takes 1.5 to 2 hours. Add a low-clearance kit, missing outlets, or old wiring that won’t support a new logic board and that same swap becomes a 3 to 4 hour job. Repair and installation are two very different time commitments, and planning for the wrong one is how a Saturday disappears.
Styles & brands we work with
- Raised-panel steel
- Carriage house
- Modern flush
- Full-view glass
- LiftMaster openers
- Chamberlain openers
Table of Contents
- Repair vs. Installation: Why the Timelines Are So Different
- How Long Does Opener Repair Take?
- How Long Does a Full Opener Installation Take?
- What Adds Time to an Opener Job?
- What “Installation” Actually Includes After the Unit Is Mounted
- What to Have Ready Before the Technician Arrives
- Is Same-Day Opener Service Realistic in Enterprise?
- Does a Longer Job Cost More?
Repair vs. Installation: Why the Timelines Are So Different
An opener repair starts with a diagnosis. The motor might be fine and the problem is a stripped gear. The travel limits might have drifted and the door is reversing for no reason. A sensor might be knocked out of alignment by a kid’s basketball. Most of these are quick, because the unit is already mounted, wired, and programmed. We’re not rebuilding the system, we’re correcting one component.
Installation is a different animal. You’re removing the old unit, checking whether the existing bracket, rail, and header will accept the new one, mounting the new motor, then doing a full commissioning pass: programming remotes and keypads, setting travel limits, calibrating force, and testing the safety reversal. On a garage that was prepped for it, that’s an afternoon. On a garage built in the 1980s with a header that’s too low and no outlet near the ceiling, it’s a small project.
Here in Enterprise, we see a lot of both. The tract homes off Silverado Ranch and the older properties closer to the south end of the valley tend to have very different ceilings, wiring, and header heights, and that’s before we even open the new box. A Craftsman unit that drops right into an existing mount is a two-hour morning. The same unit going into a garage that’s never had an opener installed properly can easily double.
If you’re still deciding whether to repair or replace, our Garage Door Opener Repair & Installation in Enterprise page walks through the decision in more detail. The short version: if the opener is under 10 years old and the failure is mechanical, repair almost always wins on both time and money.
How Long Does Opener Repair Take?
Most opener repairs finish in under an hour, and many are done in 30 minutes. The service call itself usually eats 10 to 15 minutes before any wrench turns: we look at the door, run it, listen to the motor, check the sensors, and confirm what’s actually broken. From there, here’s the realistic clock:
- Remote or keypad reprogramming: 10 minutes. Fastest job we do, and the most common reason people call.
- Safety sensor realignment or replacement: 15 to 20 minutes. Sensor brackets get bumped, wires get chewed by rodents, lenses get dusty.
- Gear and sprocket replacement: 45 to 60 minutes. Common on older LiftMaster and Genie units where the nylon gear wears out before the motor does.
- Logic board replacement: 30 to 45 minutes, assuming the board is in stock.
- Travel limit and force adjustment: 20 to 30 minutes including testing.
- Full opener motor replacement (repair-style, reusing the existing rail): 1 to 1.5 hours.
The biggest variable is parts. If it’s a Chamberlain or Genie board, we usually have what we need. If it’s an oddball unit that’s been discontinued for a decade, the honest answer is that we may need to order it, and you’re looking at a return visit. That’s not a sales pitch for a new opener. It’s just the reality of a 15-year-old motor.
One thing worth flagging: if the opener is straining or the door is jerky, the problem is almost never the opener. It’s usually the springs, the rollers, or the track. We’ve written a full breakdown on Garage Door Repair in Enterprise if you want to understand what’s actually happening before we arrive. That matters because if the diagnosis comes back as spring failure, the visit shifts from a 45-minute opener repair to a spring replacement, which is its own timeline.
For safety: opener springs and cables are under extreme tension and can cause serious injury if handled without the right tools and training. A door is 200 pounds riding on two springs. Respect it. We don’t recommend any homeowner attempt spring or cable work themselves, and we won’t walk you through it. Sensors, remotes, and programming are fair game. Springs are not.
How Long Does a Full Opener Installation Take?
A full opener installation on a garage that’s ready for it takes 1.5 to 2 hours. That’s the number to plan around. Here’s what that hour and a half actually looks like:
- Site check and old unit removal: 20 to 30 minutes. We confirm the header height, the outlet location, and whether the existing bracket is reusable. Pulling the old motor and rail is usually quick but reveals surprises.
- Bracket and rail mounting: 20 to 30 minutes. This is where a stripped bracket or a header that’s too low for the new rail adds time.
- Motor mounting and wiring: 15 to 25 minutes. New logic boards need clean power; if the outlet is on the other side of the garage, that’s a run.
- Programming remotes and keypads: 10 to 15 minutes.
- Travel limit and force calibration: 10 to 15 minutes.
- Safety reversal testing: 5 minutes, non-negotiable.
Add it up and you’re at 80 to 120 minutes on a clean install. On a Clopay or Amarr door with a standard 7-foot header and a dedicated outlet, we’ve done them faster. On a Wayne Dalton door with a low-clearance header and no outlet within reach, we’ve done them in 3 to 4 hours. Both are normal. Neither is unusual in Enterprise.
If the door itself is being replaced at the same time, that’s a separate project with its own timeline. Our Garage Door Installation in Enterprise page covers new-door timelines, and it’s worth reading before you budget a weekend for what’s really two visits.
What Adds Time to an Opener Job?
These are the specific things we’ve seen stretch a two-hour job into a four-hour one. None of them are rare in Enterprise.
- Low header clearance. If your header is under 7 feet, you need a low-clearance kit, and that adds 30 to 60 minutes to the install. When we see an opener retrofit in a garage with a 6-foot-6 header, we plan for the kit up front.
- No outlet near the opener. A new opener needs a dedicated outlet at the ceiling. If the closest outlet is 20 feet away or on a different wall, that’s an electrical run, which adds 45 to 90 minutes and may require a licensed electrician if the circuit needs work.
- Old wiring that won’t support a new logic board. Some older units used wiring that a modern board won’t accept cleanly. If the run is degraded, we’re doing a new wire pull, which adds 30 to 60 minutes.
- Stripped or misaligned mounting bracket. The old bracket held a 20-year-old motor in place. It may not hold a new one safely. A bent or stripped bracket means fabricating or re-anchoring, which adds 20 to 40 minutes.
- Header that’s too low for the new rail. If the new motor’s rail is taller than the old one, we’re either shimming the mounting point or using a low-profile mount.
- An existing opener that was never installed to code. We’ve opened garages in Enterprise where the old unit was mounted to drywall, not framing. That’s a re-anchor job every time.
None of this is meant to scare you. It’s meant to explain why we ask how your garage is set up before we quote, and why we don’t promise a “45-minute install” on a house we’ve never seen. If we can’t confirm the setup on the call, we’ll budget the higher number and tell you why. The price you agree to on the phone is the price on the invoice. If the job turns out to be a simple one, we’ll tell you that at the door before we start.
What “Installation” Actually Includes After the Unit Is Mounted
The motor being screwed to the ceiling is roughly halfway through the job. The half that matters for safety and reliability is the commissioning pass, and it’s the part budget installers skip. This alone is 20 to 30 minutes that a proper install includes and a cut-rate install doesn’t.
- Programming remotes. Each remote is paired and tested individually, including any keyless entry pad you’ve added. A keypad that only works from 10 feet away is a programming error, not a bad unit.
- Setting travel limits. The opener needs to know exactly where the door should stop at the top and bottom. Limits that are off by even an inch lead to the door slamming or leaving a gap that lets hot air and dust in.
- Force calibration. The opener’s force setting determines how hard it pushes before it reverses. Too hard and it can crush; too soft and it reverses on a cold morning. This is set with a tool, not a guess.
- Safety reversal testing. The two sensors at the bottom of the track are tested with a physical obstruction. The door must reverse. No exceptions, and we test it before we leave.
- Balance check on the door. If the door isn’t balanced, the opener is doing work the springs should be doing, and it will fail early. We check this because it’s the difference between an opener that lasts 12 years and one that lasts 4.
If you got a quote that promised a new opener installed in 45 minutes, ask what’s included. In our experience, it’s the motor mounted and the remote paired. The travel limits get set “close enough,” the force calibration gets skipped, and the safety reversal never gets tested. That’s not a save; that’s a callback waiting to happen. We’ve been called out to Enterprise homes to fix exactly that, and it’s why we don’t quote install times that don’t account for the whole job.
What to Have Ready Before the Technician Arrives
These are the things that cost the most time on an install day, and they’re all in the homeowner’s control:
- Clear the garage floor. A path to the opener and access to the wall under the header is all we need. If the garage is packed to the ceiling, we’re moving things before we can start, and that’s time off the clock.
- Know where the circuit breaker is. We’ll shut power to the opener circuit before we start. Not knowing where the panel is adds 10 to 15 minutes every time.
- Decide on keypad vs. app control before we arrive. Wi-Fi and smartphone control openers (LiftMaster’s myQ, for example) need your network name and password. If you want the app set up, have that ready. If you’re going keypad, decide the code now.
- Have your remotes and keypads on hand. If you want the existing ones reprogrammed to the new unit, we need them physically present. We can’t program a remote that’s in the other car at work.
- Measure your garage door height and header clearance if you can. If you can tell us on the phone that your header is 6-foot-6, we bring the low-clearance kit the first time instead of the second.
Every one of these saves time. Together they can mean the difference between a clean 90-minute visit and a 2.5-hour one where the first 40 minutes are spent moving boxes. Our technician has up to 22 years of experience and has seen every version of a “just swap the opener” call, and the ones that go fastest are the ones where the homeowner did this small prep work.
Is Same-Day Opener Service Realistic in Enterprise?
For repairs, yes, most of the time. For installations, usually not, and that’s an honest answer rather than a polite one. The distinction matters because it’s where a lot of homeowners get frustrated.
Same-day repairs are realistic when: the problem is a sensor, a remote, a gear, a travel limit, or a logic board we have in stock. Those are the calls we can often handle the same day, and if you call in the morning, we can usually tell you on that call whether we can get to you that afternoon. If you’re locked out with the car inside, that’s an urgency conversation, not a scheduling one, and we treat it that way.
Same-day installation is realistic only when: you’ve picked a specific model that’s in stock locally, your garage is already prepped, and we have an open slot. That’s a real scenario but it’s not the default. Most installs get scheduled a few days out because we need to confirm the unit, check header clearance, and make sure the outlet situation is handled.
The honest version for Enterprise: a lot of openers are LiftMaster or Chamberlain, and those parts are generally available in the valley. A less common brand like a Raynor or an older Craftsman may need a day or two to source. If you’re in the middle of a crisis and the door won’t open, tell us that on the call. We can usually get a repair or a temporary fix out the same day even when a full install has to wait.
One more thing: a live person answers the phone, day or night. Not an answering service, not a callback form. Otto or someone on the crew picks up and quotes the job on that call, and holds the number when we arrive. If you’re in Enterprise and the opener just died, that call is the fastest path to an answer.
Does a Longer Job Cost More?
Not automatically, and this is the part where a lot of homeowners have been burned. The price is quoted before the visit and doesn’t change between the phone and the driveway. If we quote an install on the call based on the information you gave us, and we arrive to find out the header is low and the outlet is missing, we’ll walk you through what’s changed and re-quote before any work starts. We don’t start a job we can’t finish for the number we gave you.
That’s why the timeline estimates matter to the price. A job quoted as a two-hour install but discovered to be a four-hour one needs a conversation, not a surprise invoice. Here’s roughly how the ranges break down for repair-type work versus install-type work:
- Remote reprogramming: shortest visit, lowest cost. Often done in minutes.
- Sensor replacement or realignment: 15 to 20 minutes, typically modest.
- Gear, sprocket, or logic board repair: 30 to 60 minutes plus the part.
- Full opener install on a prepped garage: 1.5 to 2 hours plus the unit.
- Full opener install with complications: 3 to 4 hours, plus any electrical or low-clearance kit work.
If you’ve got a written estimate from another company and you’d like a second look, we do that for free. It’s one of our standing offers, and it exists because we’ve seen Enterprise homeowners handed estimates that left out the commissioning pass, the low-clearance kit, or the outlet run. Bring the estimate, we’ll read it with you and tell you what’s missing.
Common Mistakes to Avoid
- Assuming “swap the opener” is a 45-minute job. On a prepped garage it might be close to two hours. On a garage with a low header and no outlet, it’s four. Asking a few setup questions before you book saves a lot of frustration.
- Booking an install in a one-hour window. Installations are measured, ordered, and scheduled, and they take half a day. Blocking an hour and planning to leave is how you end up rescheduling.
- Not checking whether the outlet is where the opener needs it. In Enterprise we regularly see garages where the closest outlet is on the opposite wall. That’s a wiring run, not a five-minute fix.
- Skipping the safety reversal test. If the technician doesn’t test the door’s reversal on an obstruction before leaving, the install isn’t finished. No exceptions.
- Buying an opener based on price alone without checking header clearance. A great deal on a unit that needs a low-clearance kit is not a great deal after the kit, the adapter, and the extra hour of labor.
- Not asking whether the existing bracket and rail are reusable. If they aren’t, the quote should include replacing them. A quote that doesn’t mention it is a quote that will grow.
- Ignoring the door itself. An opener on an unbalanced door will fail early. Ask whether the springs and rollers were checked at the same time. If the answer is no, that’s the whole problem.
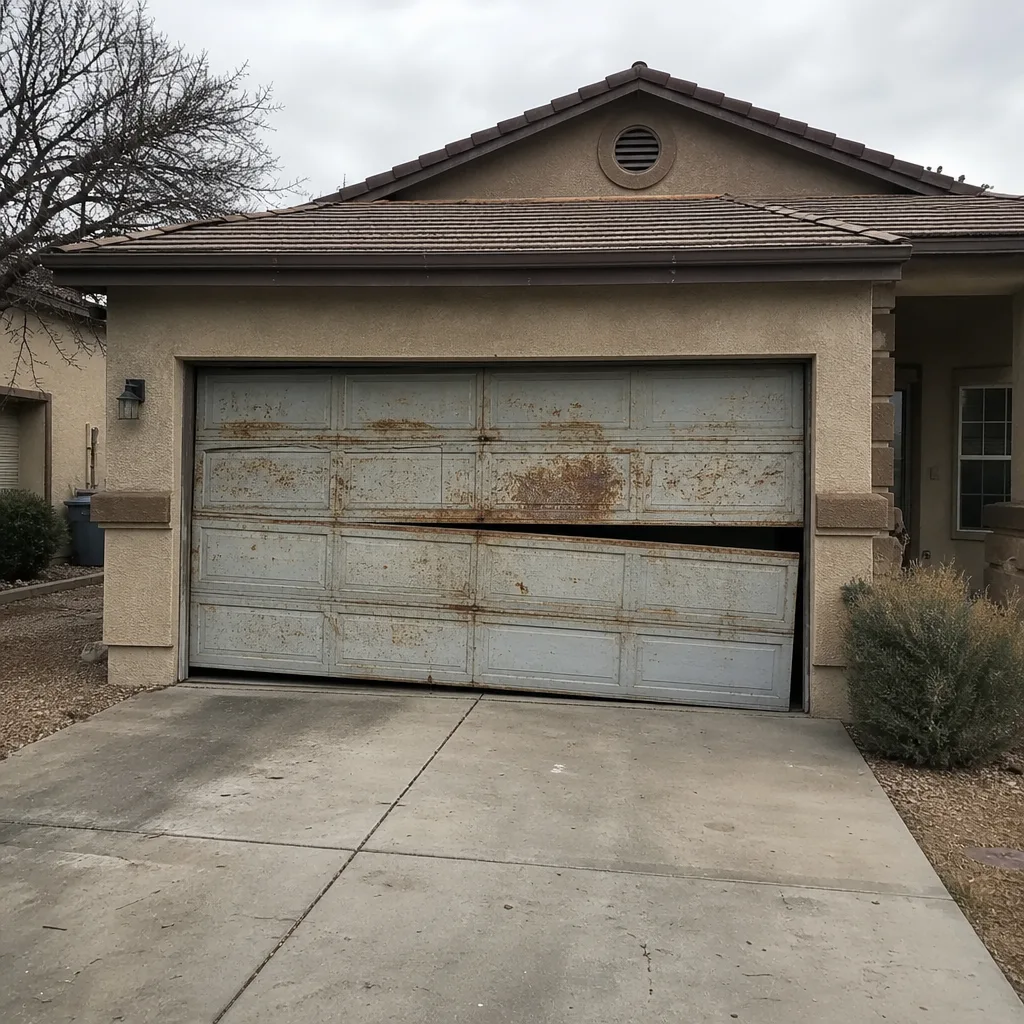
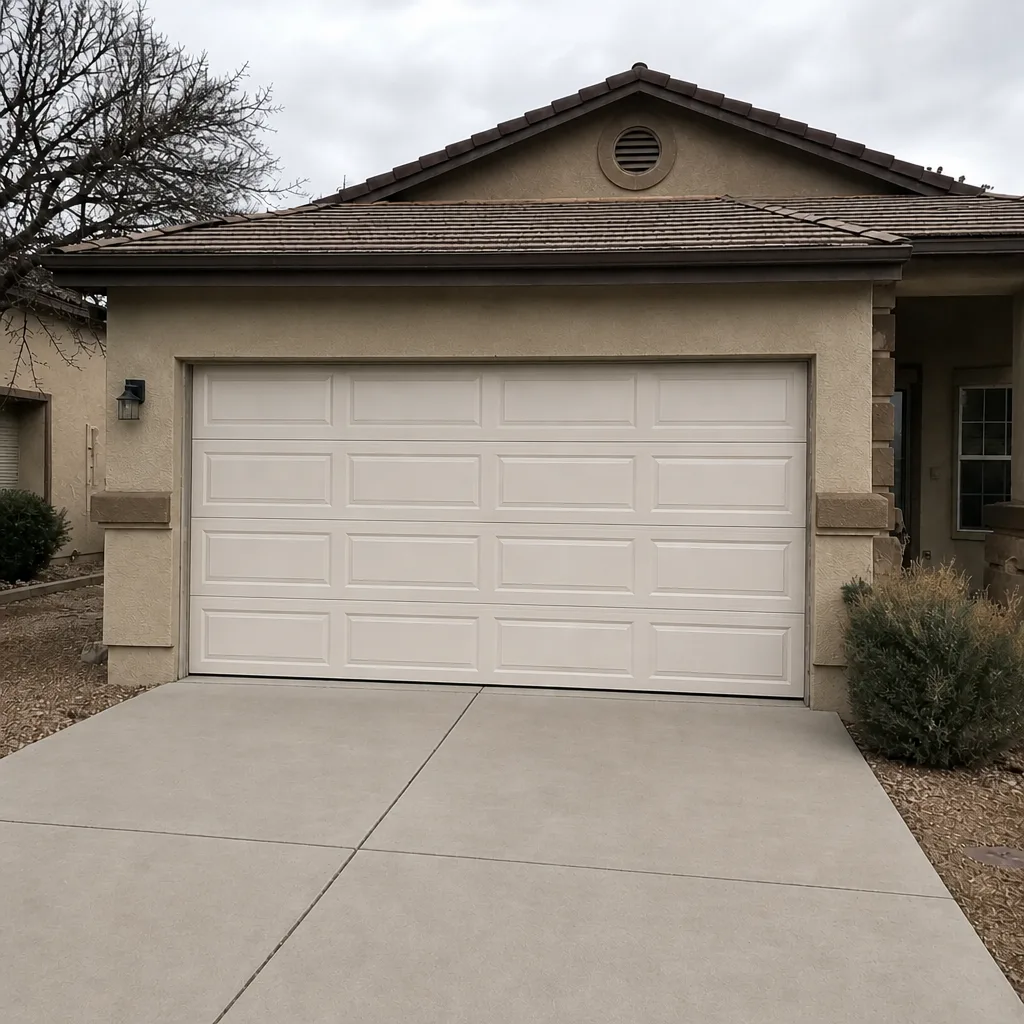
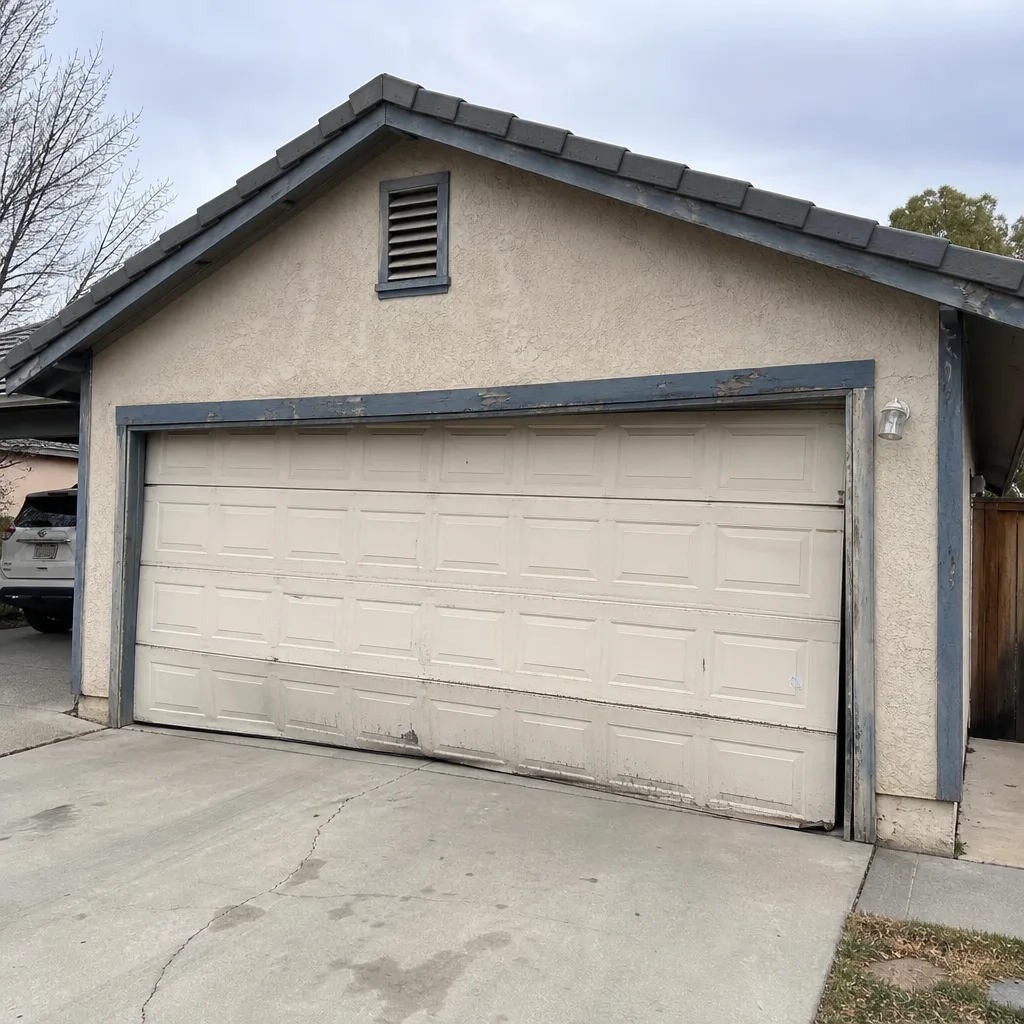
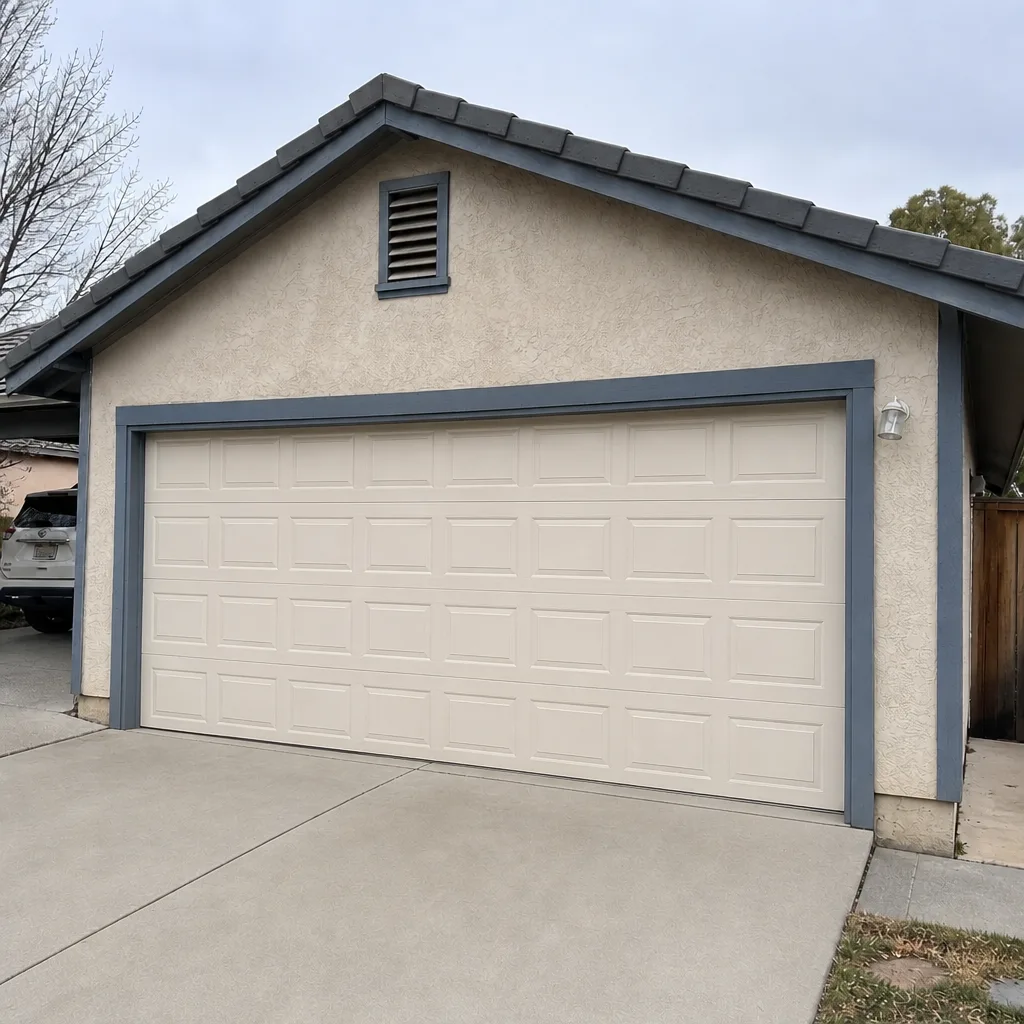
See the difference
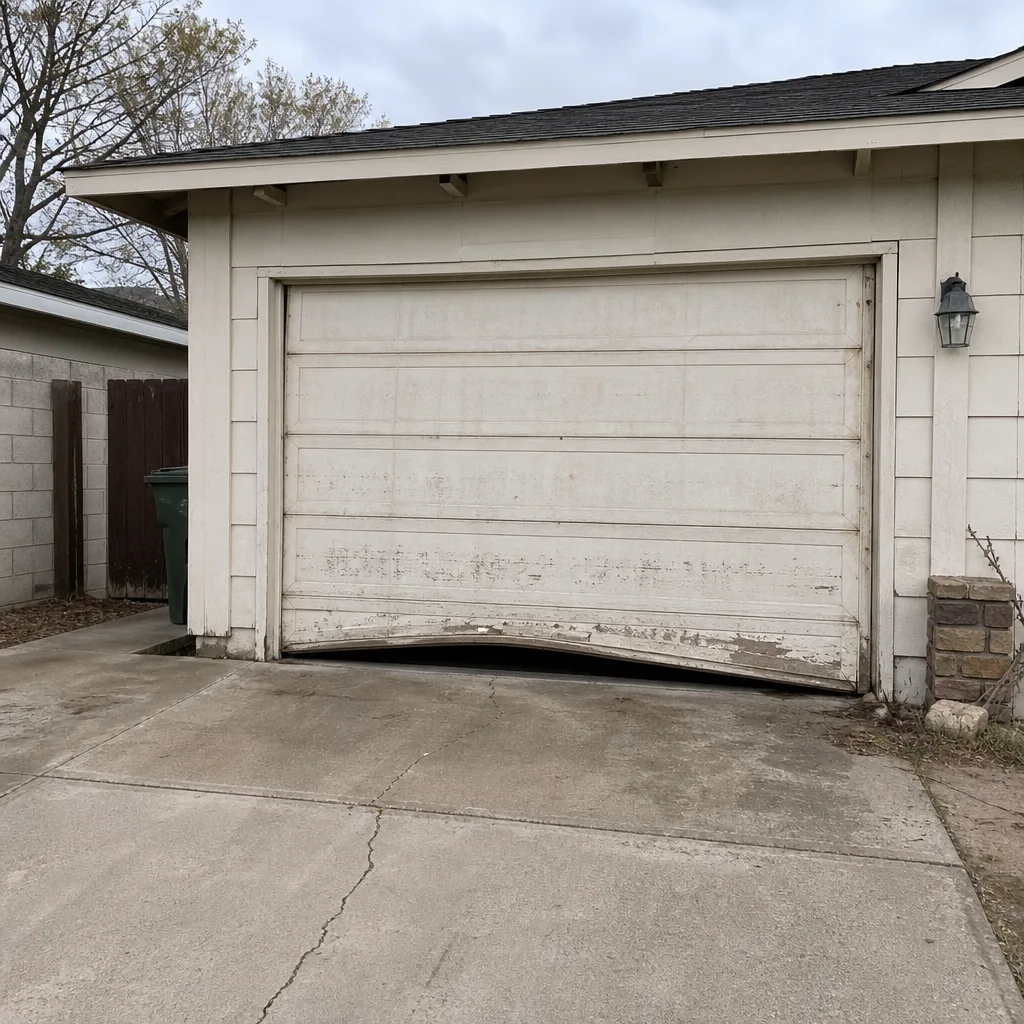 Before
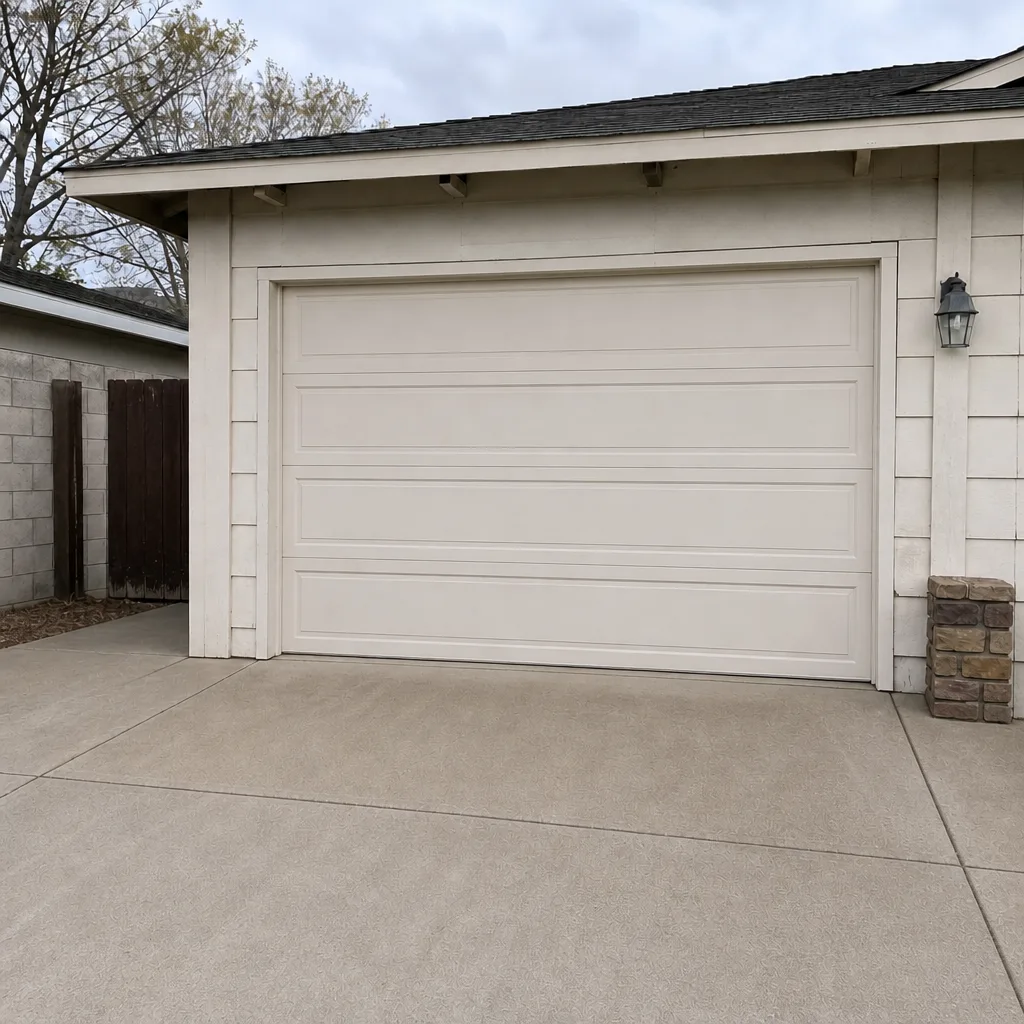 After
 Before
 After
 Before
 After
When to Call a Professional
Call us when the opener is straining, reversing for no reason, humming without moving, or the door won’t close all the way. Call when a remote stops working after a power outage and reprogramming doesn’t stick. Call when the door is heavier than it used to be, because that’s a spring problem disguised as an opener problem. Call when you’re planning a new opener and you want a straight answer on whether your garage is prepped, and what it’ll cost if it isn’t. And call if you have a written estimate from another company and want a free second opinion before you sign. Otto’s Garage Door Enterprise offers free estimates in Enterprise. Call (833) 620-7107, and a live person will talk you through the timeline on that call.
What we won’t do is walk you through replacing a spring, a cable, or a high-tension component yourself. Those parts are under loads that can kill, and the tools and technique aren’t something to learn from a video. Sensors, remotes, and programming are yours to handle. Springs are ours.
Frequently Asked Questions
A full opener installation takes 1.5 to 2 hours on a prepped garage with a standard header and a working outlet. Add a low-clearance kit, an outlet run, or old wiring that won’t support a new logic board and the same job runs 3 to 4 hours. The commissioning pass (programming, travel limits, force calibration, safety reversal testing) is 20 to 30 minutes of that time and should never be skipped. Call (833) 620-7107 for a free estimate on your specific garage.
Most opener repairs finish in under an hour. Remote reprogramming is about 10 minutes, sensor realignment is 15 to 20 minutes, and gear or logic board replacement is 30 to 60 minutes, assuming the part is in stock. The biggest variable is parts availability for older or discontinued units.
Same-day installation is realistic only when you’ve picked a specific model that’s in stock locally, your garage is prepped, and there’s an open slot. Most installs get scheduled a few days out because we need to confirm the unit, header clearance, and outlet situation. Same-day repairs are much more common.
Low header clearance requiring a low-clearance kit, and a missing outlet near the opener that requires a wiring run. Either can add 30 to 90 minutes. A stripped or misaligned mounting bracket adds another 20 to 40 minutes. These are the three most common surprises in Enterprise garages.
The price is quoted before the visit and doesn’t change between the phone and the driveway. If we arrive and discover something that changes the scope, like a header that needs a low-clearance kit or a missing outlet, we walk you through it and re-quote before any work starts. We don’t start a job we can’t finish for the number we gave you. Call (833) 620-7107 for an exact quote; estimates are free.
No. Programming remotes and keypads, setting travel limits, calibrating force, and testing the safety reversal are part of the installation, not add-ons. If another quote is significantly cheaper, ask whether those steps are included. In our experience, the budget quotes are the ones that skip the safety reversal test.
The Bottom Line
Opener repair and opener installation are two different timelines, and planning for the wrong one is how a Saturday gets spent in a lawn chair waiting for a technician who arrived expecting a two-hour install on a garage that’s actually a four-hour one. Repairs are usually under an hour. Installations are 1.5 to 2 hours on a prepped garage and 3 to 4 hours when the header is low, the outlet is missing, or the wiring is old. The commissioning pass matters as much as the mounting, and it’s 20 to 30 minutes that a cut-rate install skips. Call (833) 620-7107 for a free estimate and a straight answer on which one your garage actually needs. We’ll quote it on the call and hold the number at the door.
Written by the team at Otto’s Garage Door Enterprise.