
Last updated November 17, 2026
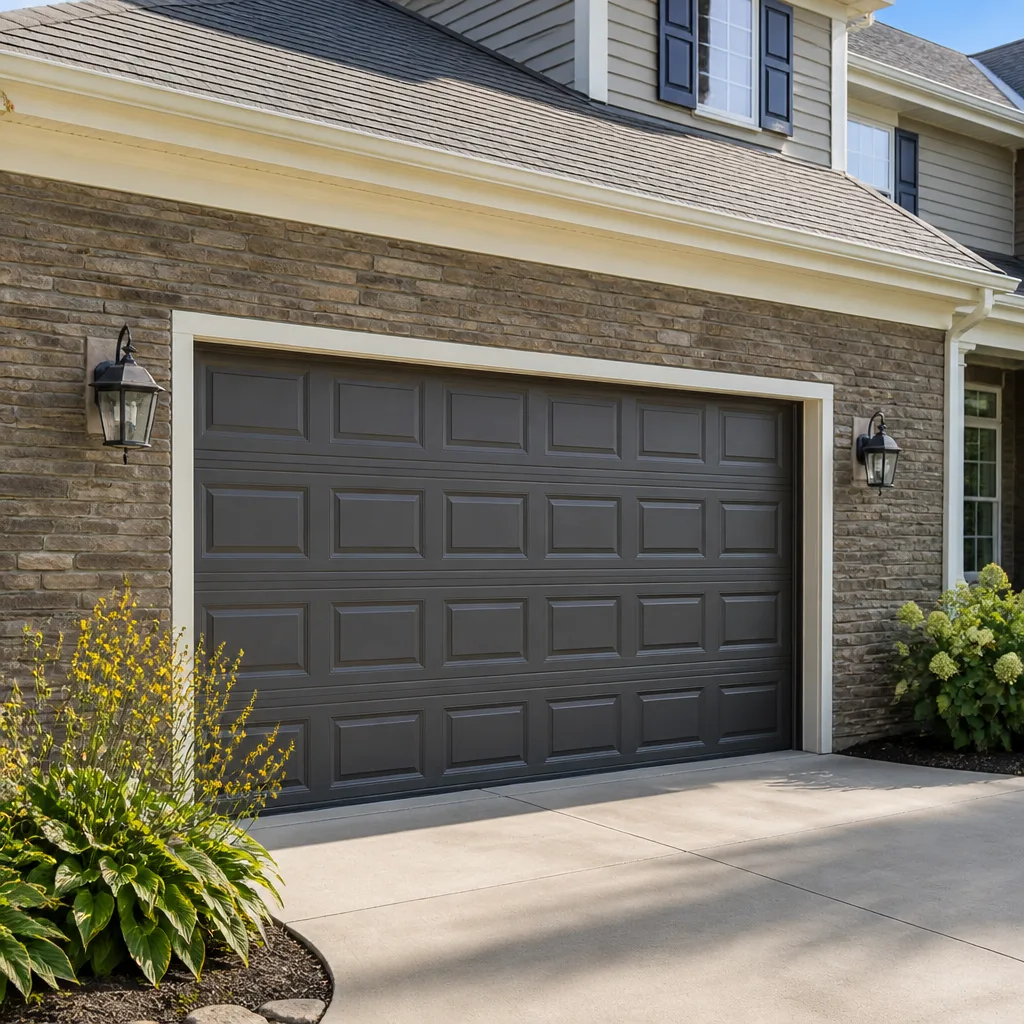 Raised-panel steel
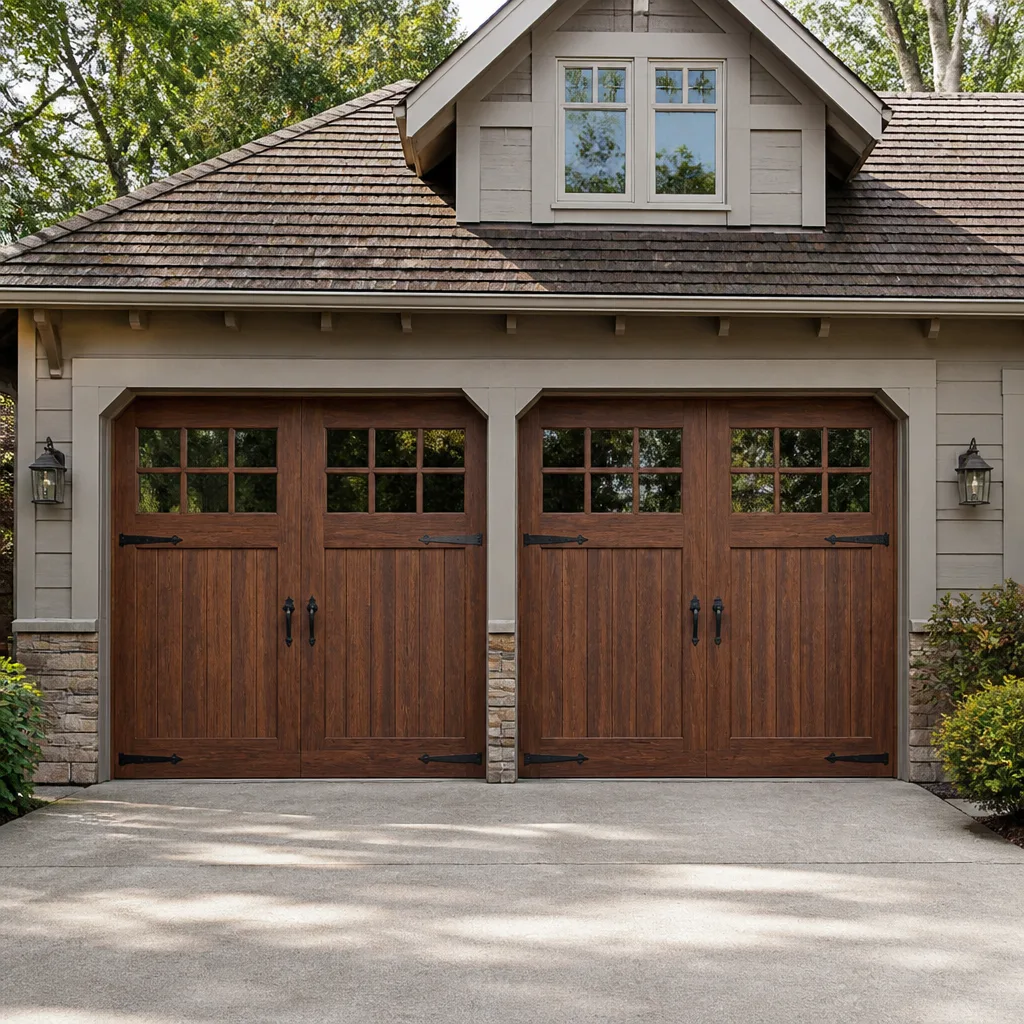 Carriage house
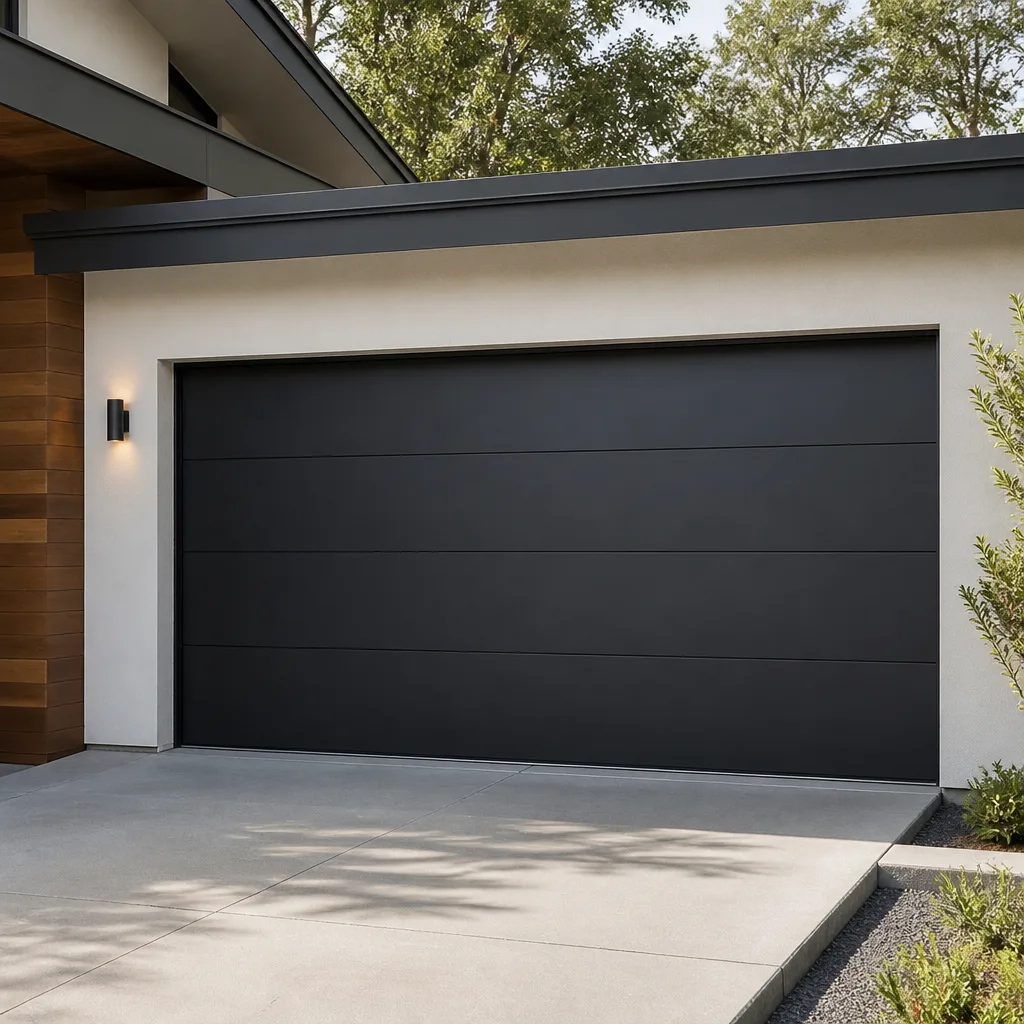 Modern flush
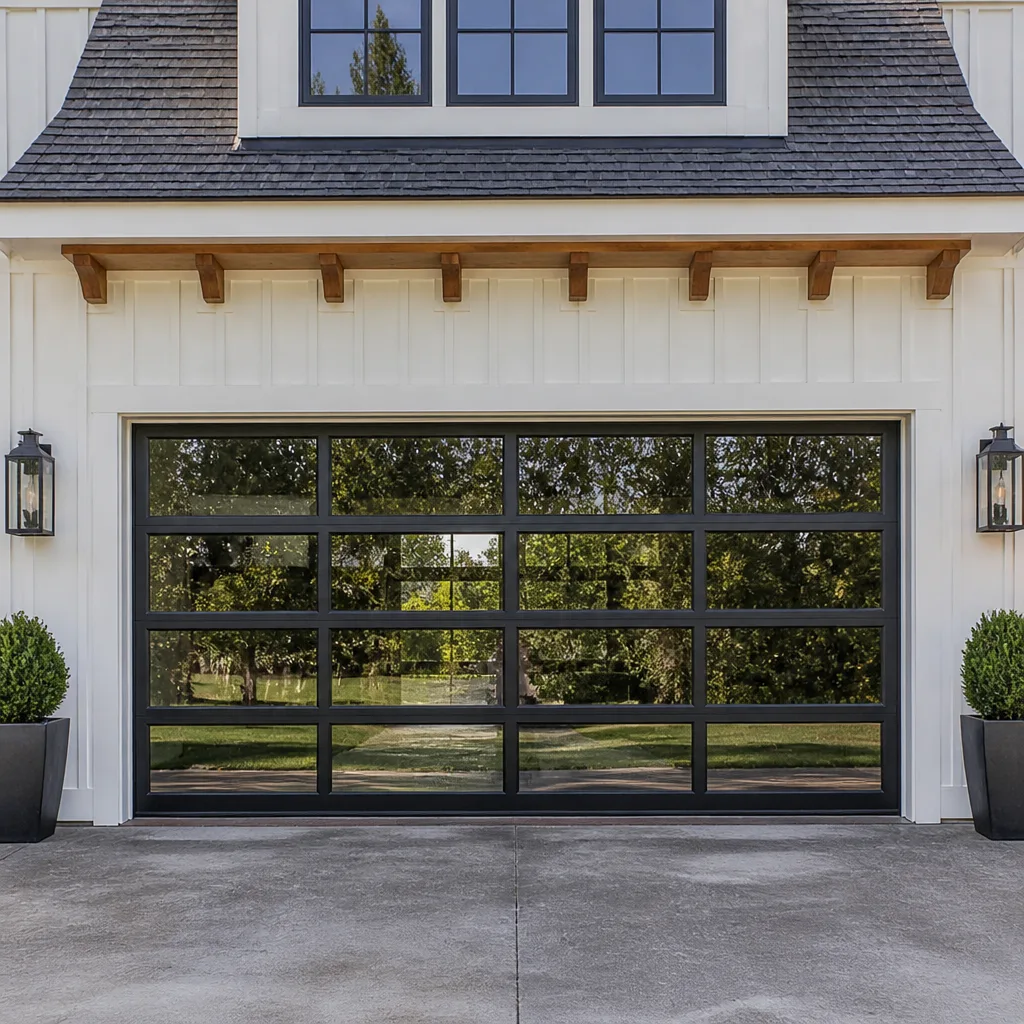 Full-view glass
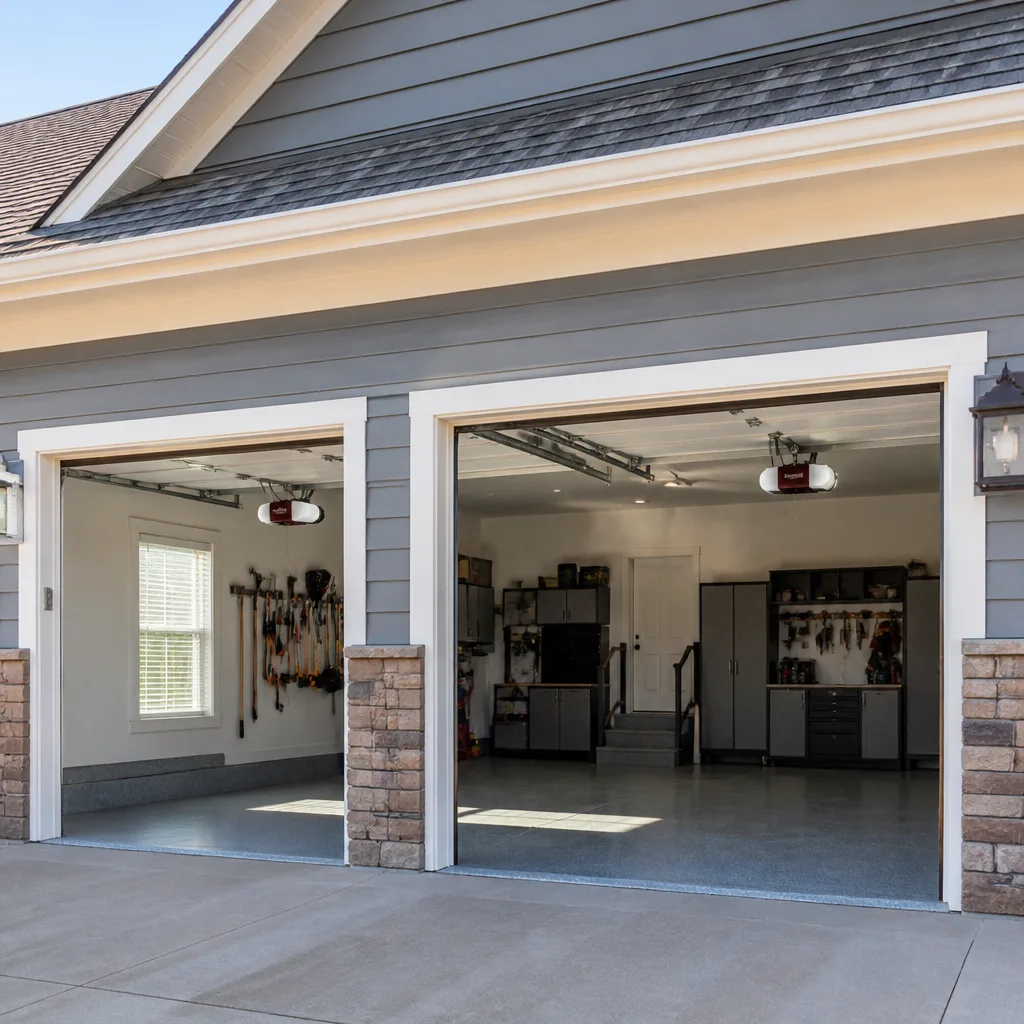 LiftMaster openers
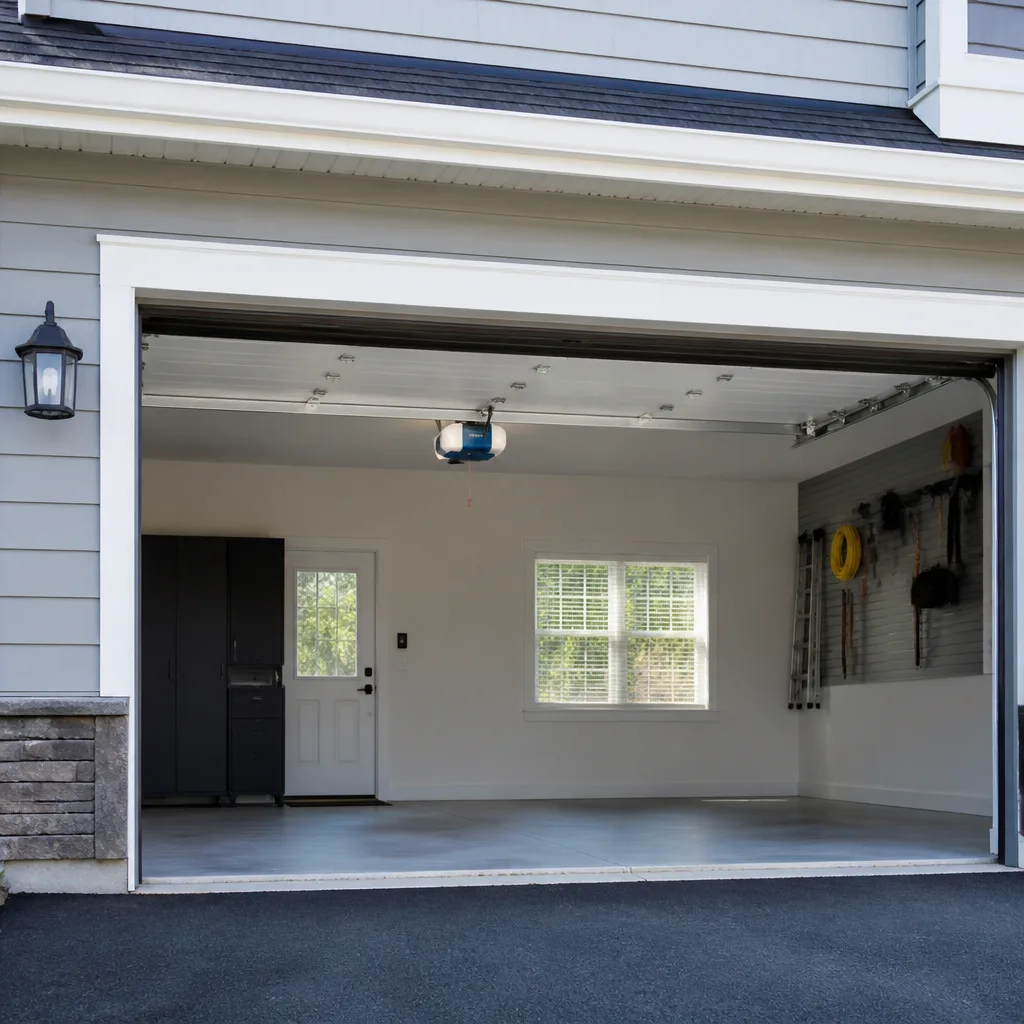 Chamberlain openers
Full 25-point door and opener safety check with every visit - springs, cables, rollers, tracks, and your LiftMaster or Chamberlain opener included
You get a price before we start. It does not change when the pro arrives.
Get your free estimateGarage Door Opener Repair & Installation Troubleshooting: Common Problems and How to Fix Them
Nine out of ten “my opener is broken” calls we get around Enterprise turn out to be a ten-minute fix. Not a motor failure. Not a control board. Usually it’s a misaligned photo eye, a travel limit that drifted an inch, or a door that got heavy because a spring is tired. The opener just took the blame. Before you spend $300 on a new unit, there’s a diagnostic order that sorts the real problem from the symptom, and that’s what this guide gives you. You’ll learn the hand test that points you to the right system, how to run the photo-eye check, where the travel and force controls hide on your own unit, and which two faults you should never touch yourself.
Quick Answer
Most garage door opener problems are not motor failures. They’re photo-eye misalignment, travel-limit drift, force-setting issues, or a door that’s gone heavy because the springs are worn. Pull the red emergency release and lift the door by hand: if it moves smoothly, the fault is in the opener; if it’s heavy or jerky, the door itself is the problem, and no new opener will fix that. Start there before you replace anything.
Styles & brands we work with
- Raised-panel steel
- Carriage house
- Modern flush
- Full-view glass
- LiftMaster openers
- Chamberlain openers
Table of Contents
- The Hand Test: Your First Diagnostic Step
- Symptom-First Diagnostic Tree
- The Photo-Eye Test Anyone Can Do
- Travel Limits and Force Settings Most Owners Don’t Know Exist
- Two Problems You Should Never Self-Diagnose
- Repair Two More Years or Delay a Replacement?
- Brand Notes: LiftMaster, Chamberlain, Genie, Clopay
The Hand Test: Your First Diagnostic Step
Before you touch a single button on the wall, disconnect the opener from the door. Find the red emergency release cord hanging from the trolley and pull it down and back. That frees the door from the opener rail. Now lift the door by hand from the bottom center. Open and close it a few times. Pay attention to how it feels.
Here’s the rule we give every homeowner in Enterprise: if the door moves up and down with gentle, steady resistance and stays put where you leave it, the door is healthy and the problem is in the opener or the controls. If it feels heavy, binds, jerks, or drops hard on the way down, the door system is the problem. That usually means worn springs, a bent track, or dry hinges and rollers. A new opener bolted to a door that’s gone heavy will strain, trip its own force sensor, and eventually fail too. You’d be spending $300 to make the same phone call six months later.
A balanced door on a healthy spring system should lift with one hand and sit still at the halfway point when you let go. If you have to shoulder it up, the springs are tired or the track is out of plumb. Springs are rated in cycles, not years, and a standard torsion spring is often rated around 10,000 cycles. A household running the door four times a day burns through that in under seven years. When we hear “it started getting harder to open last winter” from a customer in the Enterprise hills, we already know the spring is the likely culprit before we pull into the driveway.
The hand test takes two minutes and tells you whether you’re looking at an opener repair or a door repair. That single step saves people from buying the wrong part.
Symptom-First Diagnostic Tree
Once you know the door moves freely by hand, the opener is fair game. Match your symptom to the first check below and work down. This is the order we run through on every call, and in our experience it catches the real fault before we ever open a housing.
- Won’t open at all. First check the wall outlet the opener plugs into, then the circuit breaker. Next, try the wall button instead of the remote – if the wall button works but the remote doesn’t, the problem is the remote battery, the remote programming, or a locked-out receiver. If neither works, look for a blinking light on the motor head, which is the unit’s error code.
- Opens partway then stops. This is almost always a travel-limit setting that drifted or a force setting that’s tripping early. Check for an obstruction first, then adjust the limits (see below).
- Opens but won’t close. Nine times out of ten this is the photo-eye safety beam, not the motor. The door won’t close because the opener thinks something is in the way. Run the photo-eye test below before anything else.
- Closes then bounces back open. Same family of problem: the opener hits resistance near the floor and reverses for safety. Look for a small obstruction on the threshold, a misaligned track at the bottom, or a force setting that’s too sensitive. A pebble or a clump of driveway grit under the seal is a common cause.
- Runs but moves slowly or grinds. Start with lubrication – a dry door strains the opener. Then check the rollers, hinges, and the trolley for wear. If the door itself is stiff by hand, the opener is fighting the door, and a new motor won’t help.
Working this list in order keeps you from replacing a good motor over a bad battery or a beam that got nudged by a trash can. In Enterprise, wind-blown dust and summer heat work on the track and rollers, so lubrication and alignment checks come up more often than you’d expect. If you’d rather have someone run the tree in person, our Garage Door Opener Repair & Installation in Enterprise page lays out what we check on a service call.
The Photo-Eye Test Anyone Can Do
The photo eyes are the two small lenses mounted about six inches off the floor on each side of the door opening, one aiming at the other. The opener uses that invisible beam as a safety trip: if something blocks the beam while the door is closing, the door stops and reverses. When the beam loses alignment or gets dirty, the opener simply refuses to close. This is the single most common “broken opener” cause we see in Enterprise, and it’s fixable without a wrench most of the time.
Here’s the test. You’ll need a rag and a small level – a dollar-store bubble level is plenty.
- Wipe both lenses clean with the rag. Dust, cobwebs, and insect nests block the beam more often than people realize.
- Look at the lens on the sending side (the one with the light). It should glow steadily. If it’s blinking, the beam is interrupted or the eyes are out of line.
- Rest the level across the top of each eye housing and confirm they’re aimed at each other, not up at the ceiling or down at the floor.
- Gently slide each housing a hair toward its partner and watch the indicator light. When both lights go solid, you’re aligned.
- If the beam still won’t hold, wipe the sun blocker or hood on each eye – direct afternoon sun on the receiving eye can blind it, which is a real issue on west-facing doors here.
Tighten the mounting bracket wing nut once you’ve got a solid beam. If the eyes are so loose they won’t hold position, or the wiring to the eyes is cracked and frayed, stop there. That’s a small repair, not a DIY project. A live person at Otto’s Garage Door Enterprise can walk you through it on the phone, and if you’d rather not climb around on a step stool, a service call handles it quickly.
Travel Limits and Force Settings Most Owners Don’t Know Exist
Almost every residential opener made by LiftMaster, Chamberlain, Genie, and the rest has two settings hidden on the motor head that control how far the door travels and how much resistance the motor will push through before it gives up. Most homeowners have never touched them. When a door starts opening partway and stopping, or reversing for no visible reason, these two settings are the first suspect – and a five-minute tweak often fixes what looks like a dead unit.
The travel limit sets where the door stops in the up and down positions. Over years, the mechanism drifts a fraction at a time, until one day the door stops eight inches short of the floor or runs the motor into the header. If your door closes but leaves a gap, or opens but doesn’t clear the header cleanly, the limit is usually the fix. The controls are either two screws on the side of the housing or two buttons under a small access cover, depending on your model. Adjust in small increments, test the door after each change, and watch it through the full cycle.
The force setting controls how hard the motor pushes before it reverses. It’s a safety feature – set too light, and a little friction from a cold morning or a dry roller triggers a false reversal; set too heavy, and the opener won’t reverse when it should. Never crank the force setting up to push through a heavy door. That’s masking the real problem, and it defeats the safety feature that protects anyone standing under the door. If the force adjustment needs to be maxed out to close the door, the door is the problem, not the opener.
If you’re not comfortable making these adjustments on a live motor, that’s a good reason to call. We do this every week, and we can tell you in one visit whether the setting is the fault or the door is. You’ll find the full service scope on our Garage Door Repair in Enterprise page.
Two Problems You Should Never Self-Diagnose
A garage door is roughly 200 pounds riding on two springs and a set of cables under serious tension. Two areas in that system deserve a hard stop on DIY.
Anything involving the spring system. Torsion springs above the door and extension springs alongside the tracks store enormous energy. When a torsion spring lets go it sounds like a gunshot and can throw hardware across the garage. Adjusting, winding, or replacing a spring requires specialty winding bars and a working knowledge of how much tension is on the assembly. We’ve seen homeowners badly injured trying to take up a spring by hand. If you look up and see a gap in the coil, or the door won’t stay up when you lift it, that’s the spring system, and it needs a trained technician. Respect it.
Any wiring that feeds directly into the motor head. The opener is hardwired to a circuit, often a dedicated one. If the unit is dead at the outlet and the breaker isn’t tripped, or if you see scorched wiring, a loose connection at the motor head, or the safety-reverse system wiring damaged, leave it alone. House current at that connection can hurt you, and a bad splice is a fire risk. The same goes for any wiring that’s been chewed by rodents, which happens more than you’d think in rural parts of Enterprise.
Everything else in this guide – the hand test, the photo-eye test, cleaning and lubrication, the travel limits – is safe to check on your own. These two are not. A quick call to Otto’s Garage Door Enterprise gets a trained technician out to diagnose the spring or wiring with the right tools. That’s the one category where we tell people not to wait and not to poke at it.
Repair Two More Years or Delay a Replacement?
The honest question on an older opener isn’t “can it be fixed” – almost anything can be fixed. It’s whether the repair makes sense. Here’s how we think about it when we’re standing in a garage in Enterprise.
- A repair buys you real time if the unit is under about ten years old, the fault is a component like a gear, a capacitor, a circuit board, or the travel and force settings, and the door itself is healthy. These are the fixes that get you several more years of service for a fraction of a new unit.
- You’re delaying the inevitable if the motor is original to a door that’s fifteen or twenty years old, the housing is worn, and you’ve now had two or three failures in a year. At that point each repair is a bandage, and the money adds up faster than a replacement would.
- Replace, don’t repair, if the unit lacks modern safety features like a functioning photo-eye and a battery backup, or if parts are no longer available for that model. Older units with no safety reverse are a real hazard to kids and pets.
We’re not going to sell you a new opener when a $15 gear will do the job. That’s not how a name-on-the-van shop stays in business for decades – and this one has been owner-operated since 2004. The call is yours, but we’ll give you the straight math either way. When the right answer is a new unit, our Garage Door Installation in Enterprise team measures the opening, matches the door and opener to your situation, and gives you a written price before any work starts. Call (833) 620-7107 for a free estimate, and we’ll tell you which side of the line your unit falls on.
Brand Notes: LiftMaster, Chamberlain, Genie, Clopay
The brand on your housing matters for troubleshooting because the controls and the error codes differ. On LiftMaster and Chamberlain units – which share engineering – the travel and force adjustments are usually screw-type with a small LED that blinks a specific number of times to tell you what fault it sees. Learn to read those blinks and you’ll diagnose most problems in under a minute. Genie units often use a different control layout, with the limits behind a panel and a chain-driven or belt-driven rail that needs its own tension check. If you’re pairing a new opener with a Clopay door, the door’s weight and balance point determine how much force the opener should ever need, so get the door right first and the opener settings follow.
We work on all of these every week and we keep the common wear parts – gears, capacitors, photo eyes, remotes, and the trolley assemblies – on the shelf so most repairs finish in one visit. We carry remotes and keypads for the major brands, and if your model is discontinued we’ll tell you straight rather than ordering a part that won’t fit. The point isn’t to sell you a brand – it’s to fix the one you already own.
Common Mistakes to Avoid
- Cranking up the force setting to close a heavy door. If the door needs extra force to move, the door is the problem. Turning up the force masks a worn spring or a binding track and defeats the safety feature that stops the door when it hits something.
- Buying a new opener before running the hand test. We can’t count the times a homeowner replaced a perfectly good motor only to find the door was heavy the whole time. Two minutes with the emergency release cord would have saved the $300.
- Ignoring a misaligned photo eye because “it worked yesterday.” A bumped trash can, a settling slab, or a weed whacker against the bracket throws the beam off, and the opener then refuses to close. Check the beam before assuming the motor failed.
- Using the wrong lubricant on the track and rollers. Grease and WD-40 attract grit and gum up the works in our dusty Enterprise wind. A proper garage door lubricant on the rollers, hinges, and springs keeps things moving without collecting dirt.
- Adjusting a spring by hand. Springs and cables are under dangerous tension and can cause serious injury. If the door won’t stay up on its own, that’s a spring problem and it needs a trained technician, not a ladder and a pair of pliers.
- Running a door with a damaged cable or frayed wire. A damaged lift cable can snap under load and a scorched connection at the motor head is a fire risk. Shut it down and call rather than testing it “one more time.”
See the difference
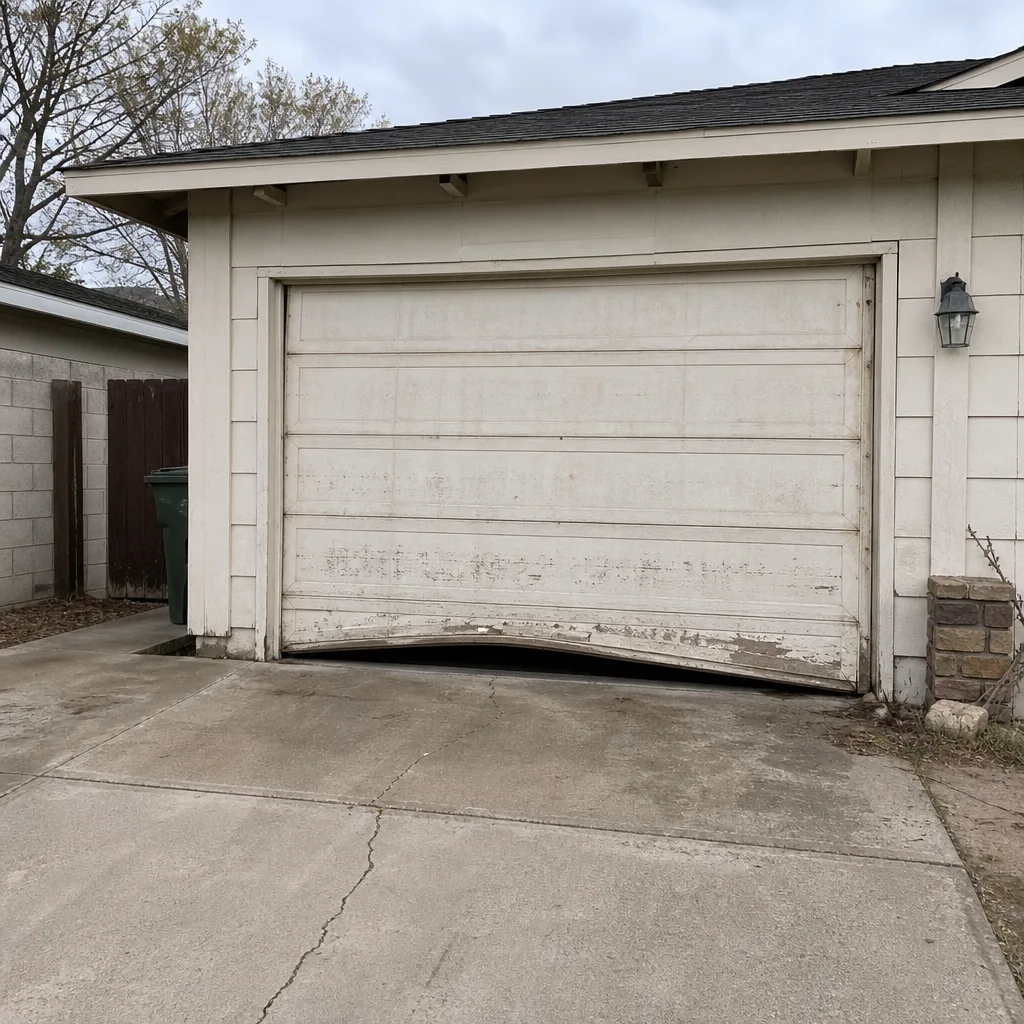 Before
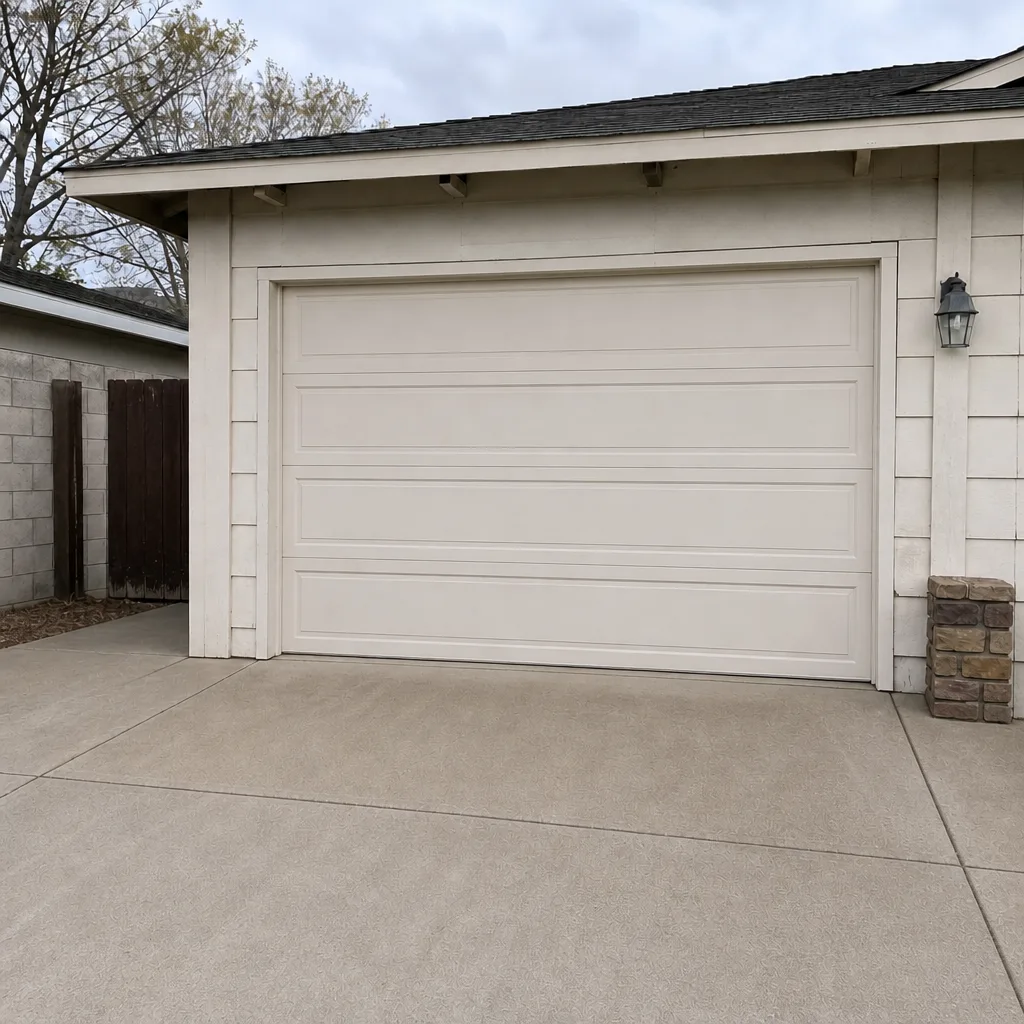 After
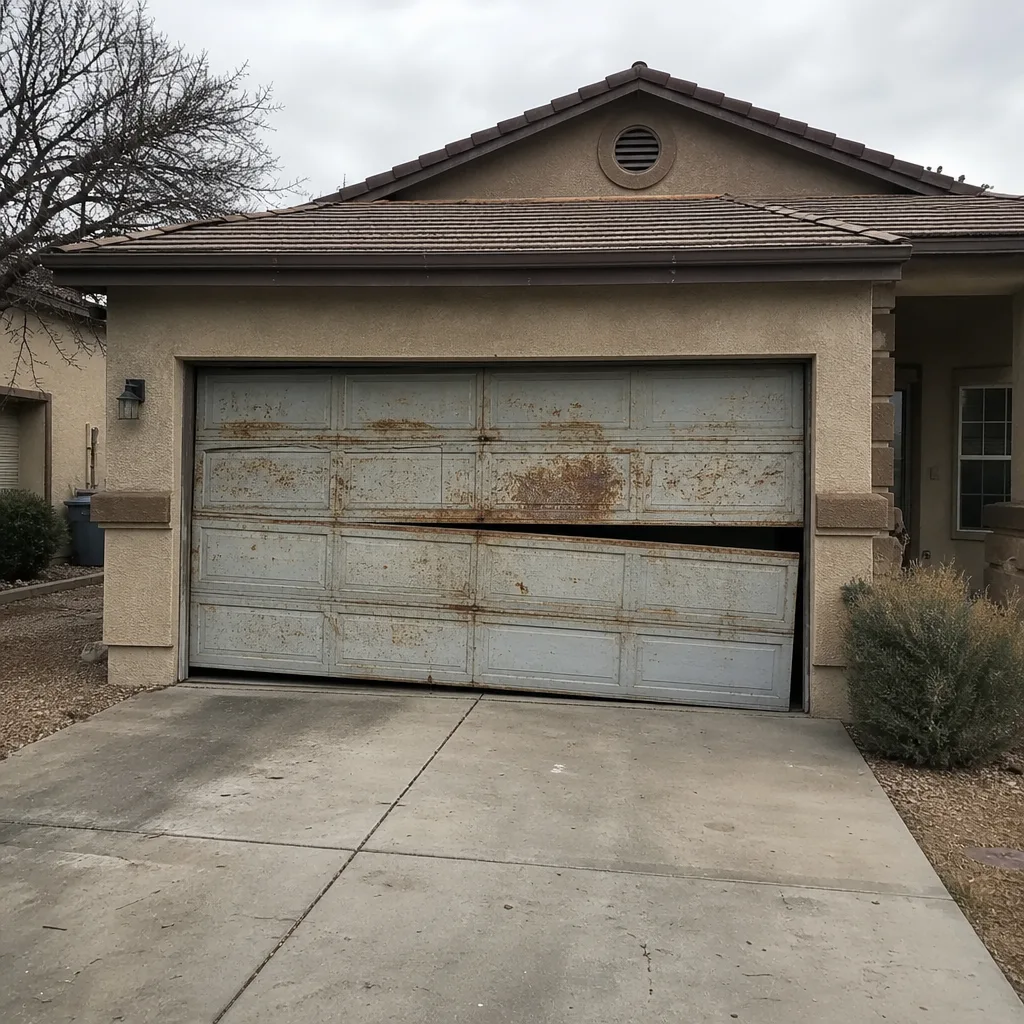 Before
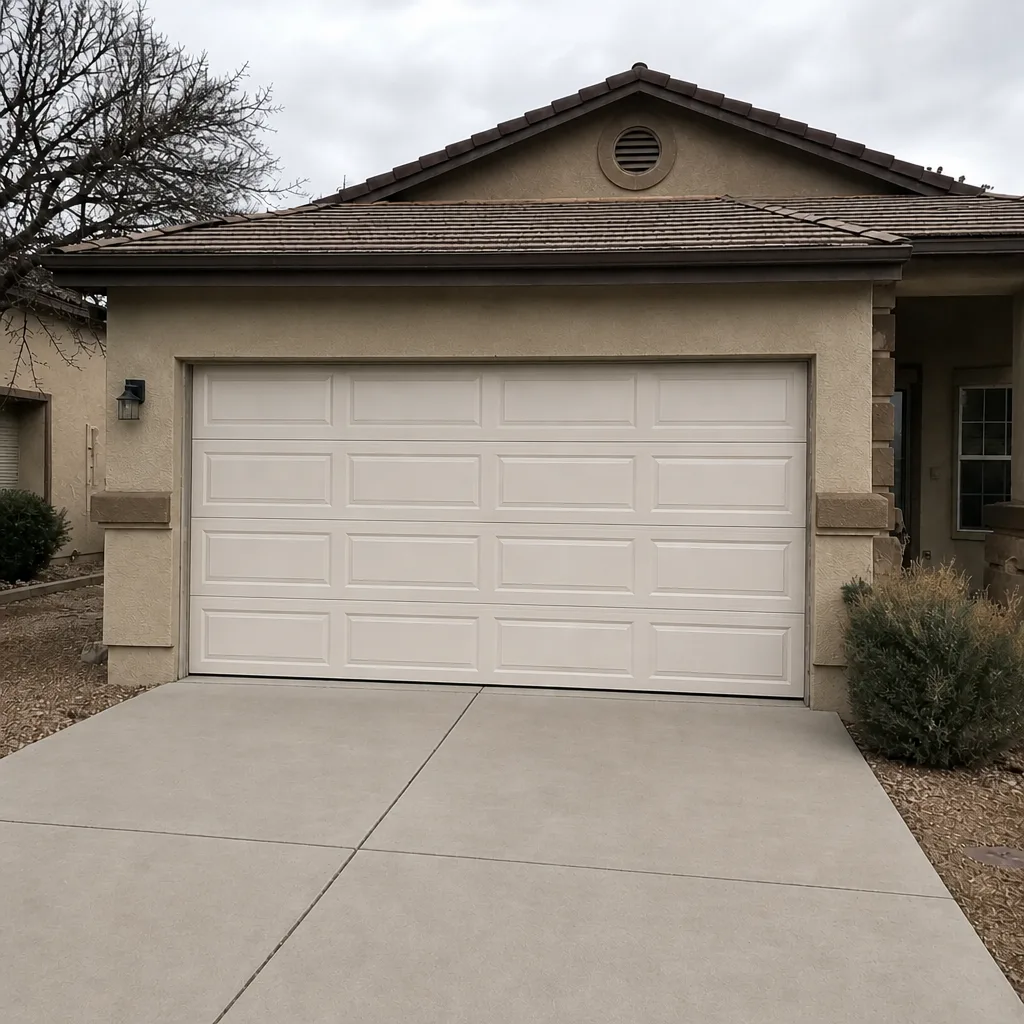 After
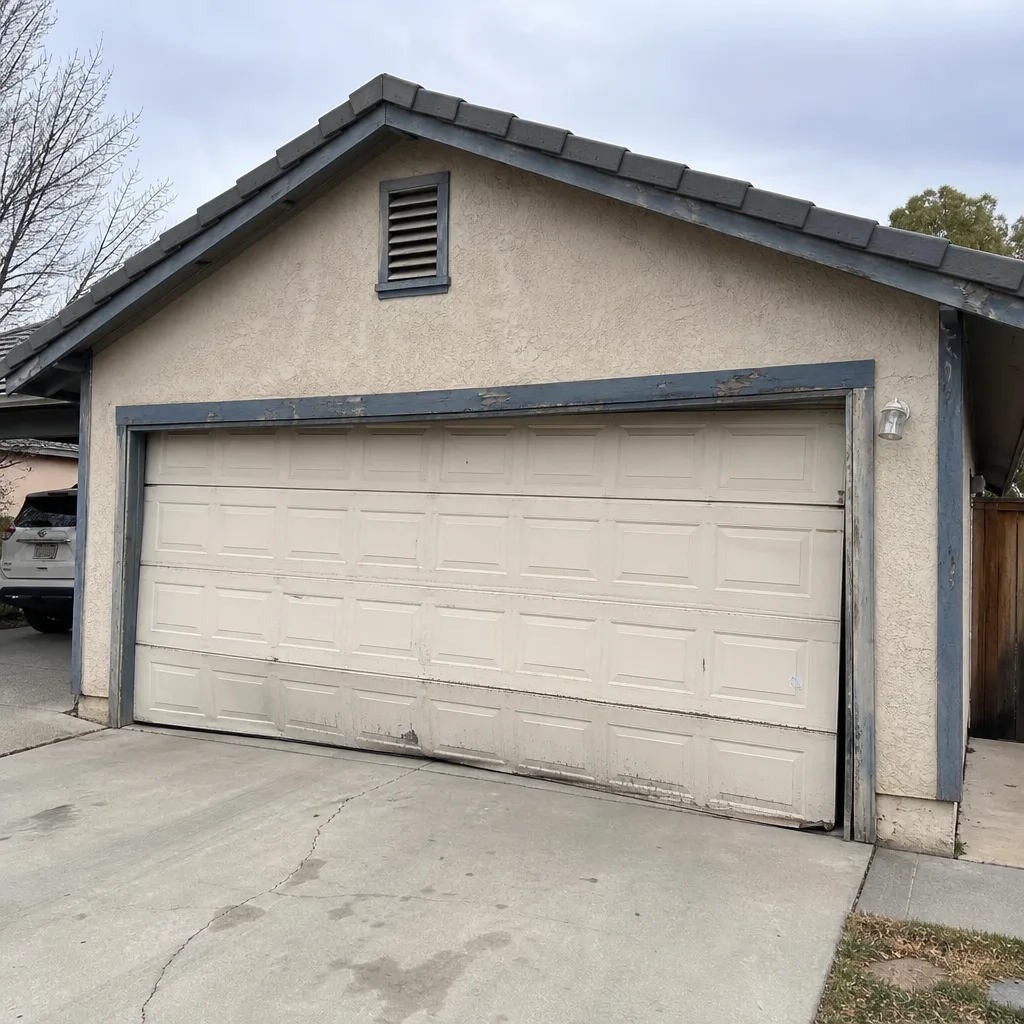 Before
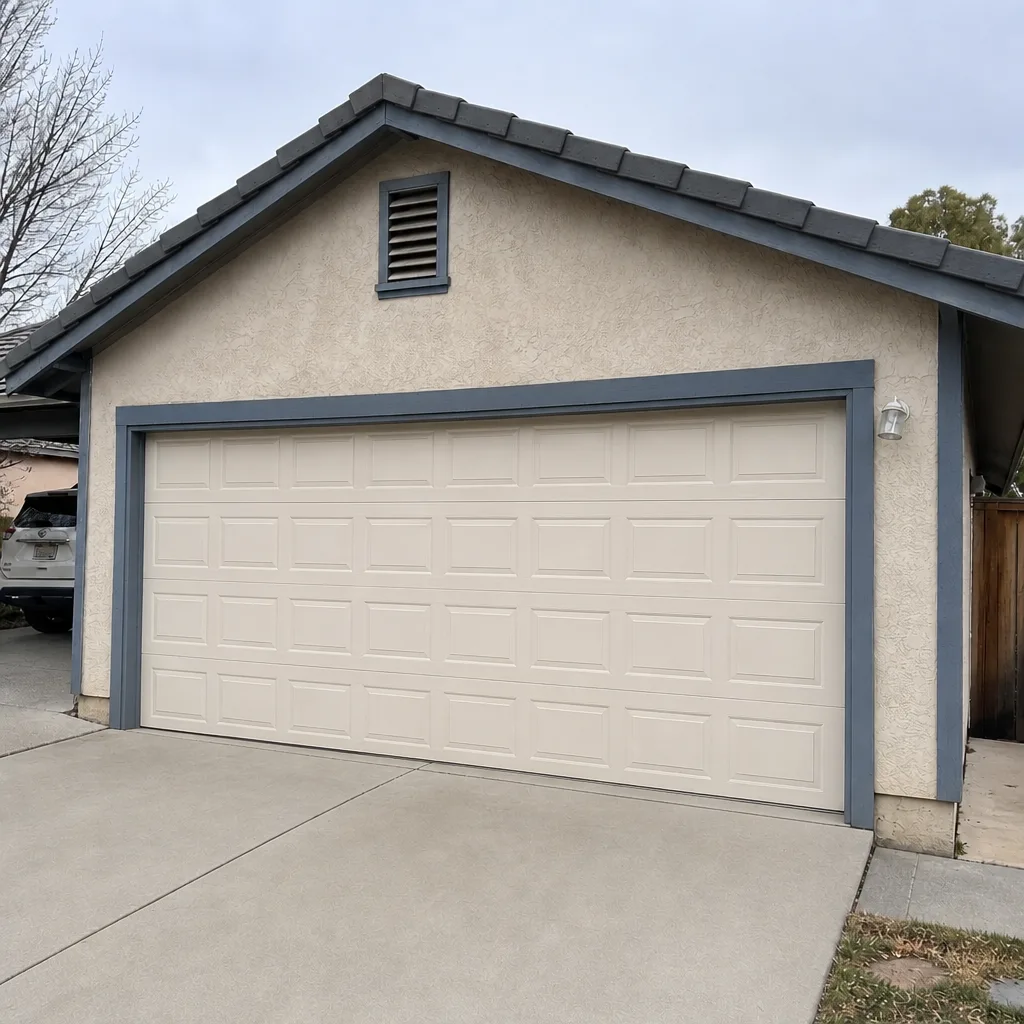 After
When to Call a Professional
Call a professional if the door won’t stay open when you lift it, if you see a gap or break in a spring coil, if a cable is frayed or off its drum, if the opener housing shows scorch marks or loose wiring, or if you’ve run the hand test, the photo-eye test, and the travel and force checks and the door still won’t behave. Those are the situations where a trained eye saves you money and risk. Everything else is fair game for a careful homeowner. When it’s time to call, a live person answers around the clock, including the nine-at-night spring failure. Otto’s Garage Door Enterprise offers free estimates in Enterprise – call (833) 620-7107, and we’ll quote the job on the call and hold that number when we get there.
Frequently Asked Questions
Nearly every time, this is the photo-eye safety beam losing alignment or getting dirty, so the opener thinks something is in the way and refuses to close. Clean both lenses and check that they’re aimed at each other with the sending light solid, not blinking. If that doesn’t fix it, the wiring or a bad eye is the next suspect. Call (833) 620-7107 if you want a technician to sort it out – estimates are free.
A humming opener that won’t move usually points to a stripped drive gear, a broken trolley, or the door being disconnected at the emergency release. First check that the red cord hasn’t been pulled, then look for the trolley riding free of the rail. If the gears are stripped, that’s a repair we handle in one visit, and it costs far less than a new unit. Call for a quote and we’ll tell you which it is.
You can safely handle the photo-eye test, lubricant, remote batteries, and the travel and force adjustments. You should not touch the spring system, the cables, or the house wiring that feeds the motor head – those carry real injury and fire risk. When in doubt, stop at the motor head and call (833) 620-7107 for a free estimate.
Most opener repairs run in the low hundreds depending on the part and the model, and the price is quoted before any work starts and never revised upward at the door. We give the number on the phone and hold it when we arrive. Ask about the $40 off any repair over $200, and call (833) 620-7107 for an exact quote – estimates are free.
Repair a unit under about ten years old when the fault is a component or a setting and the door is healthy. Replace it if parts are no longer available, the unit lacks a functioning safety reverse, or you’ve had several failures in a single year. We’ll give you the straight comparison rather than pushing a sale. Call (833) 620-7107 and we’ll walk through it.
Yes – and it should be. A heavy door is almost always worn springs or a binding track, and fixing the door restores normal operation without touching the opener. Bolting on a new motor when the door is heavy just strains the new unit. That’s the fix a trained technician handles, and calling early keeps a small repair from turning into a bigger one. Call (833) 620-7107 for a free estimate in Enterprise.
The Bottom Line
Most “broken opener” calls are a ten-minute fix, and the hand test tells you where to start: smooth by hand means the opener, heavy means the door. Run the symptom tree in order, clean and align the photo eyes, and learn your travel and force settings before you spend a dime on a new unit. Leave the springs and the motor-head wiring to a professional – those are the two genuinely dangerous areas, and a trained technician is the right call there. When you want a straight answer from someone who’ll see you at the hardware store, we’re here. Call (833) 620-7107 for a free estimate, and remember the 90-Day Done Right Promise in writing on every job.
Written by the team at Otto’s Garage Door Enterprise.